Tuesday 15 November 2022

Exhaust System Fitting

I was making good progress with the rebuild and keen to get my MG Midget started. Next on the list was fitting the exhaust.

Here is my exhaust manifold that was still quite solid apart from two small holes at the end where is connects to the main pipe. 

I welded them, wire wheeled the rust off and then gave it a couple of coats of Very High Temperature (VHT) spray paint, which made it look almost new again.


When I first tried to fit this to the engine I had a little trouble getting it into place, because I didn't modify the chassis to make the hole big enough when I was welding this all together.


All that cutting meant I had to do some repainting before fitting the manifold.


But with that now done it was time to fit the manifold. I fitted the gasket and then trying not to scratch the paint slotted the manifold on to the studs.


I then noticed that the clearance between the main pipe and the floor of chassis wasn't great and I started to get worried about how hot the floor would get.

So I bought some motorcycle heat shield that has an adhesive backing and stuck it on.


I'm hoping that this should stop the heat from the exhaust transferring to the floor as I have put down sound insulation in the floor which has a butyl rubber backing that I don't want to melt.

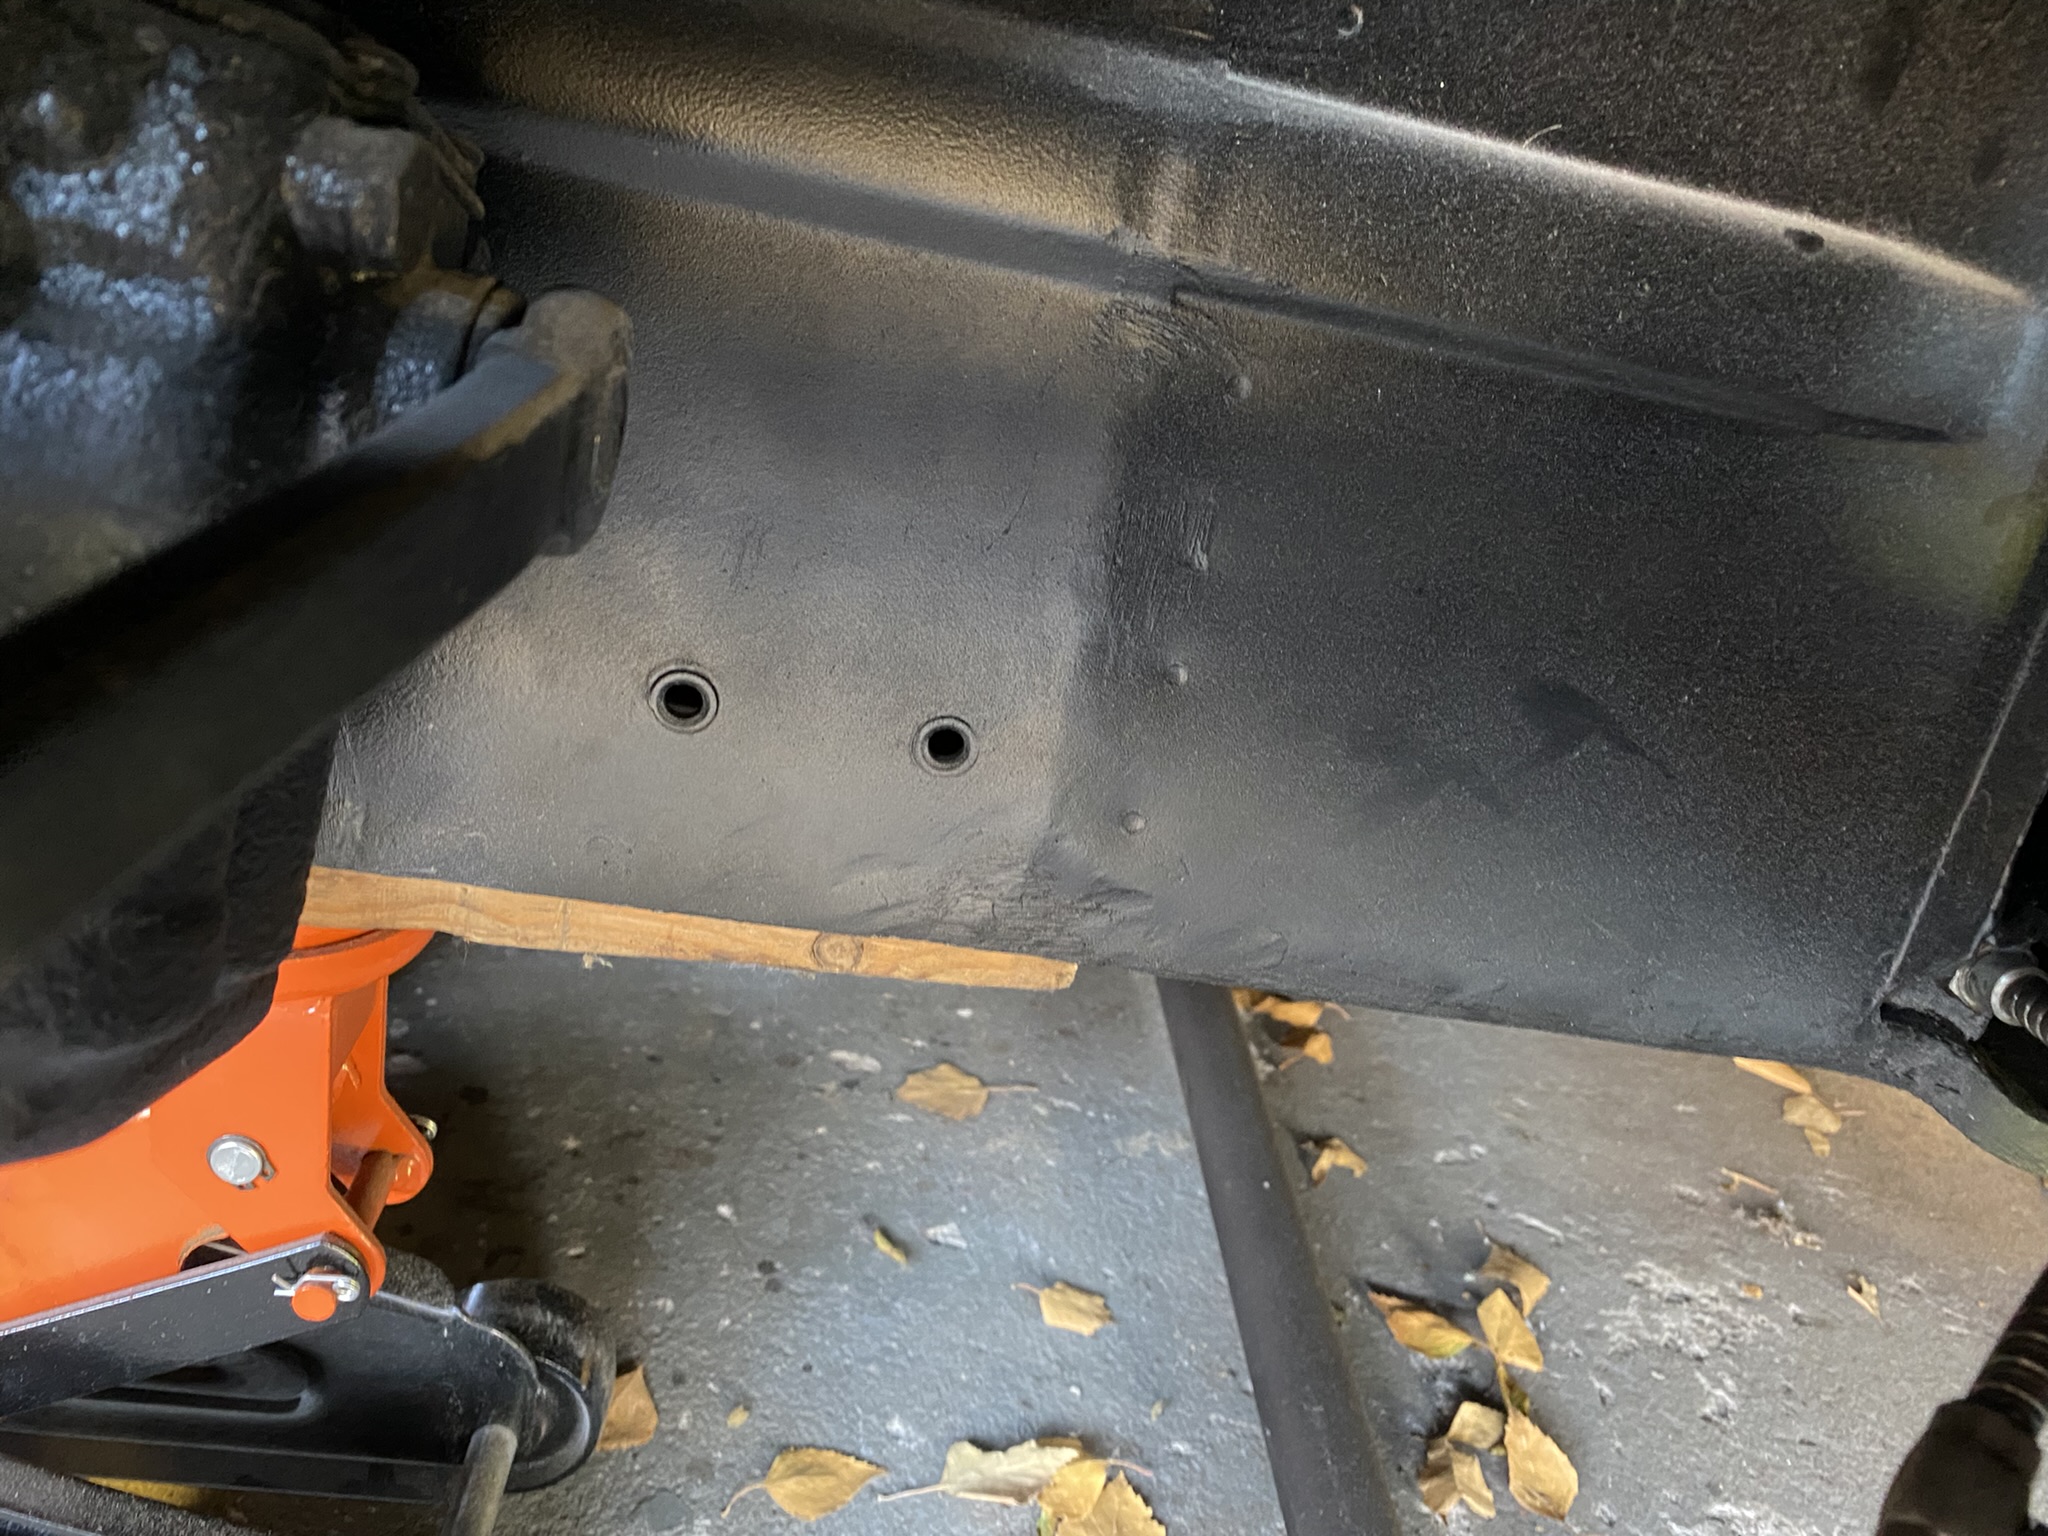
Next thing was to fit the exhaust pipe support mount that bolts on to the rear bulkhead via these two holes.


All the parts I need.


Bolt on fairly easily. Would be even easier with a ramp!


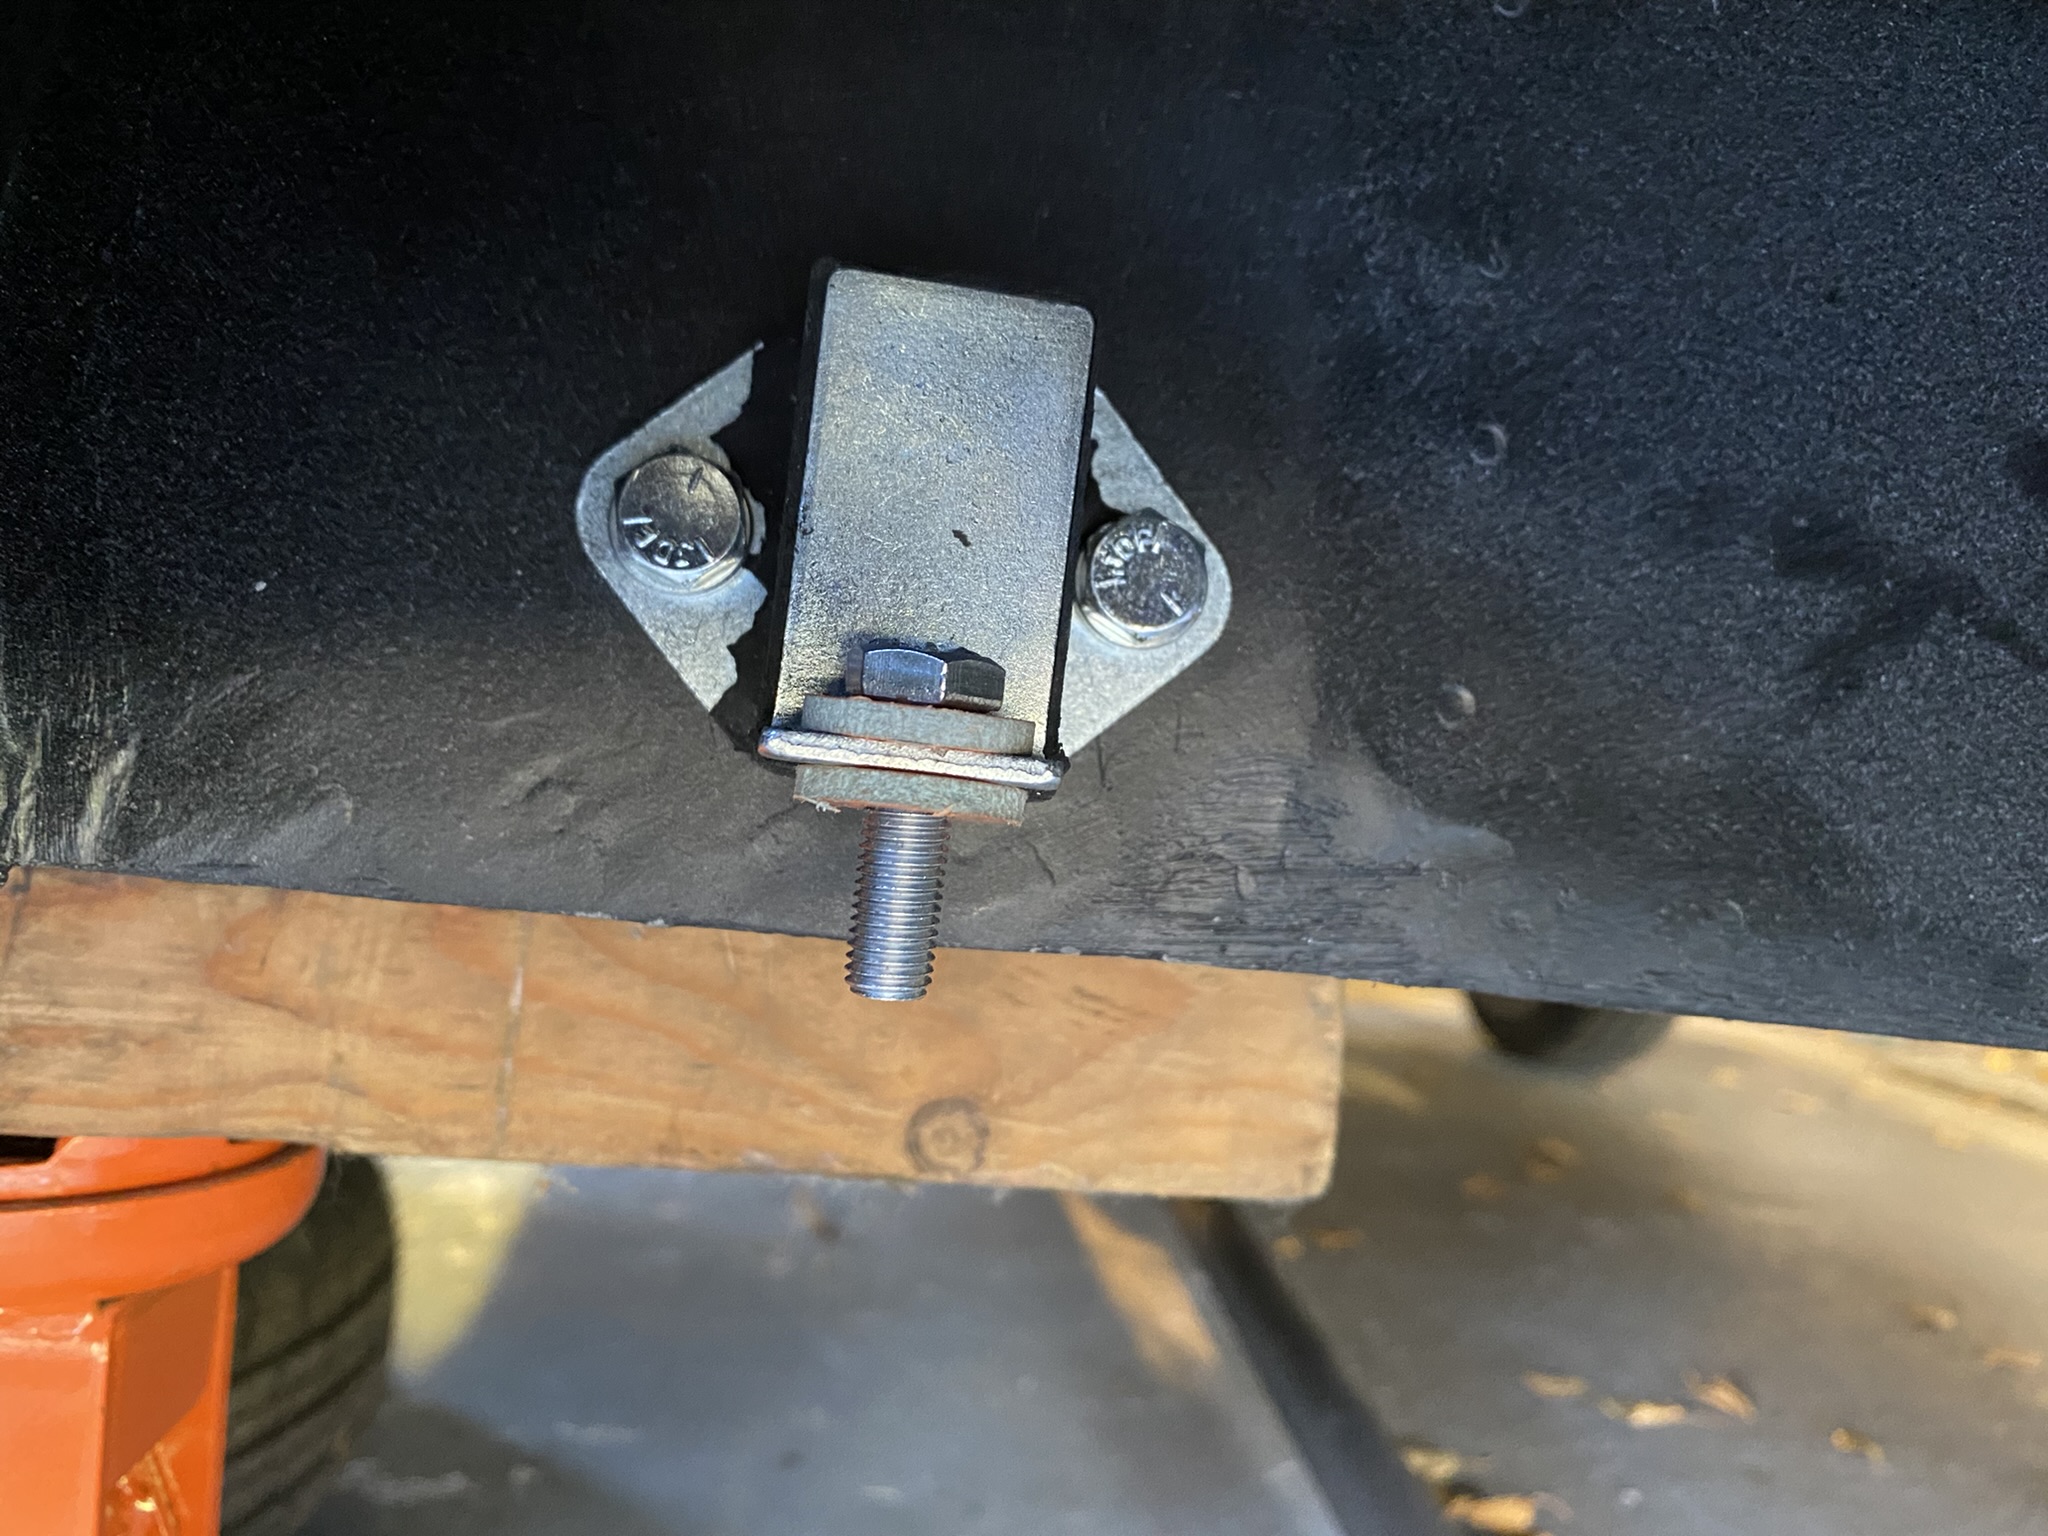
Next was to fit the silencer mount.


I had to actually fit the main pipe and silence as there was no predrilled hole in the boot floor that I bought. So with everything in place, I hoped, I drilled the hole and fitted the mount.


Slid the main pipe through the support bracket.


Applied exhaust paste to make sure the it was sealed.


Fitted the U bolt clamps


All was looking good.


I also de-rusted and coated the silencer with VHT paint. Think it looks really good.


Next up and final part of the restart the carbs!

Thursday 29 September 2022

Cooling System - Radiator

Main part of the cooling system is the radiator. I had no real idea if it worked or not.

There were a few things that on initial inspect were obviously needing attention.

Like these cuts in the shroud which presumably were because the fan was hitting it.


Quite a bit of surface rust.


And some bad repairs that needed returning to how they should be.


Decided to check how the cooling fins were, so with a screw driver carefully straightened what I could and also used my air compressor to blow a lot of air to clean out what dirt and muck I could. Then I put a lamp behind and had a look.


From what I could see there were no blockages, so the next test was to see if it held water at all. So I blocked off the inlet and outlet pipes and filled it up by the garden hose.

Whilst the test did suggest it would hold water, I was not expecting peanuts to come flooding out!!


The radiator was stored in the eves of the garage for a long while and I do remember having a mice problem for a few weeks. I used to leave peanuts out for the birds to eat, but sometimes the squirrels got to the feeder and the nuts went everywhere so I stopped buying them. 

I can only assume the mice joined in the banquet and stored them in a nice dry larder, namely my radiator.

Thing was I just couldn't believe how many eventually came out. Must have been 50 or 60 odd.

So now I needed to finish cleaning it up and repairing the shroud and the mounting bolts.

The trusty wire wheel did a good job on the frame, taking care not to damage the cooling fins.


Welded up the cuts in the shroud the previous owner made as best as I could and bent the whole shroud so it looked a better shape for the fan.


Removed this mess with an angle grinder by cutting out the whole section


Before drilling the new hole I measured the distance on the radiator brackets on the chassis. It was 8 inches from the bottom hole to the top.


Once drilled and double checked it was correct I could then weld the nut retainer in place.


Then double checked from the other side. Looked good.


The two welded bolts at the bottom of the radiator mount seemed ok, until I fitted it properly and found rust had done its damage to the treads, so ended up replacing them as well in a similar fashion. Wasn't impressed I'd missed that and didn't take any photos.

But all being done I could then prime.


and sprayed a few coats of special radiator paint that works at high temperatures.


Ready to fit!

Looks great against the old English white I think.


Starter Motor Refurb

Really didn't want to buy a new starter motor if the old one worked. So decide to fine out.

Took it outside and connected it up to my car's battery with two jumper leads and it jumped into life.

That meant it just needed cleaning up and painting.


It is very simple to take this apart. You just unscrew these two long bolts.


This was in much better condition that the dynamo I restored before.


The four brushes were also in good condition with plenty of life left in them.


Just needed to get down there and clean it all. You can remove this cover to gain easier access to the brushes.


Just some surface rust and dirty that comes off easily enough.


If you do need to replace the brushes you have to undo the main live cable bolt on the end and then pull back each spring to release the brush. There are four so it would get a bit fiddly I'd imagine. But a lot cheaper than buying a new starter motor. 


Used my air compressor to clean this out and remove what dirt I could. Came up well.


Ready for paint.


Can't find another picture of it painted!! Oh well. I like that this shows the date it was made, July 1965.


Well you can sort of see it at the back here! It is best to fit it when the engine is out, but I understand not impossible with the engine in.