Time to restore the interior trim and panels.
These were stored for quite a few years in the loft of the garage. Some of them had been nibbled at by the mice. All of them stank of mouse piss. Whilst there were all there few were in good condition I decided to remake new boards for most of them and get them retrimmed.
First job was to remove all the old smelly vinyl and foam from all of the panels.
There was one or two staples that needed to be removed.
The foam was stuck down but came off with a little scraping. Then both surfaces needed sanding down with rough paper to make sure no foam remained and it was clean for the new foam and vinyl.
In the cockpit there are aluminium rails that are also covered in vinyl and foam. They fit above the dashboard, on top of the doors and around behind the seats. These also needed to be stripped back.
It was time consuming getting all the old adhesive off. I ended up using the old wire wheel.
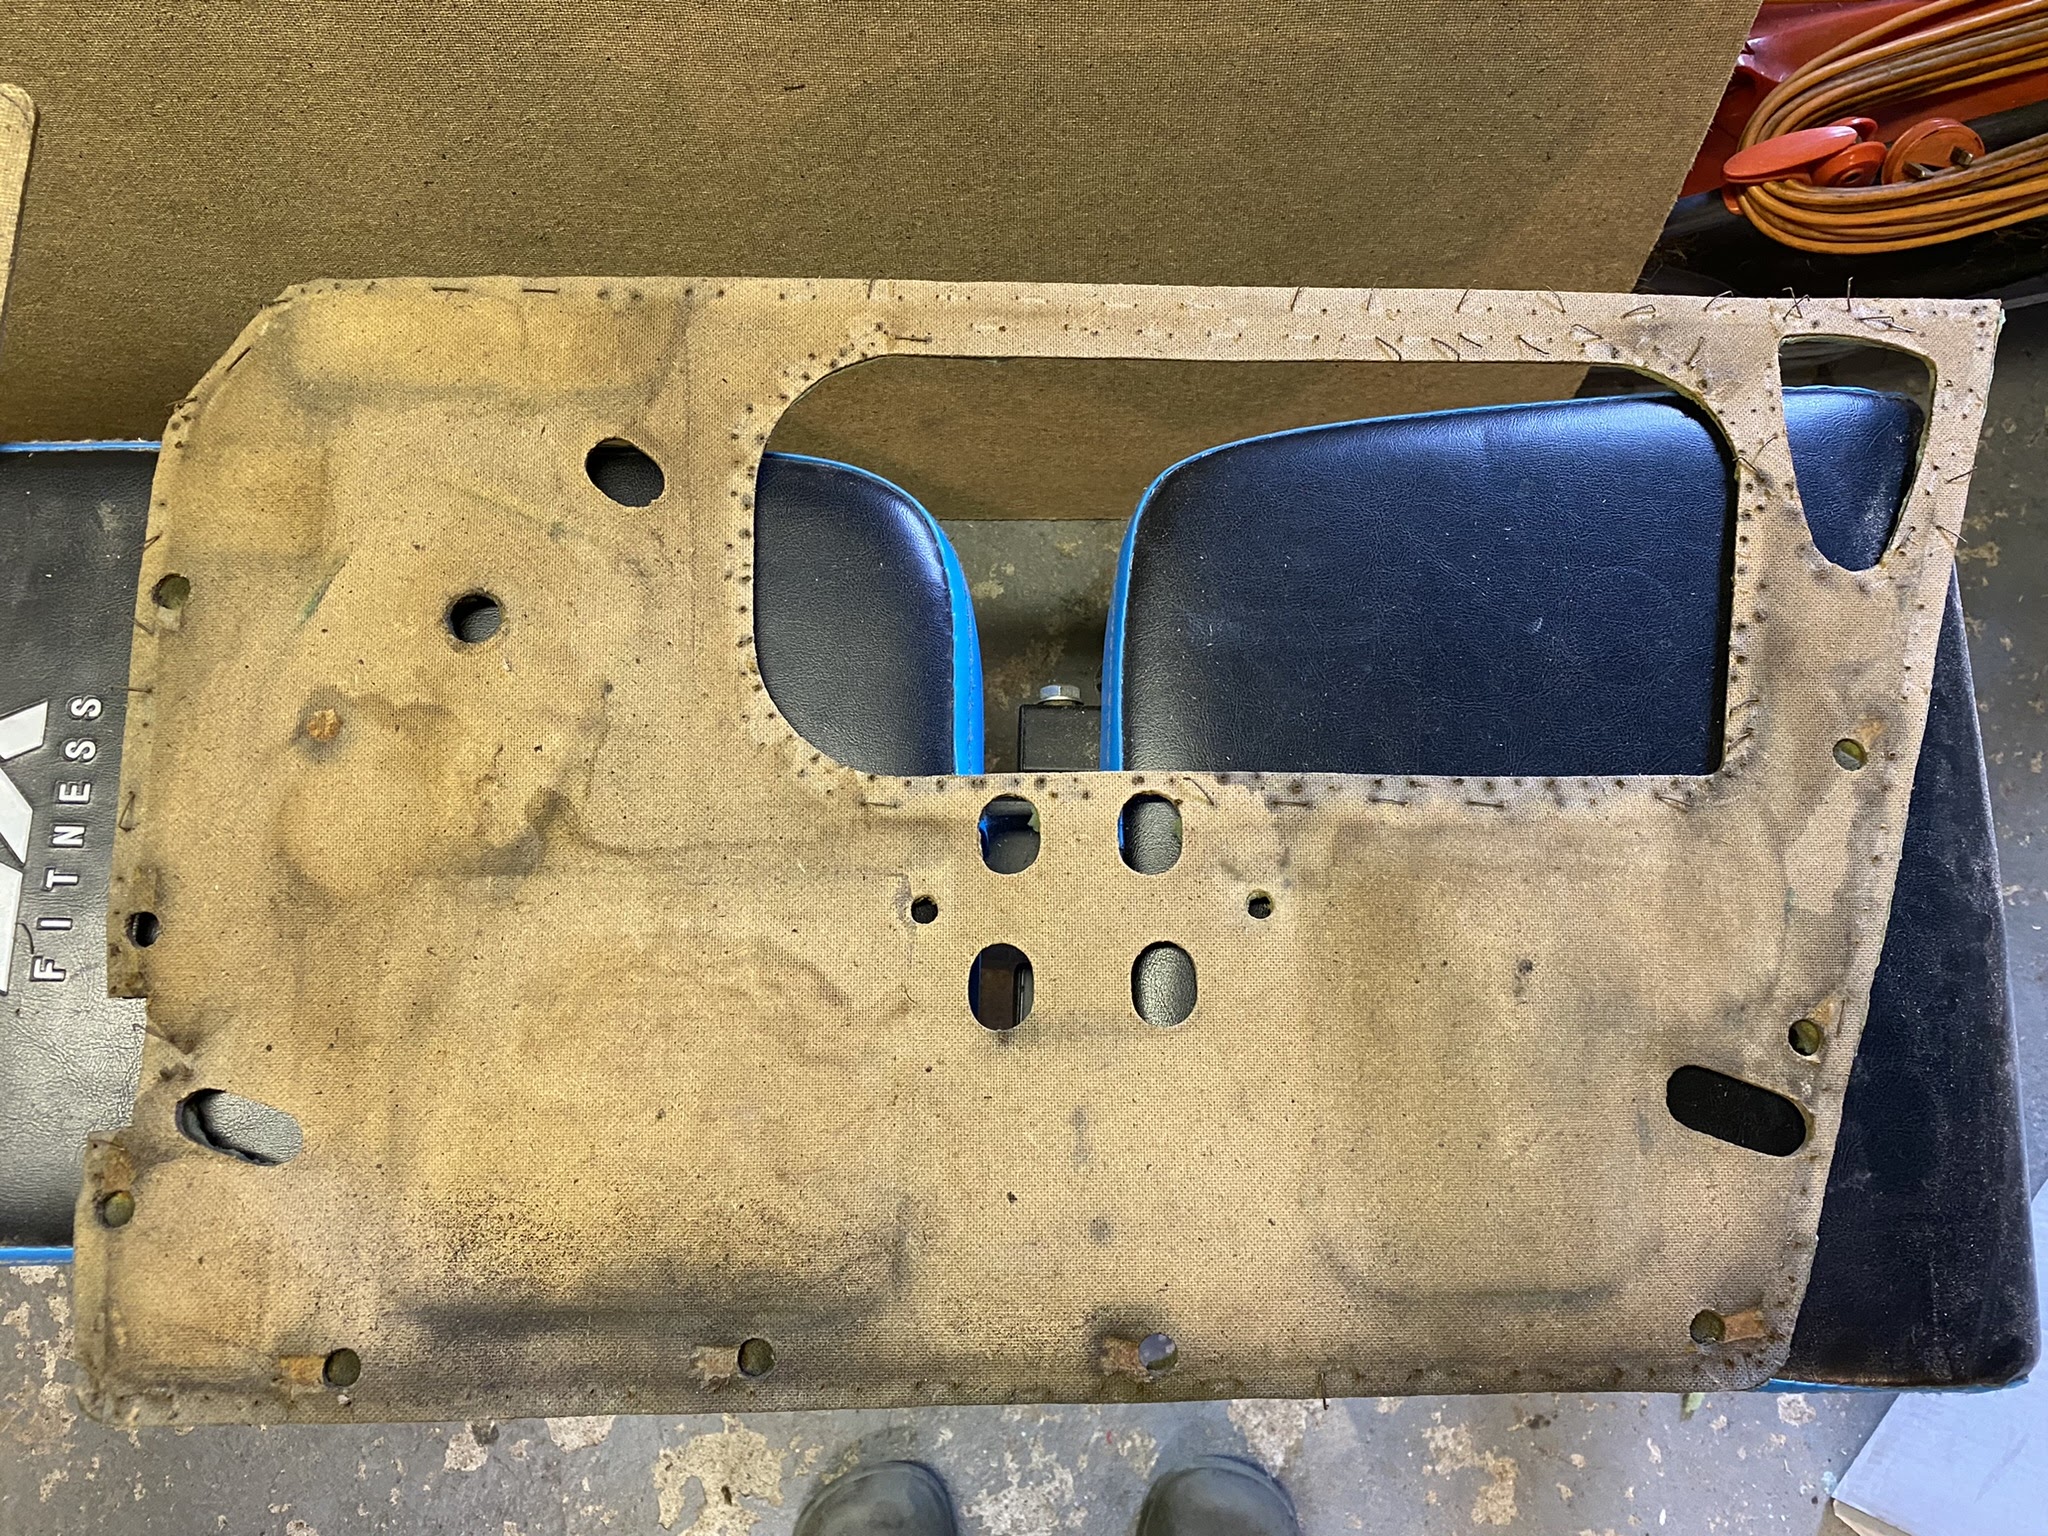
The main door cards were bent in places and needed replacing.
So I needed to strip them back. They were stained with damp and very fragile.
But once stripped I could use the old ones as a template for cutting out new ones from fibre board.
Took me a while to get the complete set all prepared and ready for retrimming.
I decide to outsource the retrimming of the seats to a local professional and so asked him if he would be happy to recover all the panels for me. He agreed and for a very good price. In a couple of weeks he called me up to tell me everything was done apart from the rail that runs behind the seats. He said he had trouble getting the vinyl to stretch around the corners.
I told him not to worry and drop everything off and we'd work it out together. I didn't take a photo of the rails when they came back, but it didn't look good. The rest of the panels were really good though and ready to fit straight away.
As you can see from the photos below the MK2's rear rail is not an easy shape to stretch vinyl around.
The angle is very tight and the vinyl needs to wrap round tight and it doesn't want to.
Even getting the foam to fit isn't easy.
I tried speaking to a few other trimmers in the area. They all said it would be difficult and some of the pricing quoted was making it not worth the effort. Some suggested just painting it.
After a few phone calls there was a suggestion that I should try to get 3 way stretch vinyl. However they don't make 3 way in the same type of vinyl my guy used on all the other panels and rails so it would look crap.
The vinyl that my guy did use did stretch but not in the right direction. By chance he left me quite a lot of the vinyl roll and I realised that I could cut a section of vinyl off the roll that went across from one corner to the other, rather than along the edge, the stretch would then be going in the right way to allow me to wrap it around the rail. Using a hair dryer to heat it up it eventually worked as you can see below.
There are a few small creases but it looks good enough and million times better than before.
These rails all bolt into place using the sliding bolts. (sorry poor pic)
The dash rail needs to go in before the dashboard is fitted.
But totally changes the look.
Fitting the door rails is a little harder because there's not a lot of room to tighten the nuts up on the slide bolts. I found this spanner in my toolbox. No idea how I got this but decided to put it to good use.
It was just the right size to fit the nuts and thin enough to allow me to tighten the nut with the limited space.
Next on the doors go the inner panels. Not really sure what function these provide other than aesthetics. 6 screws and they're in.
Next is the main door panel and as you can see it looks very nice.
I reused the clips that came off the old ones and they allow the panel to move whilst you align all of them before you can knock them in so that they clip on to the door.
Before you clip the door panel in you must fit the check strap. Slide the bracket into the gap.
Make sure the holes are not covered.
Work out the location for the holes.
I just used a drill.
Then fit the screw, bracket and retainer.
And bolt to the side panel.
Back to the door panels and make sure you don't push the clips all the way in until you've got them all lined up.
Just when you think you've got one in another one moves out.
So good to get that done. Just needs the chrome work to finish. Those two indentations on the top rail came out with the hair dryer and a little manipulation.
The old door release catch and lock needed a bit of a refurb before putting back.
Bit of fine wire wool cleaned it up and prepared the face well.
Then masked up in prep for paint.
Time to finish the doors! Looks great I think.
I used glue as well rather than just the back adhesive. Some fitted in very well but others needed a better fixing and I used modern alternative.
Which required increasing the size of the holes.
Generally they all went in very well and with the hair dryer again all the dents smoothed out nicely.
The only other panel was the larger rear section behind the seats.
But even that wasn't any trouble.So all done and now fit the seats!