Thursday 29 September 2022

Dynamo Refurb

There's plenty of debate about whether to sick with the original dynamos or switch to an alternator.

I can see real benefit of switching and at some point I might. But for me right now I just want to get the car start and drive around on a few short trips whilst I iron out all the issues that I sure will come my way.

Changing the car to a negative earth right now just isn't part of the plan.

That means I couldn't throw this in the bin just yet!


Need to clean this up before I can test if it was even working.


The way to test if this works is to bridge the two connectors on the end of the dynamo with a wire and then connect a volt meter to one of the terminals and the other to the dynamo body and spin it up.

I used my drill pushed into a socket to spin it up and after correctly choosing the right setting (long stupid story!) I got the reading that I was looking for, which was about 14 volts at full drill revolution. About 2000 rpm. 

However the internal parts needed some attention.


So I when about carefully cleaning what I could. The coils are covered in fabric and are really delicate so you must not damage them or the connecting wires which are very small.

Cleaning and painting the outside was much easier...


Until I got to this fan!


Took me ages to get in all the nooks and crannies.


Came up well though.


I decided to replace the brushes and quite cheap and easy to do.


Just gets a bit fiddly sliding the drive back while the brushes are under the tension of the spring.

I cleaned the surface rust off with very fine wet and dry paper and used my compressor to blow any dirty from areas I cannot see or get to. 


All came together well and another bench test proved all was working fine.

Wednesday 28 September 2022

Fuel System Fitting

With the fuel pump rebuilt and working and the engine in it was time to connect up the fuel system so I could get this MG Midget running again for the first time in decades.

Time to fit the fuel tank. Needed to paint it first. I was very lucky as this tank was brand new and given to me when I bought the car by the prior owner.

That meant it just needed a degrease and a coat of primer, followed by a couple of coats of black chassis paint.


But before I could fit the tank you have to fit the fuel gauge sender unit.


And that meant testing it. So I connected my meter up to it to see what readings it produced when I moved the float.

To my surprise and relief it worked! When full a high number...


And when empty a low number.


And somewhere in between!


I did take this apart and give it a good clean before this testing, but it all seemed in good condition.

Now ready to fit the fuel tank to the chassis.


You need to have the fuel pipe and wire to the fuel sender ready.


On the underside of the floor are six bolts welded in that match the holes on the tank.


Fit the wire, rubber mounts and foam seal around the filling hole.


I found it easier to fit the longer rubber mounts to the bolt in the floor.


Then using my trolley jack lifted the tank into position.


And tightened up the nuts.


Next was to fit the filling tube. I bought new rubber seals but the rest was original as was in such good condition.


The lockable fuel cap had a polish and came up very shiny!


Now it was time to fit the fuel pump and pipes. There are only two sections of copper pipe. One runs from next to the carbs, along the length of the chassis back to the fuel pump.

There is only really one tricky section that needs careful bending, which is at the cross-member.


Once at the back it takes a 90 degree upwards turn to meet the fuel pump. The other section of copper pipe loops over the rear axle.

Fitting the pump is a bit tricky if you don't have a ramp. Having to hold the pump whilst fitting the bolts and being upside down isn't ideal. 

You really want to have the nozzles on the fuel pump loose initially so you can move the fuel pipes into the best position possible.


Then you need to also connect the pump power supply, breather pipes that come out into the boot and make sure the copper pipes are all tidy and secure. 

Oh and connect the fuel pipe to the tank!


Right good to fit the carbs!

Fuel Pump Rebuild

I had no idea if the fuel pump worked or not so decided to take it apart and see what needed to be replaced.


C

Looks in a bad way initially.


The pipes have had it.


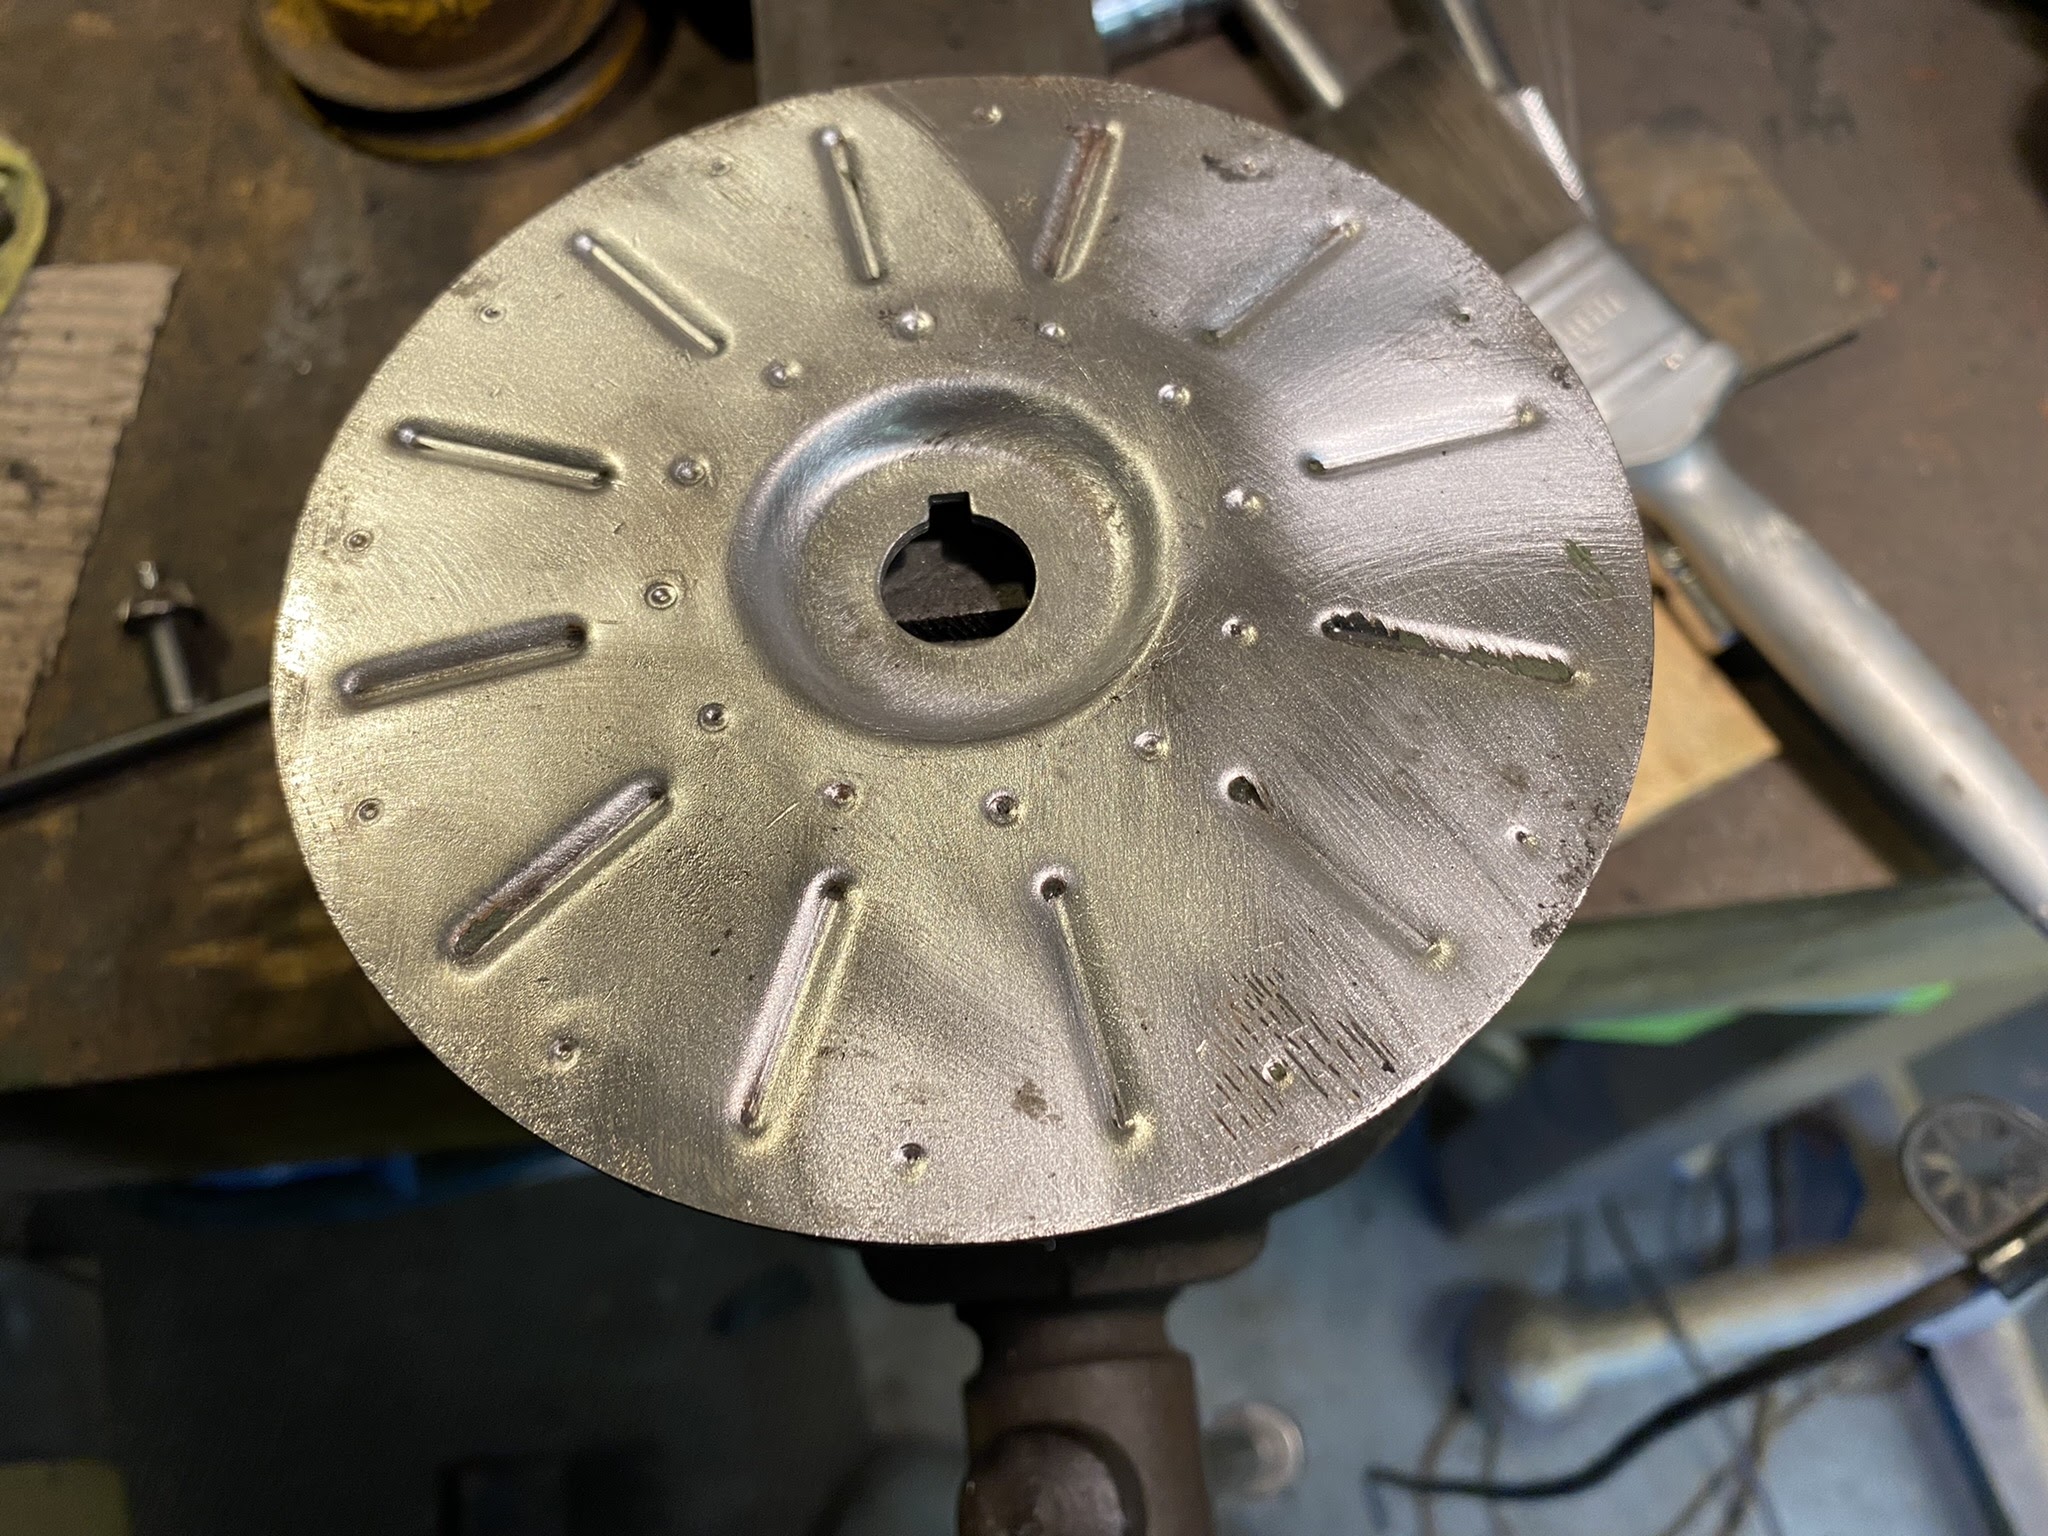
The bracket should easily clean up with my trusty wire wheel.


Need to remove the plate that hold the two banjo unions in place, as I believe they are called. I'd call them nozzles. One for inlet and one for outlet. 


I think they will clean up ok. Can see any signs of cracking.


I am aware that the rubber that surrounds the values get brittle and hard and can crack, so new values definitely required, even though when I tested the actual valves they seemed to work fine.


You have to undo the screws to get access to the diaphragm.


It is interesting to see the diaphragm as there is a plastic cover with SU stamped on it. In all the photo's I've seen for replacement diaphragms they don't have this plastic cover.
The gasket on the top cover needs replacing.


To be able to check the diaphragm you only need to unscrew it. The diaphragm is connected to the points mechanism.


This reveals the spring. The rubber on the diaphragm is in really good condition, so will give it a good clean and see how we get on.


Time to look at the electronics end. only the one screw holding this down.


Then remove the rubber washer off the thread.


and remove the nut.


This exposes the earth cable and live.


By removing the screw that holds down the live wire you can get to the points. 


There's a bit of wear on the points connections so I think I'll replace the points as well.


And that's it all dissembled. Now to order new parts and rebuild!


Apart from replacing the points I did nothing more two the bottom section of the fuel pump other than put it back together.

I wanted to make sure the edges were really clean before inserting the new values. There was lots of bit of old hard rubber that could result in a leak. 


Once I was happy I fitted both the value and rubber seal. Obviously you need to make sure you have these the right way round as each value only works one way.


The inlet valve does have a gauze filter to stop any rubbish getting into the fuel pump or carbs. 


Requires another rubber seal.


You need to make sure these nozzles sit correctly whilst screwing on the retaining plate.


Next is the most complicated part, which is setting the diaphragm correctly.

It is easy to screw this back into the points but there is a guide which you need to follow.


With the cover off so you can see the points and the diaphragm screwed in you should be able to push the diaphragm into the housing and the points will move up and down. 

When you push it should drop and hit the housing.


And return when you let go. This is what the magnetic coil will do when working properly.


You start by screwing in the diaphragm until the points stop flipping over. Then you need to unscrew the diaphragm up to the moment that the points start to flip over and start working each and every time. You should then unscrew the diaphragm to the left the nearest hole that where it successfully flips over.

When you get to this point you need to undo the diaphragm by a further 4 holes. 


And that should be it for the set up. 

However here's a video that I found very helpful: SU Fuel Pump Rebuild

Now that the diaphragm is all set correctly, you can fit the gasket and bolt the 6 screws back on to bring it all together.


I spray painted the housing with black chassis paint and pushed on the seal.


Then you slide on the rubber bracket support and fit the earth wire.


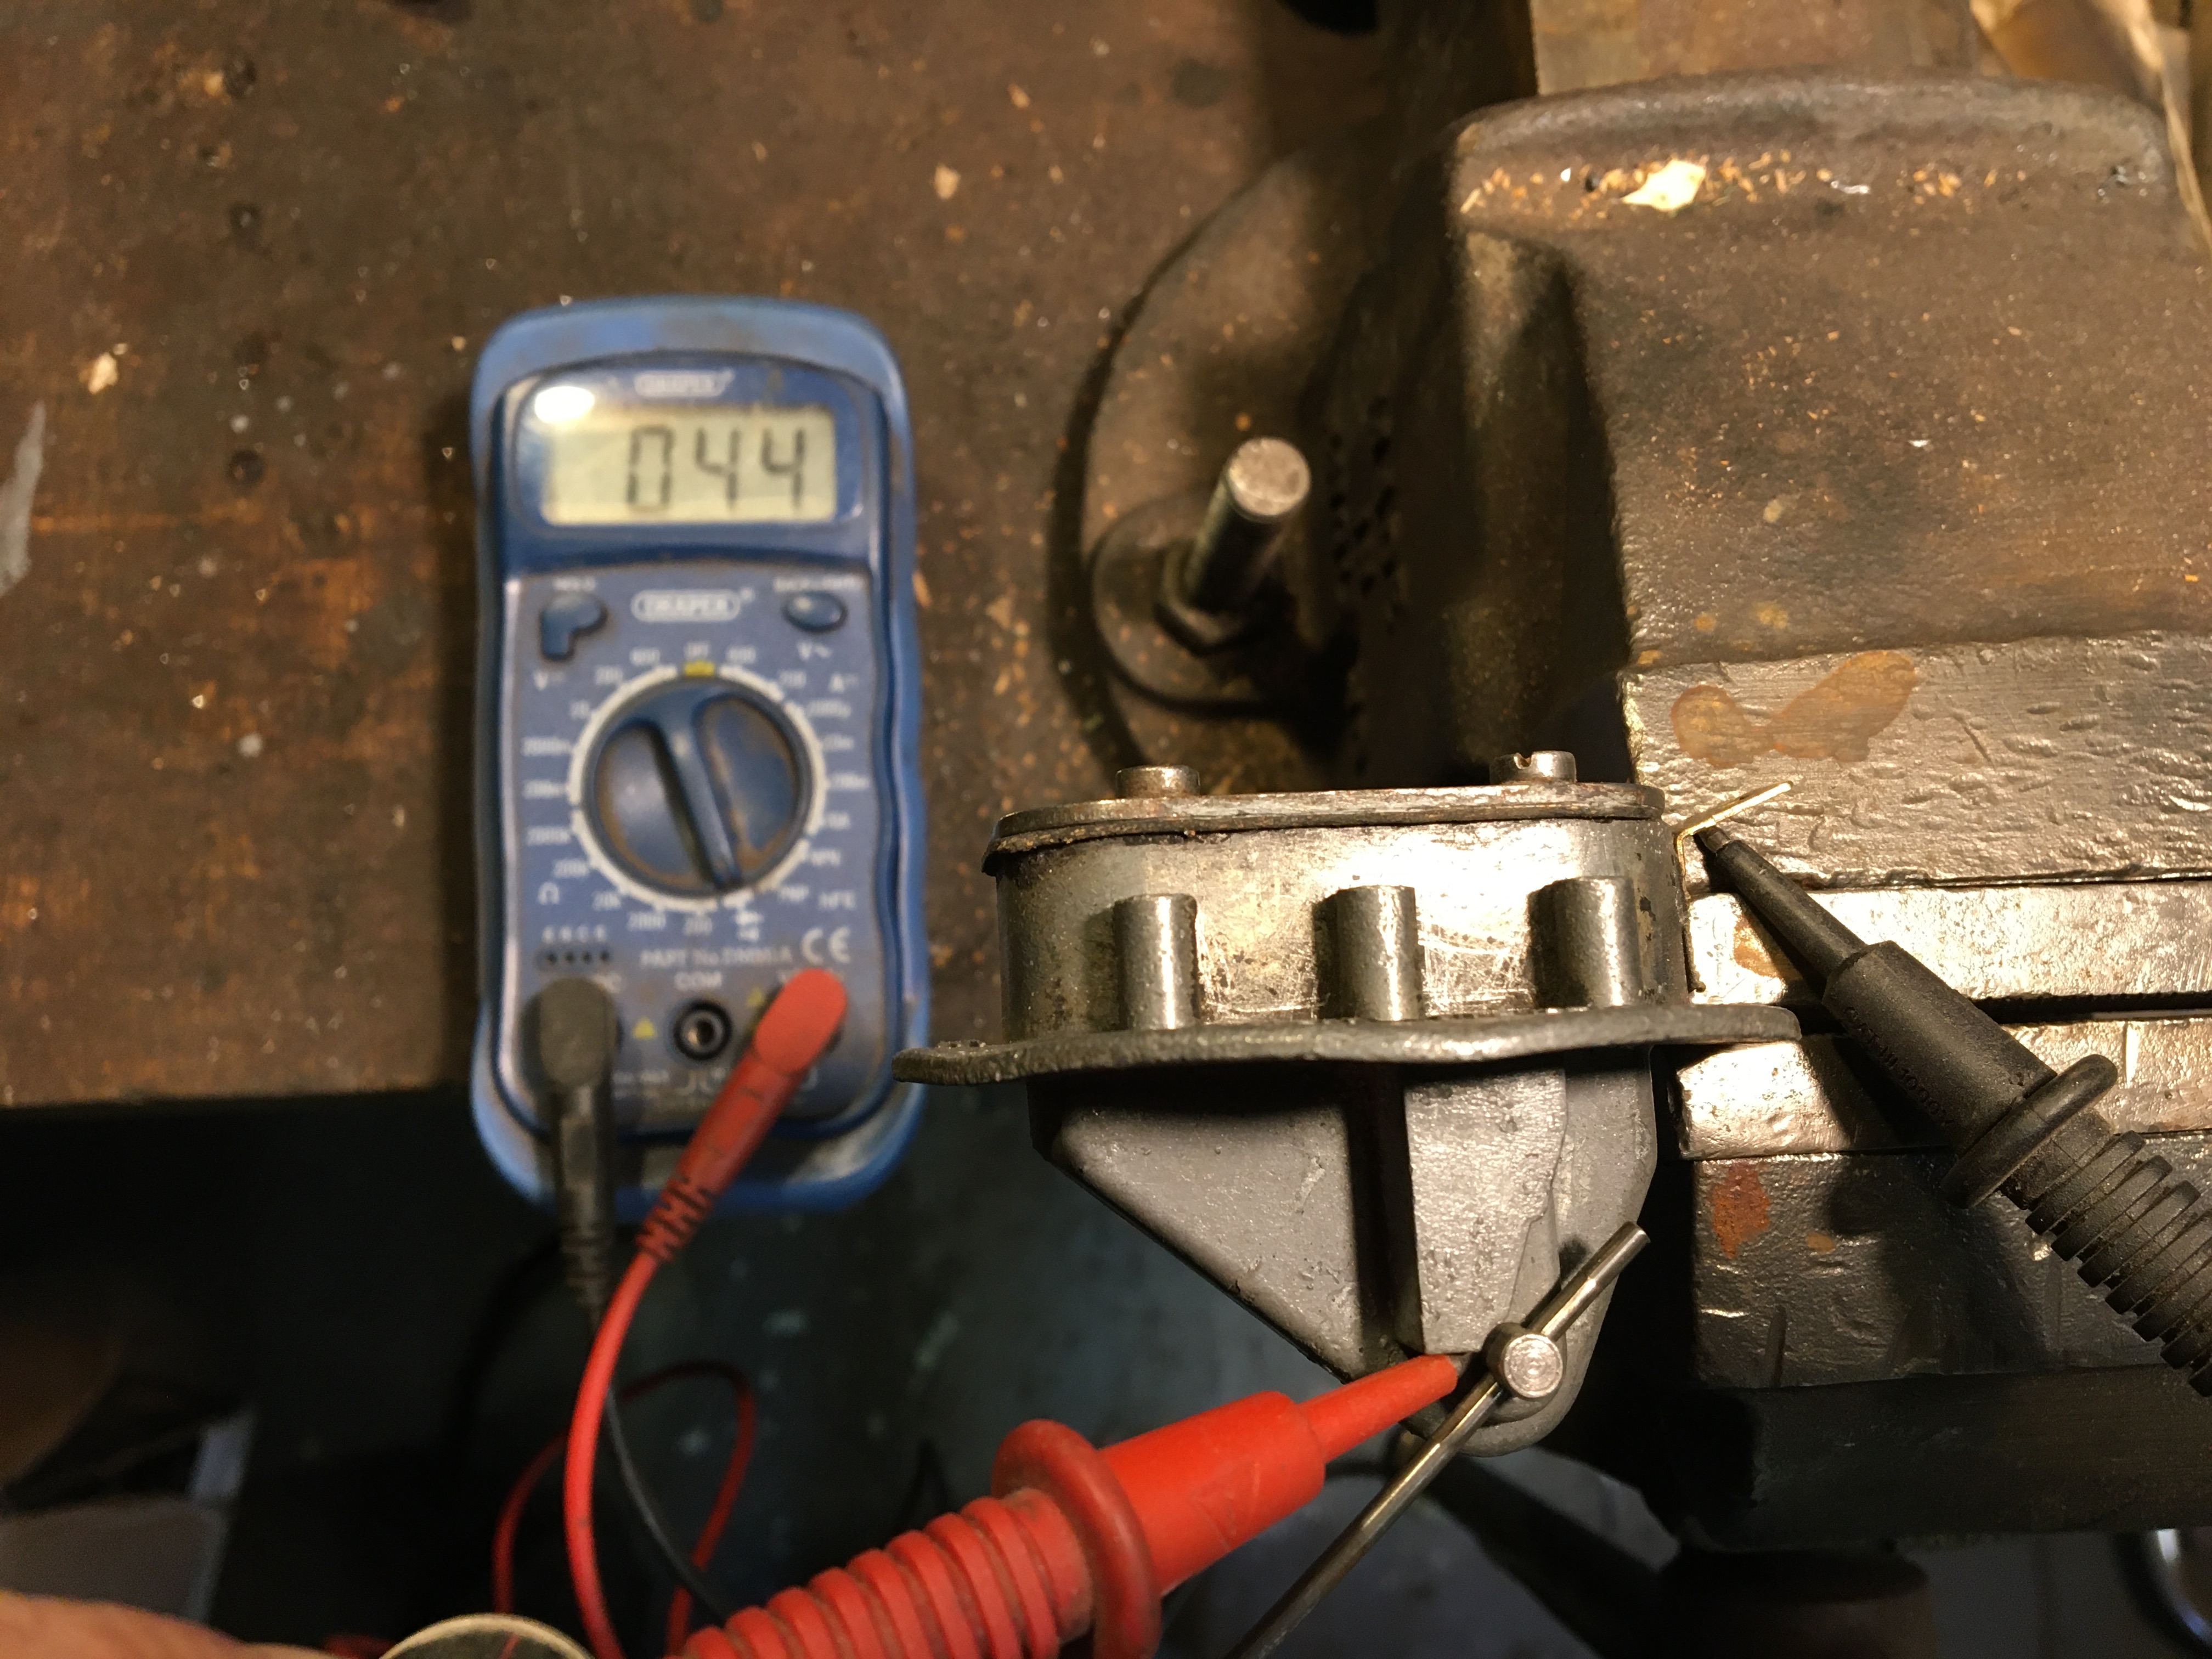
It was at this point that I wanted to test the pump to see if it worked. It is really easy to do if you have a battery or battery charger. You connect the red positive clip to the earth cable and the black negative clip to the live connector on the bottom of the pump and turn on the power!


This is what happened. (Turn on your sound)


Success!! This is what a fuel pump should sound like when there is no fuel to pump. It continuously pumps and makes way more noise then when it is pumping fuel.

Also there was plenty of air being pumped in and out of the nozzles so I was confident it would work with the fuel.

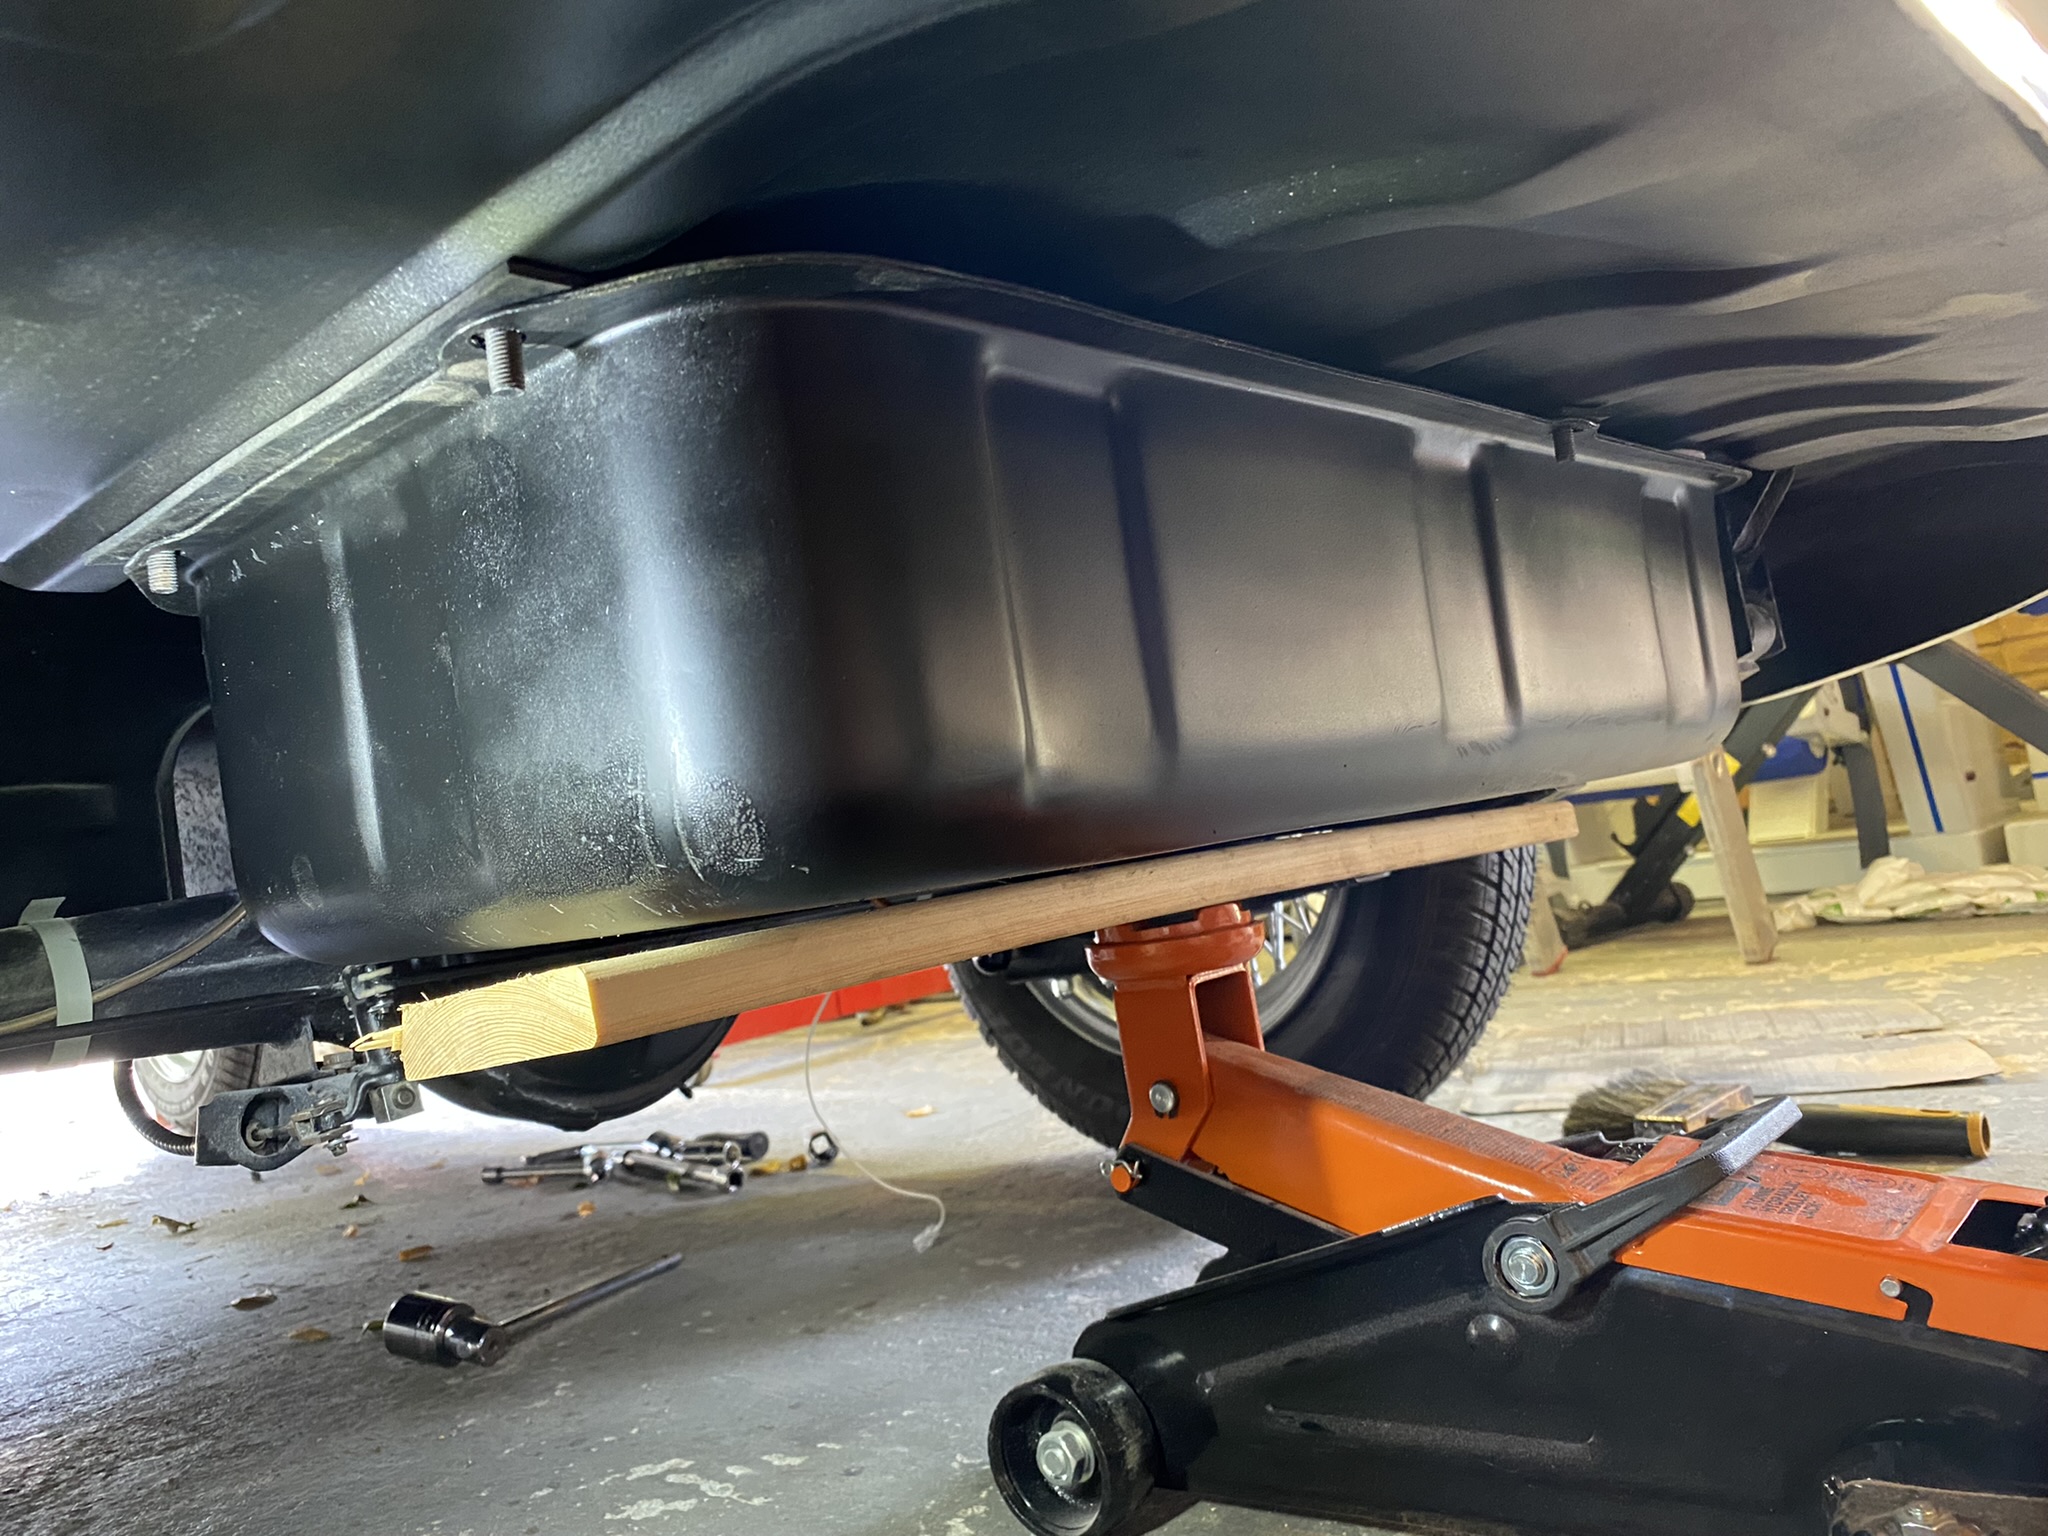
Next up you have to prepare the pump to be fitted to the chassis and that means making sure the outlet half of the whole pump is at the top regardless of where the nozzle ends up pointing.


Once you've got that then you can fit the pump to the bracket ready for fitting.


I've covered fitting the fuel pump in this post: Fuel System Fitting