Monday 9 January 2023

Brake lines and bleeding

 I had to replace all the brake lines on the car. All of them where to badly damaged. 

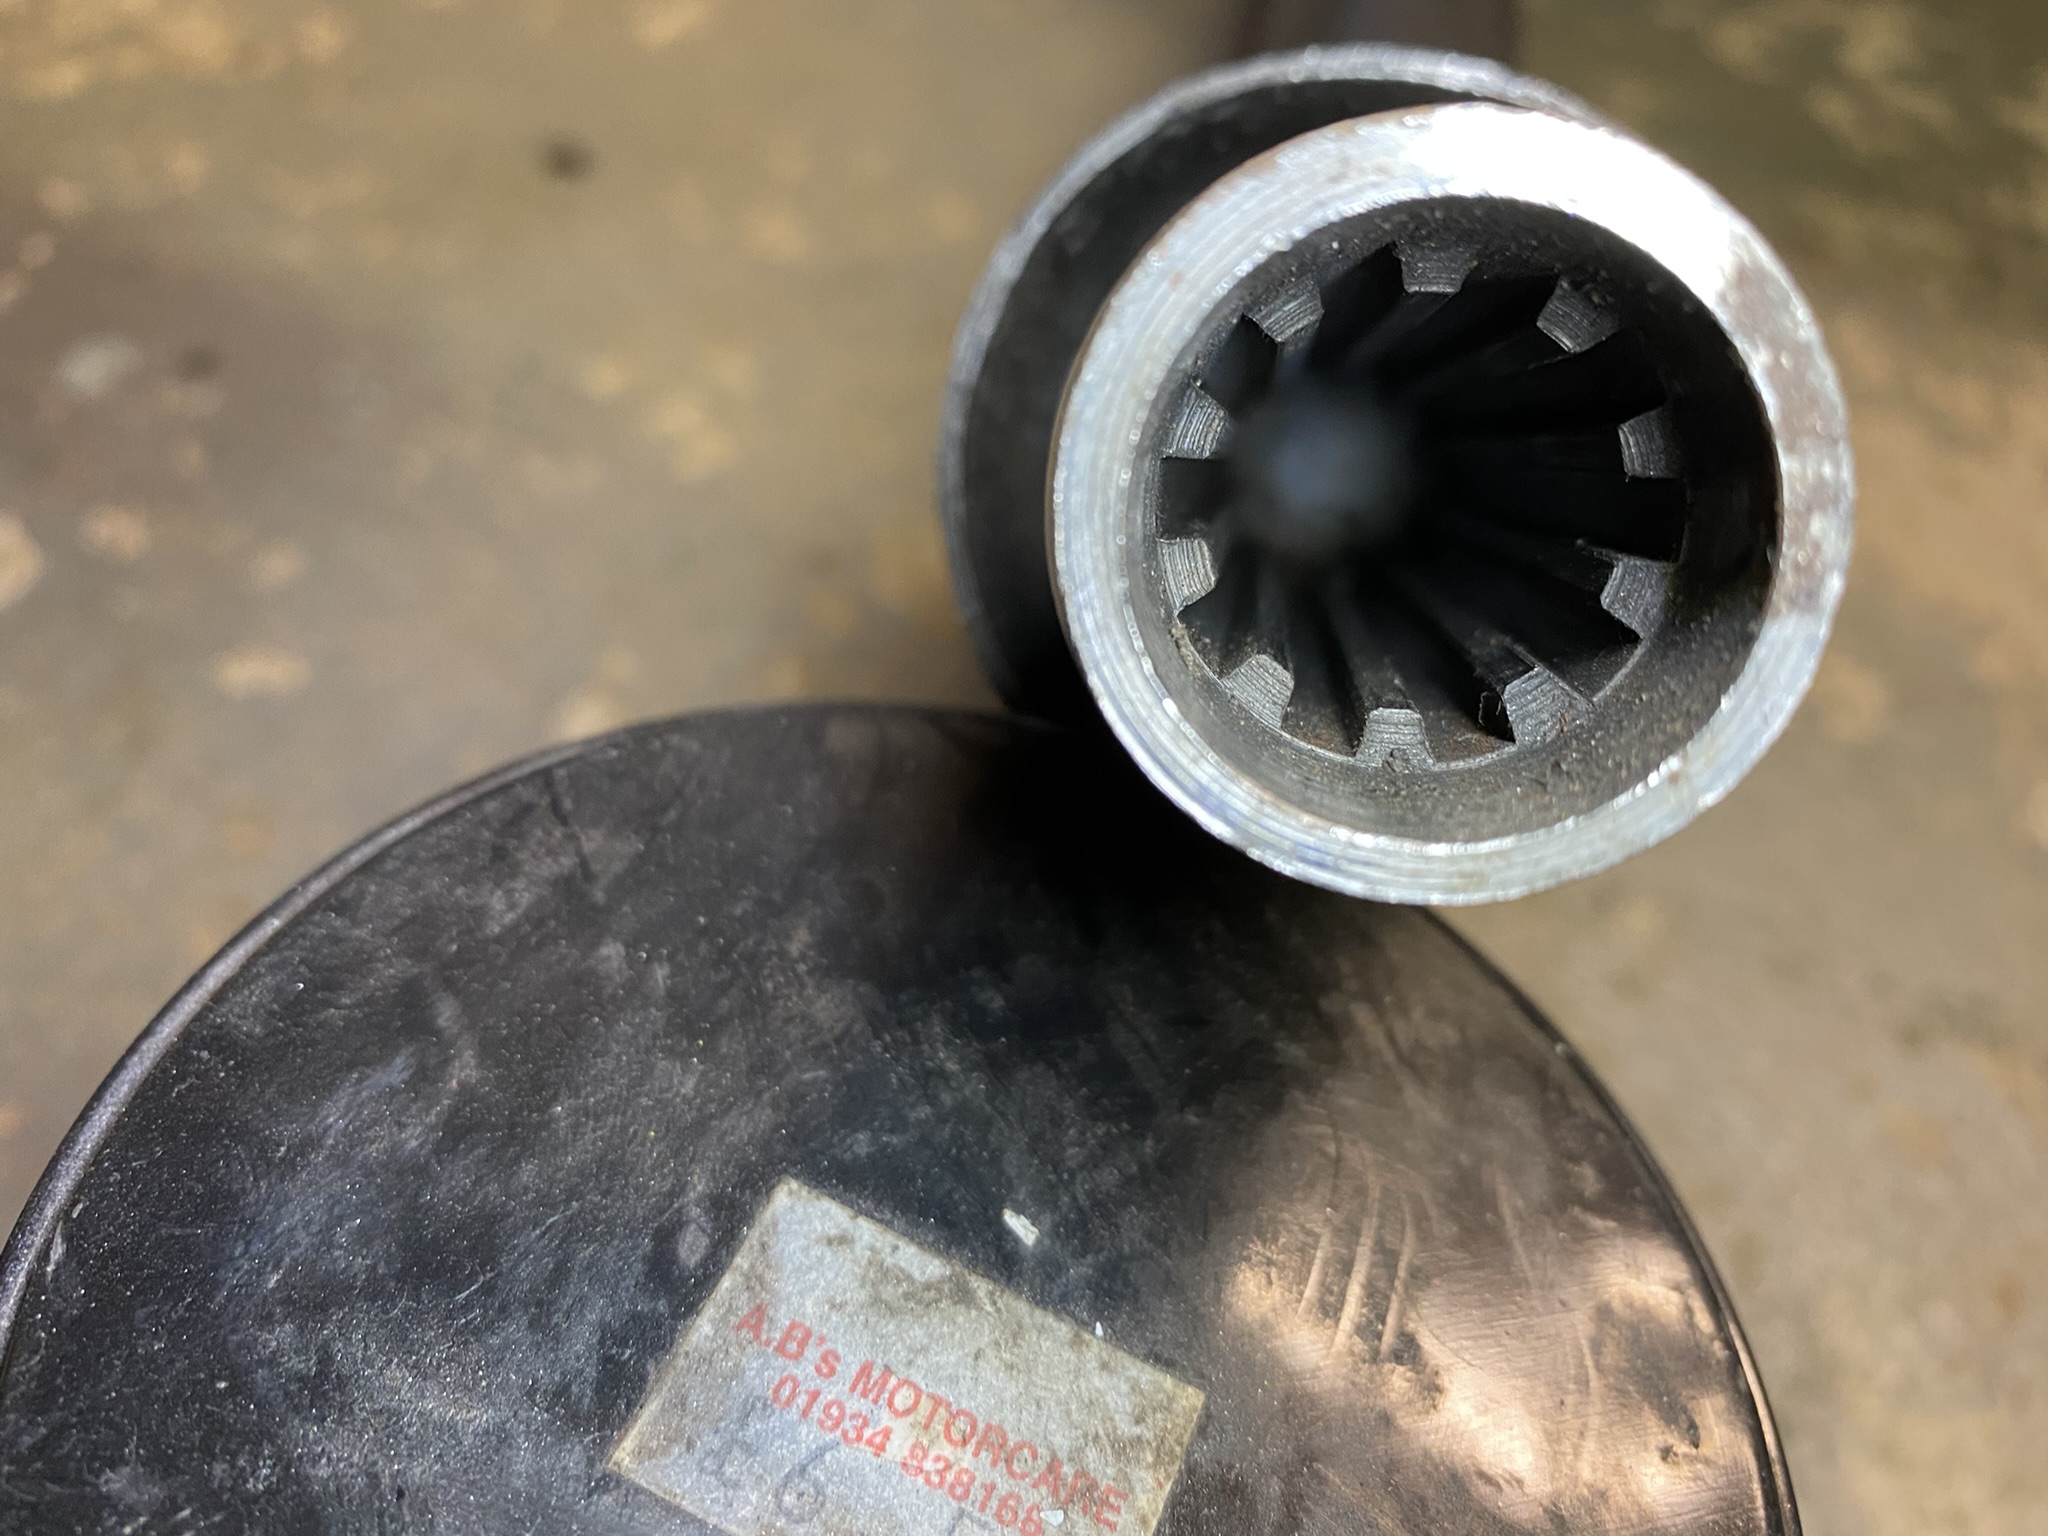
The new copper lines arrive coiled up and you have to unroll them to something more or less straight if you can. 

You'll also need a pipe bending tool as whilst the copper pipe is easily moveable in your handles, it could buckle and pinch the line which would restrict the flow of brake fluid and the performance of your stopping ability, which isn't recommended.

You will be connecting up the master cylinder.


To the brake light sensor


And then the front and rear flexible brake pipes.


First tip is to make absolutely sure you have the correct pipe for each section. you don't want to be coming up short or having excess. The copper pipes I ordered where the perfect length. I know some like to make up their own pipes.  

I started with the pipe that ran from the brake sensor to the front right. I thought that for a first time at bending this was the simplest to try first.

I found that by offering up the pipe into the rough position and making small bends and adjustments in my hands, worked fine. I then used the bending tool to make the more angled bends. Didn't take that long to have it in position and bolted in place. 


The next pipe was from the master cylinder to the brake sensor. The hardest bit was making the bend where the tightening screw goes into the master cylinder and getting the angle right so you can tighten it up. Access isn't easy on these early models.


The next pipe to fit was from the brake sensor to the front left brake. This was a lot harder due to all the angles and changes in height. I spent so long trying to get it right I forgot to take some photo's of the path I took. But you can see it in the photo below.


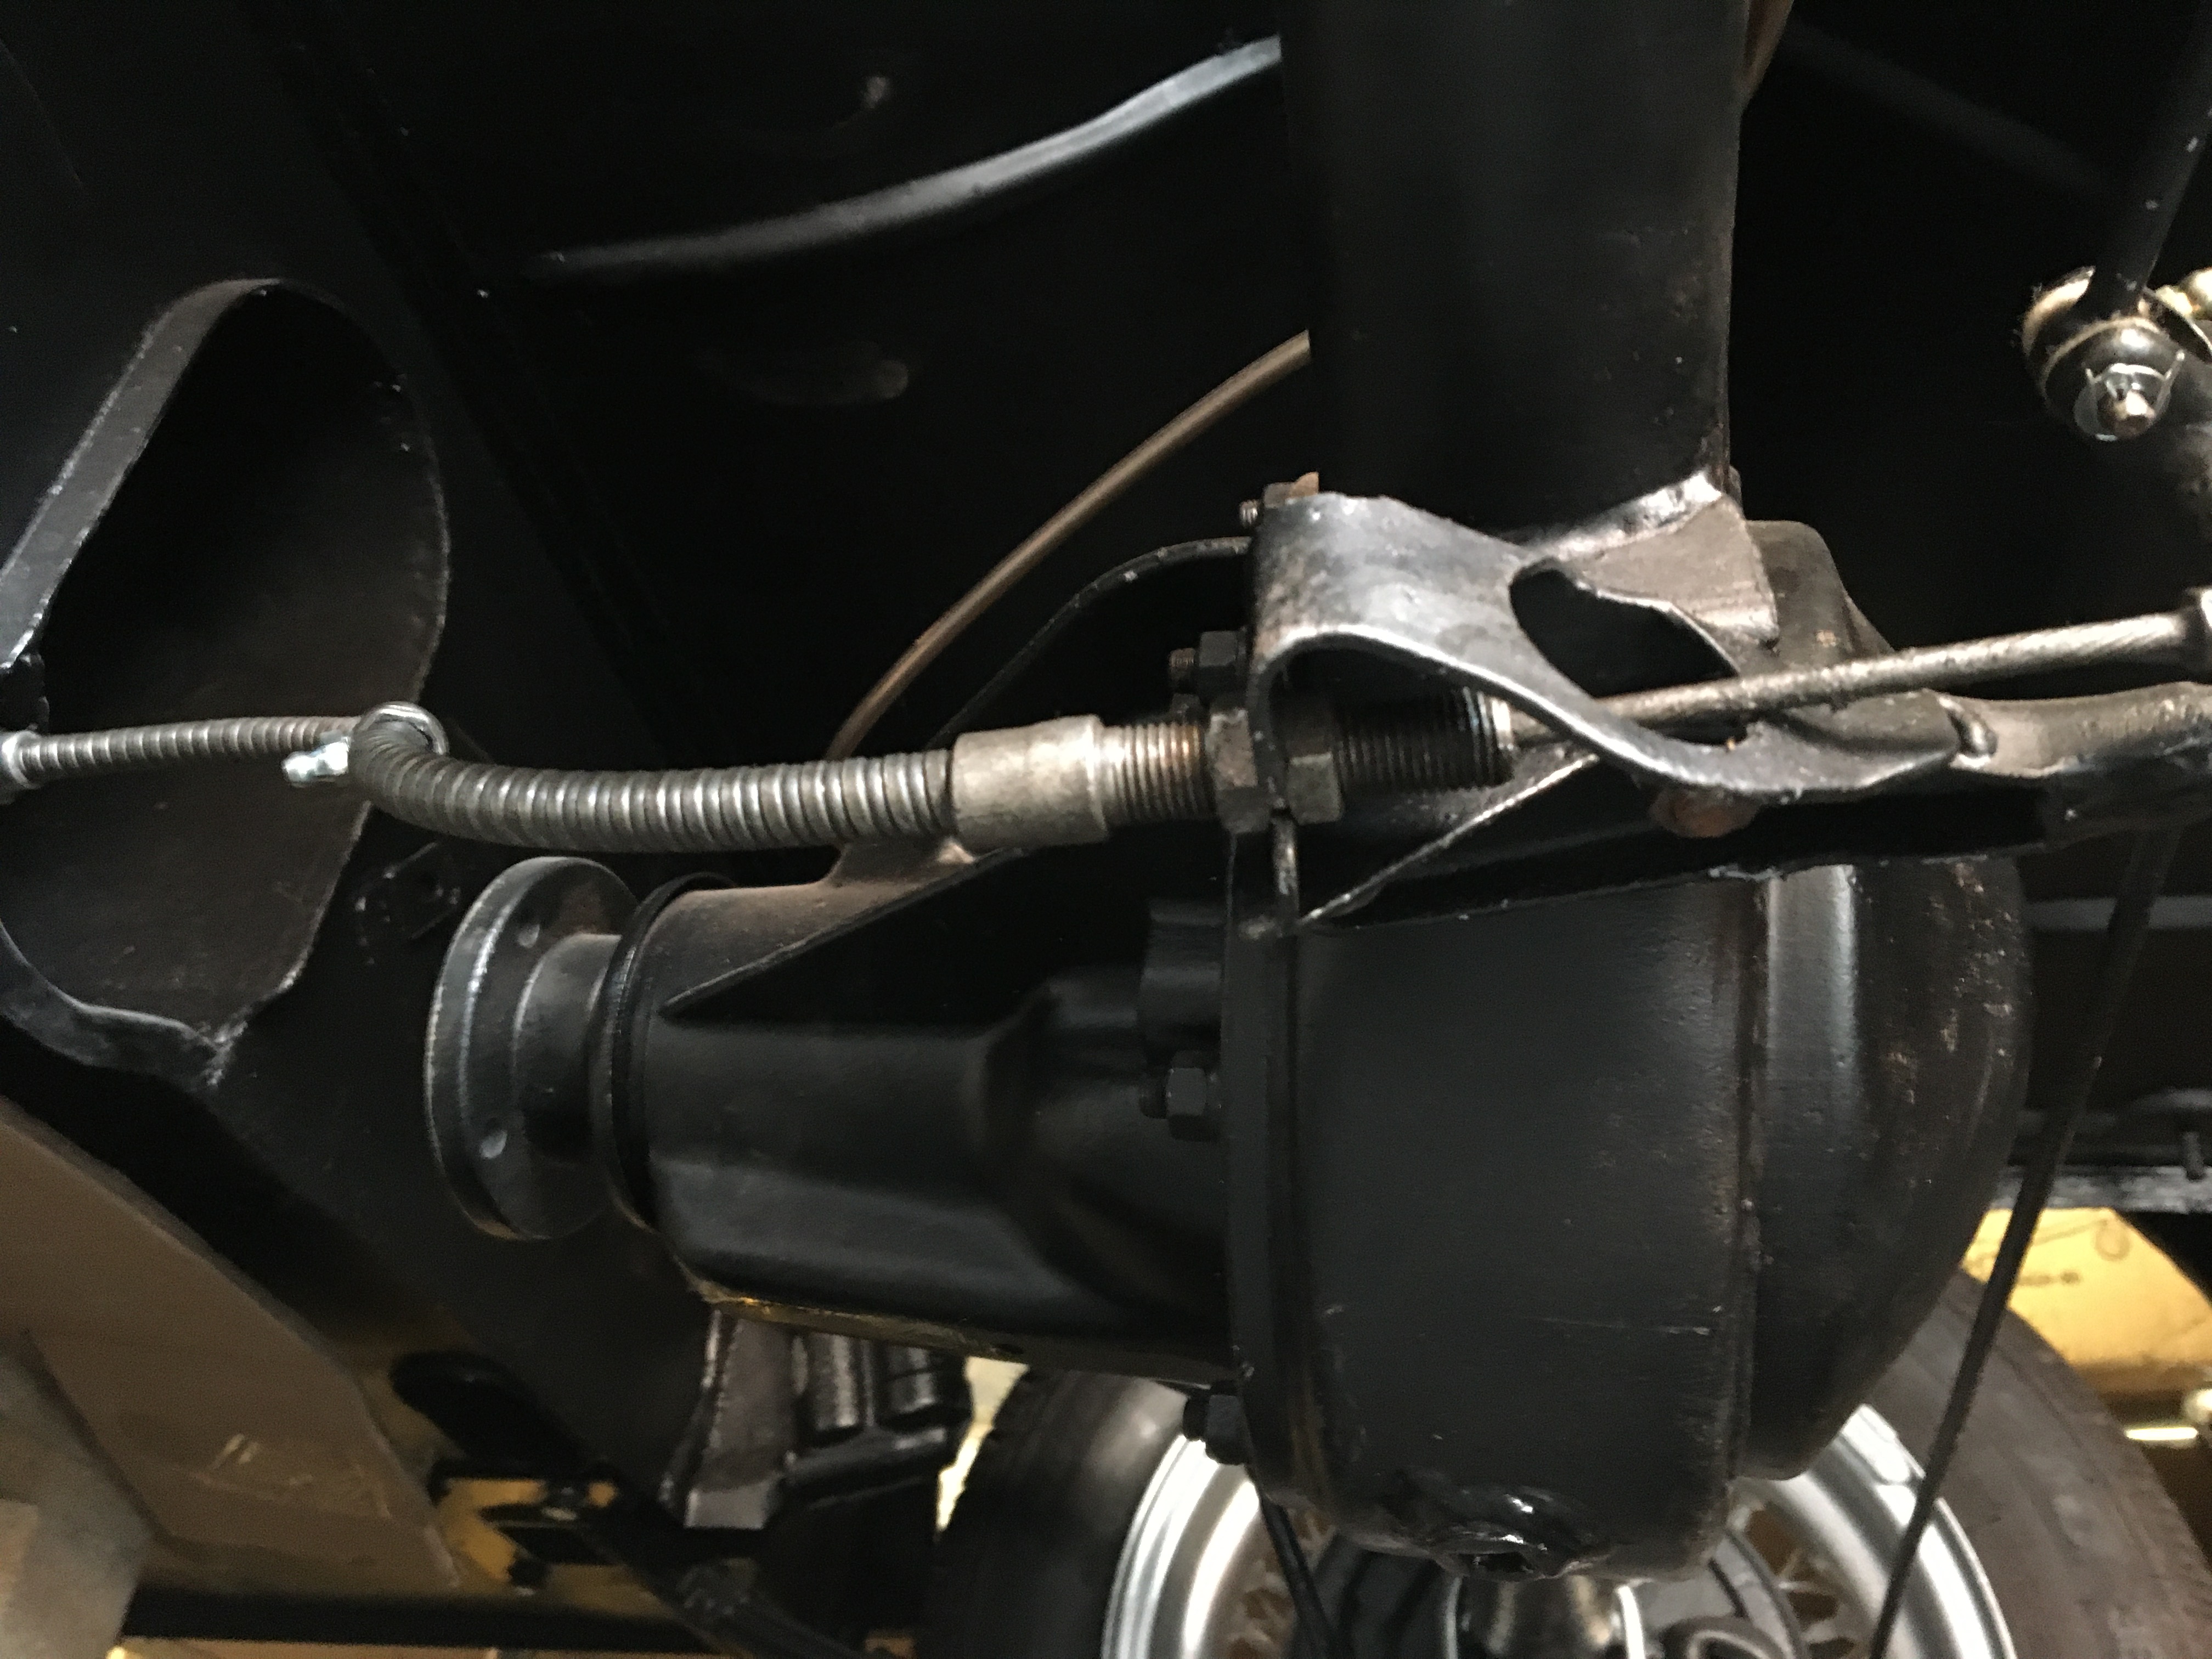
You can see the route for the final pipe to connect the system to the rear brakes in the photo below.


It then runs down along the transmission tunnel held into place with two 'P' clips.


You can then connect the flexible pipe to the 'T' junction...


... and the bracket on the rear bulkhead.


Now ready to bleed the brakes! Well in my case after I've fitted the clutch pipe from the master cylinder, which is a right pain due to the lack of space around the clutch cylinder. 


The rules of bleeding the brakes are to fill the master brake cylinder with fluid, ensuring you don't spill any on anything. Have a bottle of water handy in case you spill any, as that's the best to wash it away. Just don't get any water in the brake system if you do spill it!

Starting with the bleed nipple farthest from the master cylinder, which for me is the left rear and then work your way around the brakes to finish on the shortest length, which is my front right.

Basically you have to remove all the air from the pipes and you do that by unscrewing each bleed nipple in turn letting gravity push the fluid down the pipe into the braking system. 

Now there are plenty of videos offering tips on how to bleed brakes the best. You can buy easy bleed systems as well. 


Some suggest needing two people. One operating the brake peddle whilst the other opens and closes the nipple in time with the depression and release of the brake peddle.

Regardless of which method you choose, the main thing is to remove all the air bubbles.

The brake peddle should feel firm and not spongy.

Good luck!

Fitting the Driveshaft

Once the engine and gearbox is in place it is time to fit the driveshaft.

If you have the equipment or know someone who has you can check if your driveshaft is balanced correctly. This will reduce vibrations and increased wear on the universal joints.


There are four other parts to check before refitting the driveshaft and they are the two universal joints which must have no unwanted movement at all. If you hold the main shaft in one hand and either end in the other shouldn't feel anything other then the direction you are moving. Try twisting it backwards and forwards and around to see if there is any play. 

Fortunately mine seem good for now.

The next thing is the teeth the slide onto the main shaft of the gearbox. There should be no wear on this at all. 


A small amount of grease is recommended before attempting to fit, as there no option in the transmission tunnel.


Then you should check the face of the axle end to ensure it is clean and smooth.


If your fuel tank is in position the best way to move the driveshaft into position is to slide it down the left hand side of the tank and over the axle.


You will then find that it is challenging to slide the driveshaft down the tunnel and on to the gearbox. The reason being is that because of the universal joint the end of the driveshaft points downwards and it needs to be level.

Some lucky people will have access holes cut into the underside of their chassis. The only one I had was the handbrake mounting point. Which meant I had to use a length of wood to lift the end of the driveshaft whilst pushing it on to the gearbox. All the time not really being able to see what I was doing. It took a while!


With the driveshaft finally attached to the gearbox I could then tighten the bolts to link the driveshaft to the axle.


Once that was all done I suddenly realised the car could technically move by itself. Once I had got the engine running that is!

Handbrake Fitting

In previous posts I have covered off the brake components of the MG Midget. Front and rear brakes and the handbrake mechanism that attaches to the rear axle. 

In this section I'll cover the handbrake itself 

The main cable connects to the rear brake rods simply with a clevis pin, washer and split pin.


You then tighten the two adjusting nuts to lock the cable in place below. You'll probably be seeing this part of the car a few more times when it comes to adjusting the handbrake!


To adjust you loosening both nuts rotate them anti clockwise which moves the cable sheath towards the driveshaft tunnel, so tightening the handbrake. Then when you think you have it correct you tighten up the other nut and lock it into place.

The cable is then attached to the chassis at the entrance to the driveshaft tunnel. These also need to be tight. It is really hard to get a spanner on the inner nut.


The handbrake lever itself is straight forward.


Slot in the clevis pin, washer and split pin


Then bolt into place.


The handbrake should now operate the rear brake drums. If you apply the handbrake and you can still move the car, you'll need to adjust it.

This can be done in two places. The first is as I have described above, by loosening the two nuts as shown below and turning the nuts anti-clockwise and then tightening them back up again.


The other way is by turning the brake shoe adjuster clockwise, which is found on the back of the rear brake drum. Turning this will force the brake shoes out on to the drum. It is normal for the brake shoes to rub a little.


You are aiming for the handbrake to only move by 3 to 4 clicks. Anything more than this and you might want to adjust it some more.

The other thing to do is grease the cable using the nipple half way down the out sheath of the cable near where the driveshaft bolts to the axle.