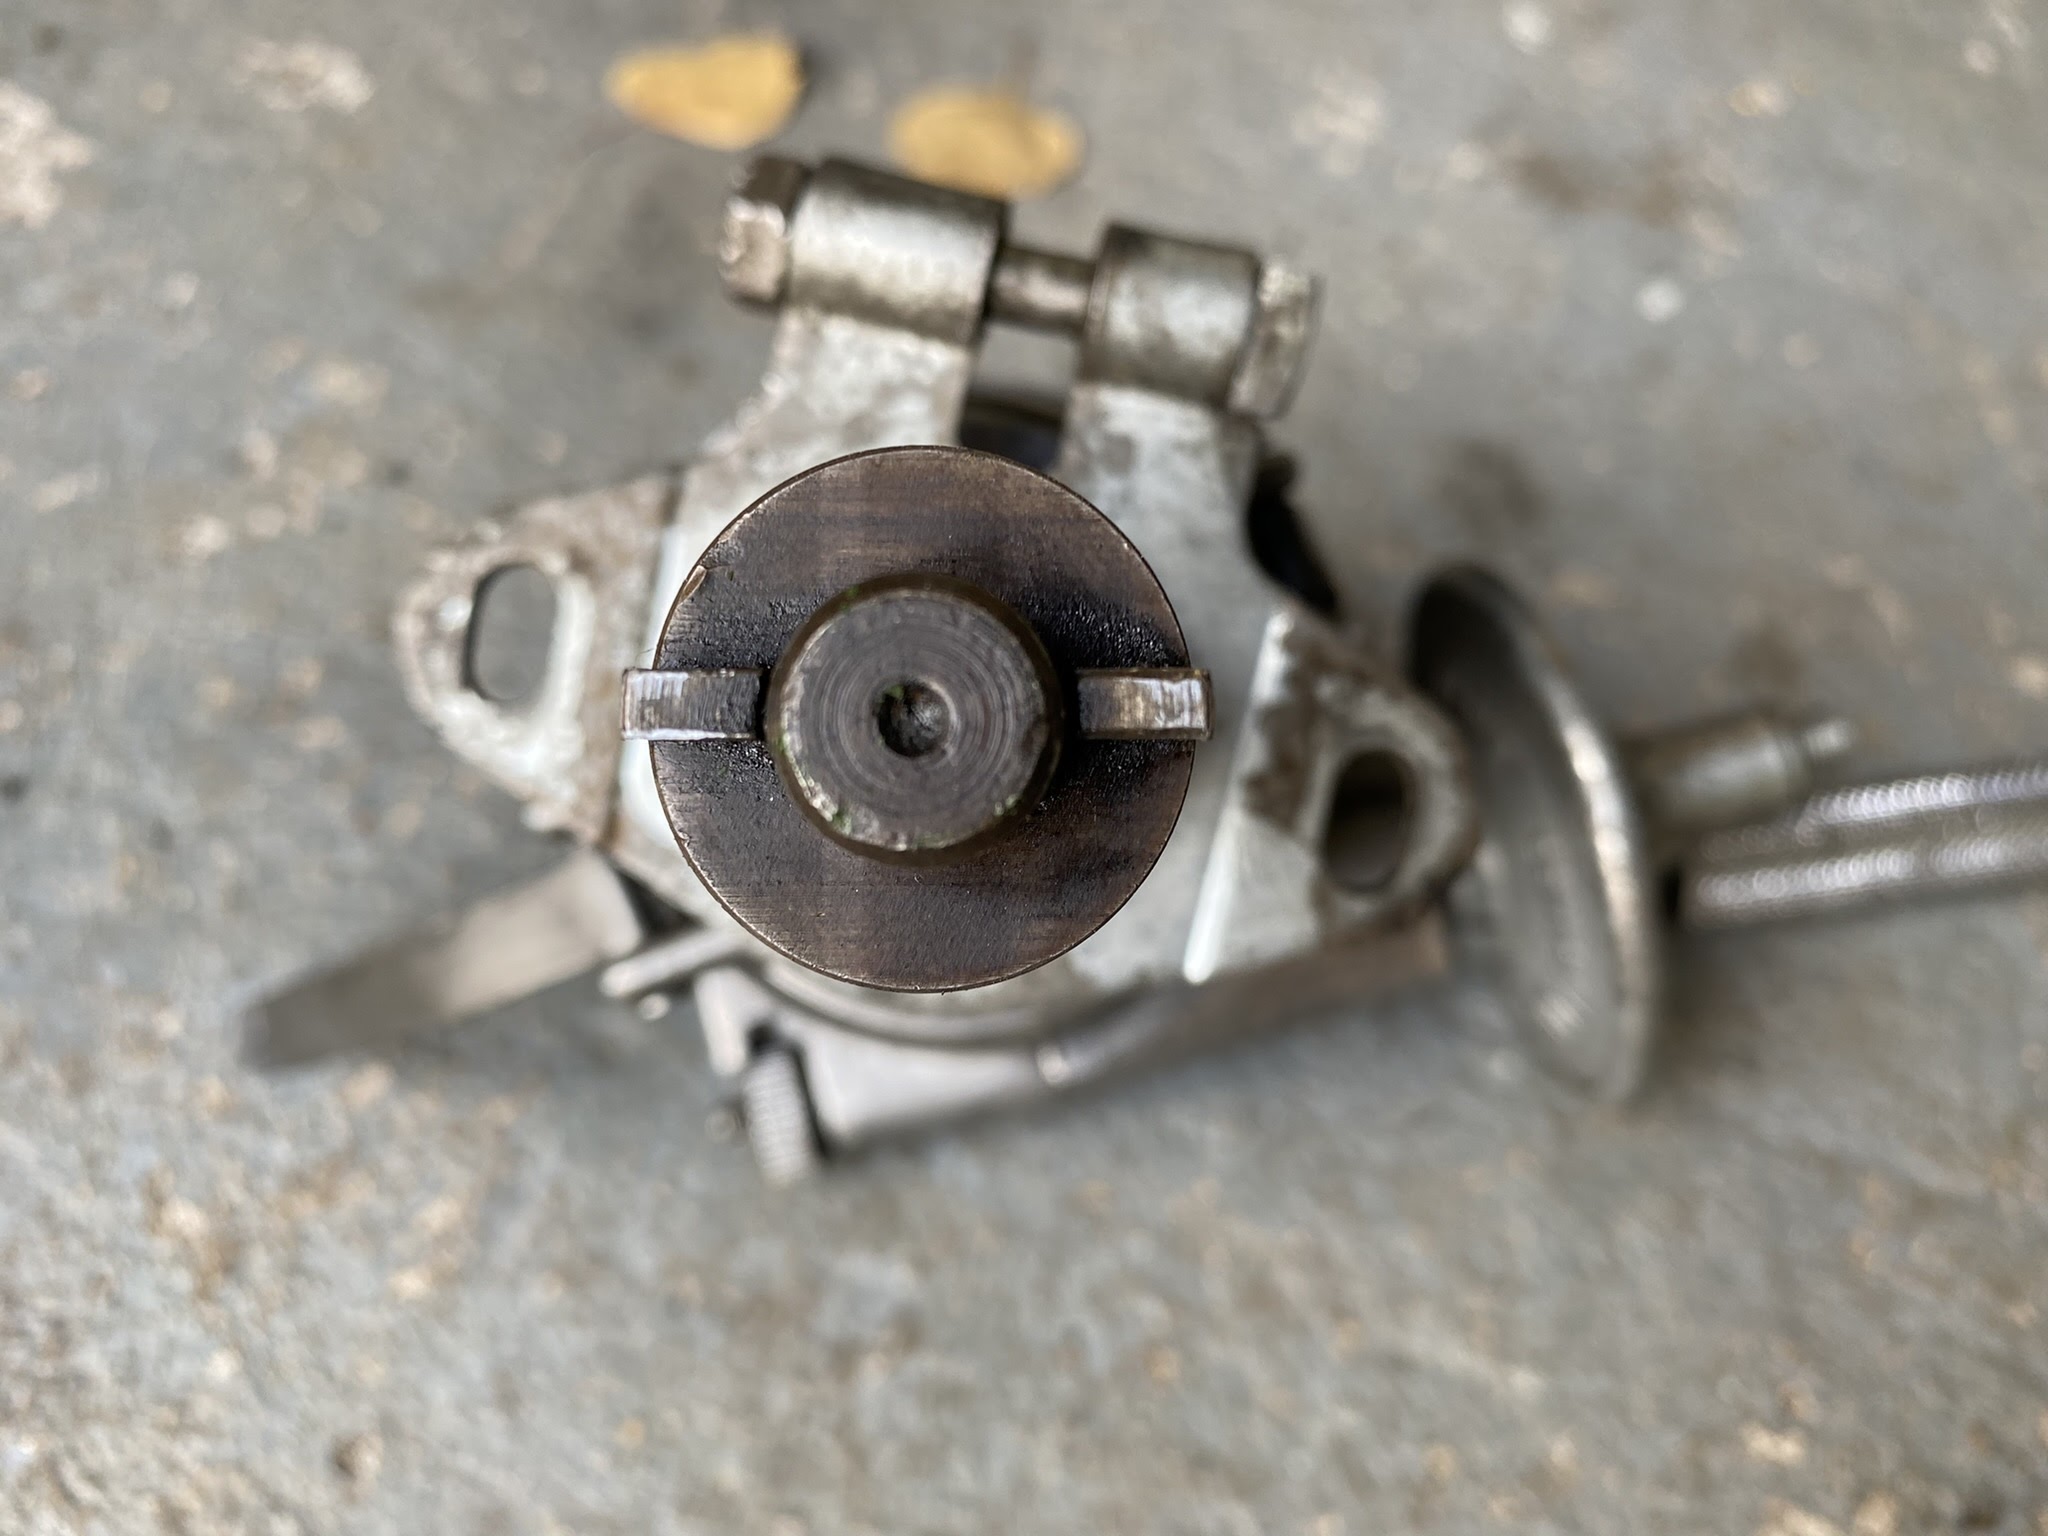
This is the only photo I have of the distributor before I took it all apart and cleaned it. All I can say was that is was covered in grease and oil.

Slightly annoyed I didn't take photos. However the lower half of the dizzy is very mechanical and there is only really one way it can be reassembled, which left the top half.
I decided not to mess around and bought new points and condenser.

I found a video online that explained how to test the condenser, there are several. It is all about the resistance test and my old one wasn't reading correctly, so removed it. along with the old points.


Now when fitting the points it is very important that you ensure when the red arm of the points is against the highest point on the rotor cam lobes the points are open. How much depends on you decide when it comes to tuning your car. Somewhere between 0.014in and 0.016in is typical for engines up to the 1500. The 1500 needs a bigger gap I believe. You'll need to adjust the points with a feeler gauge. It is best practice to adjust this when fitted to the car.

Fitted the new condenser and connected up the black lead that connects the wiring from the coil.


You should now be able to fit the distributor to the engine. It is though very important you set this up correctly.
First turn the engine over with a spanner off the pulley until the engine is in top dead centre TDC on the first cylinder at the front of the engine.

If you have set this correctly you should find the spindle that links the distributor to the camshaft is in this position.

Be aware that the slot pointing to 2 o'clock is slightly larger than the slot pointing to 8 o'clock. This is because this matches the rotor arm on the distributor.

As you can see here.
You can now push the distributor down into the shaft and make sure it fits correctly into the spindle.
With the engine still in TDC you should have you distributor set up similar to this. The rotor arm pointing down to the 7 o'clock position.

You can now adjust the points setting using the 0.014in or 0.016in feeler gauge, by undoing the screw and pushing the points up to the feeler gauge. Then tighten the screw before removing the feeler gauge.

Next you have to connect the distributor cap with the HT leads in the correct firing position.

Therefore as the rotor arm turns anti-clockwise the next spark plug to fire is 3. Then 4 and finally 2.
To make sure the timing is completely accurate you'll need a timing strobe and have the engine running.
I'll cover that in another post.
No comments:
Post a Comment