Wednesday 28 September 2022

Gearbox Preparation for Fitting

I did have a good think about whether to have a go at rebuilding my gearbox, but I really just didn't see the point. If I make a mistake it is on me. But if I get a company to do it for me then at least I get some warranty and help if I need it.

So off it went to Bristol Transmissions and a two weeks later it came back.

The diagnosis was good. Only a new lay shaft and replaced bearings, shims and gaskets. I was really happy!


But before I could fit it there were a few things that I had to sort out.

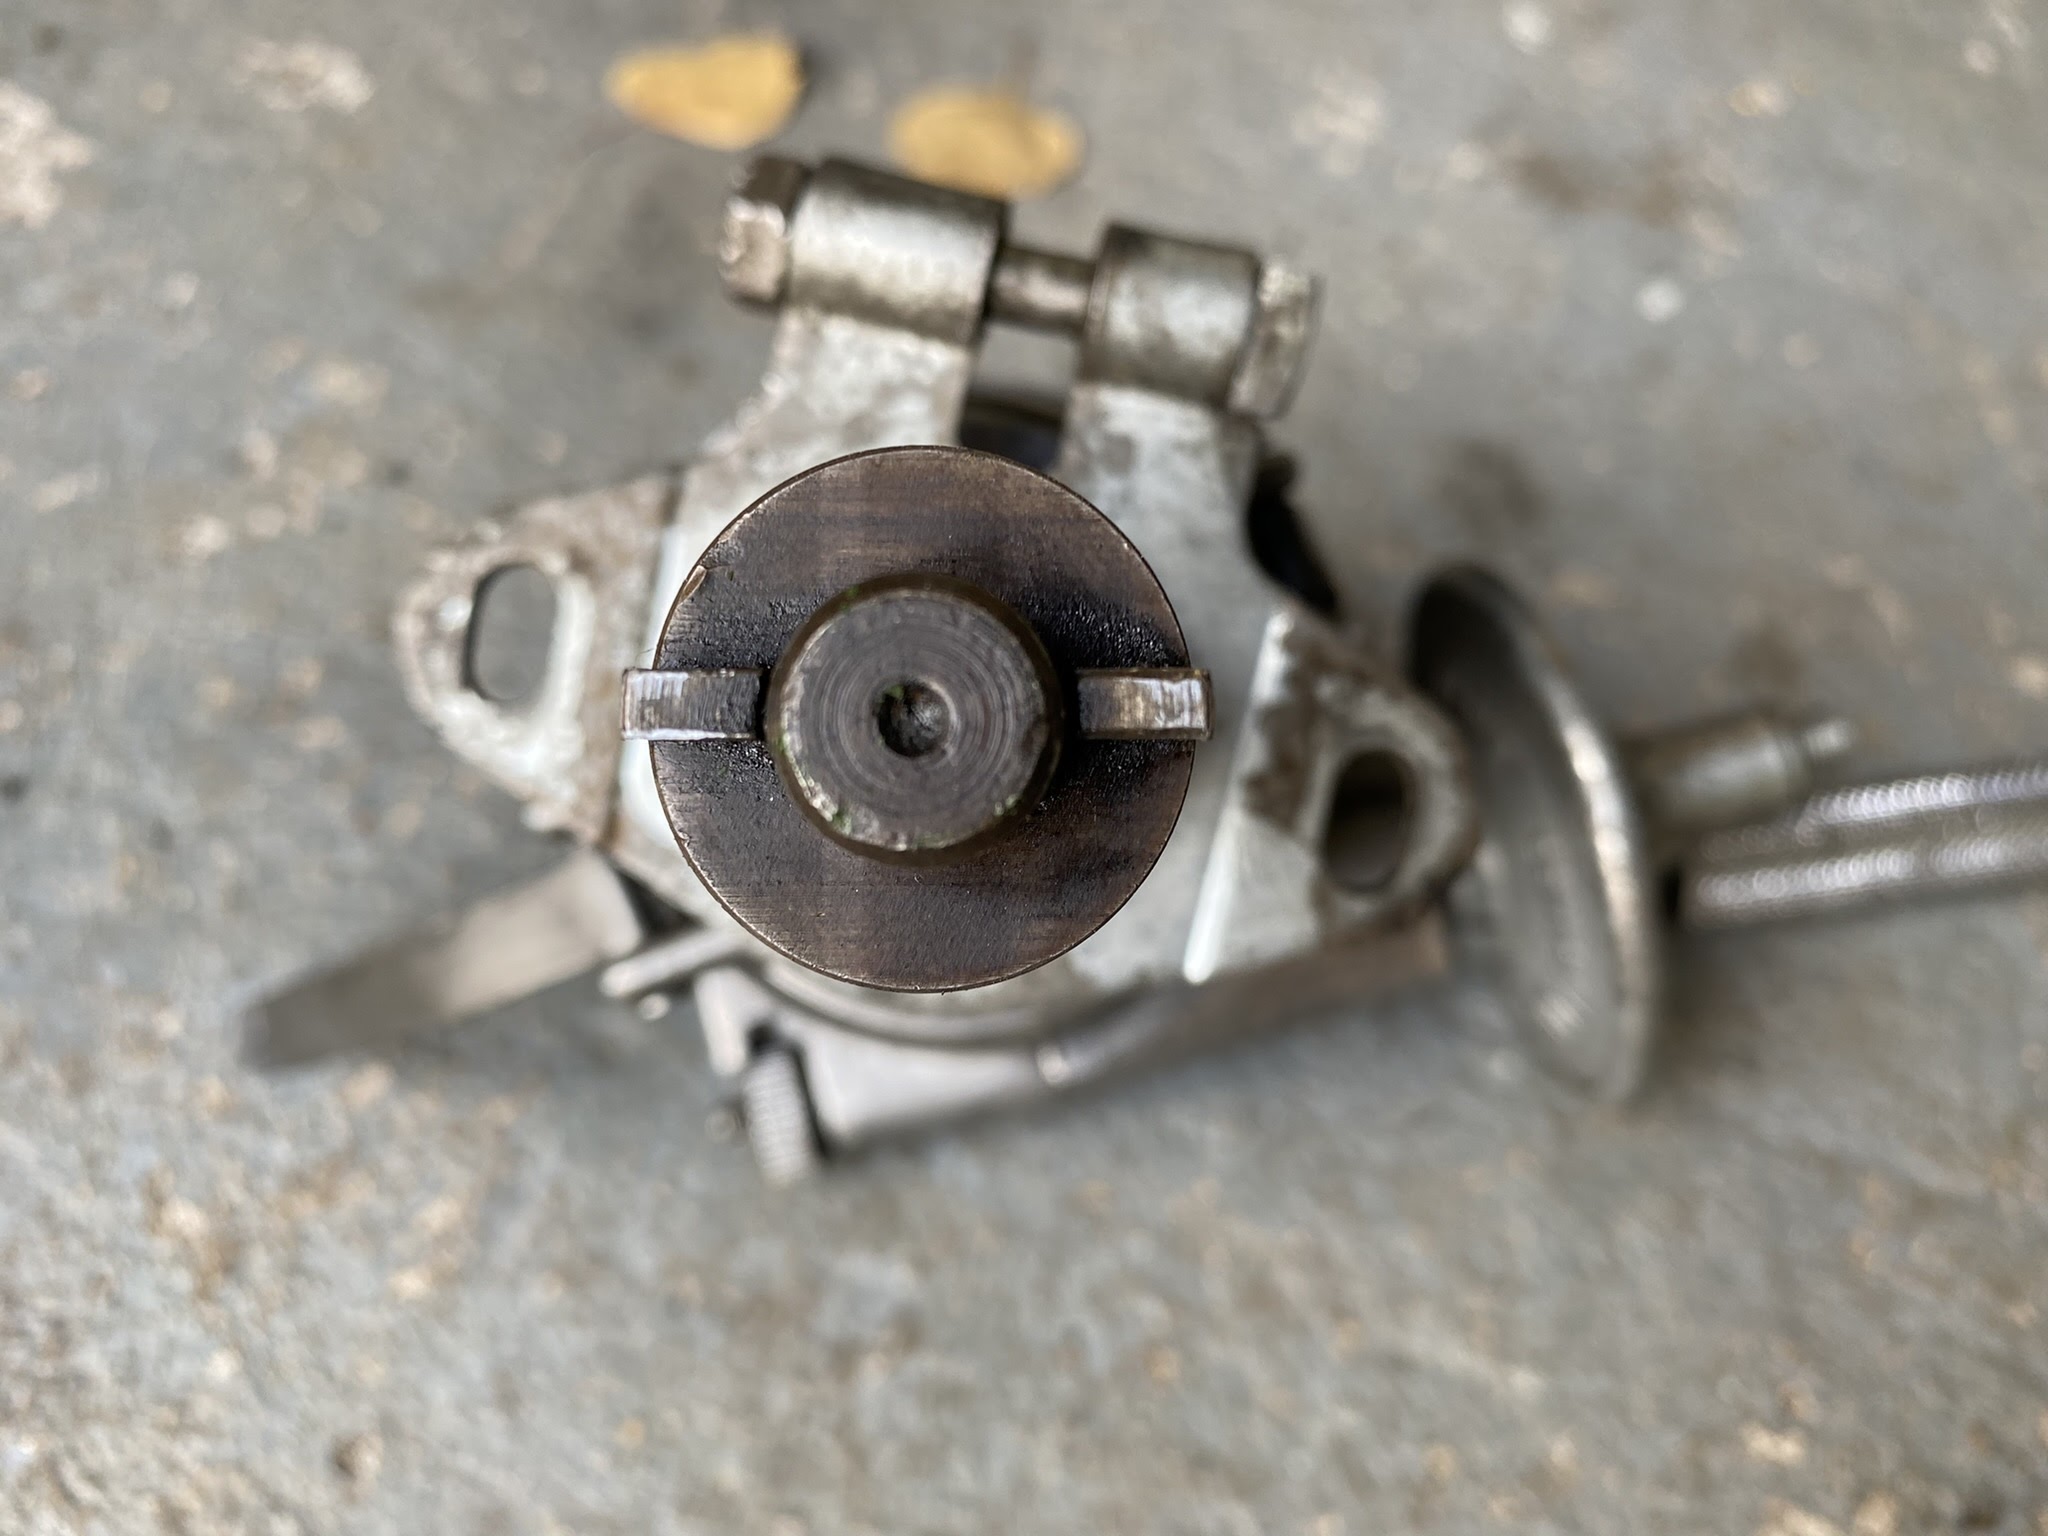
First was to fit the cluck fork which meant I needed to replace the release bearing as it was completely worn down to the metal housing.


You only need to rotate clips to release the bearing.


Take the old one out and place the new one back and rotate the clips again to lock it into position.


Then ready to fit.


The clutch release fork is simple to fit. You just slide it over the main drive shaft and push the bolt in place.


Then you need to fit the rubber gaiter...


...or replacement in my case.


This is not easy at all. It is so hard to get the gaiter over the end of the fork. I tried heating it up in boiling water. Applying lubricant. 


Also taped up the end of the fork. Eventually it did go on, but my hands and fingers were aching for ages afterwards.


I fitted the new slave cylinder at the same time. My old one was very corroded and the cost to get it refurbished was more than a new one.


All connected up.


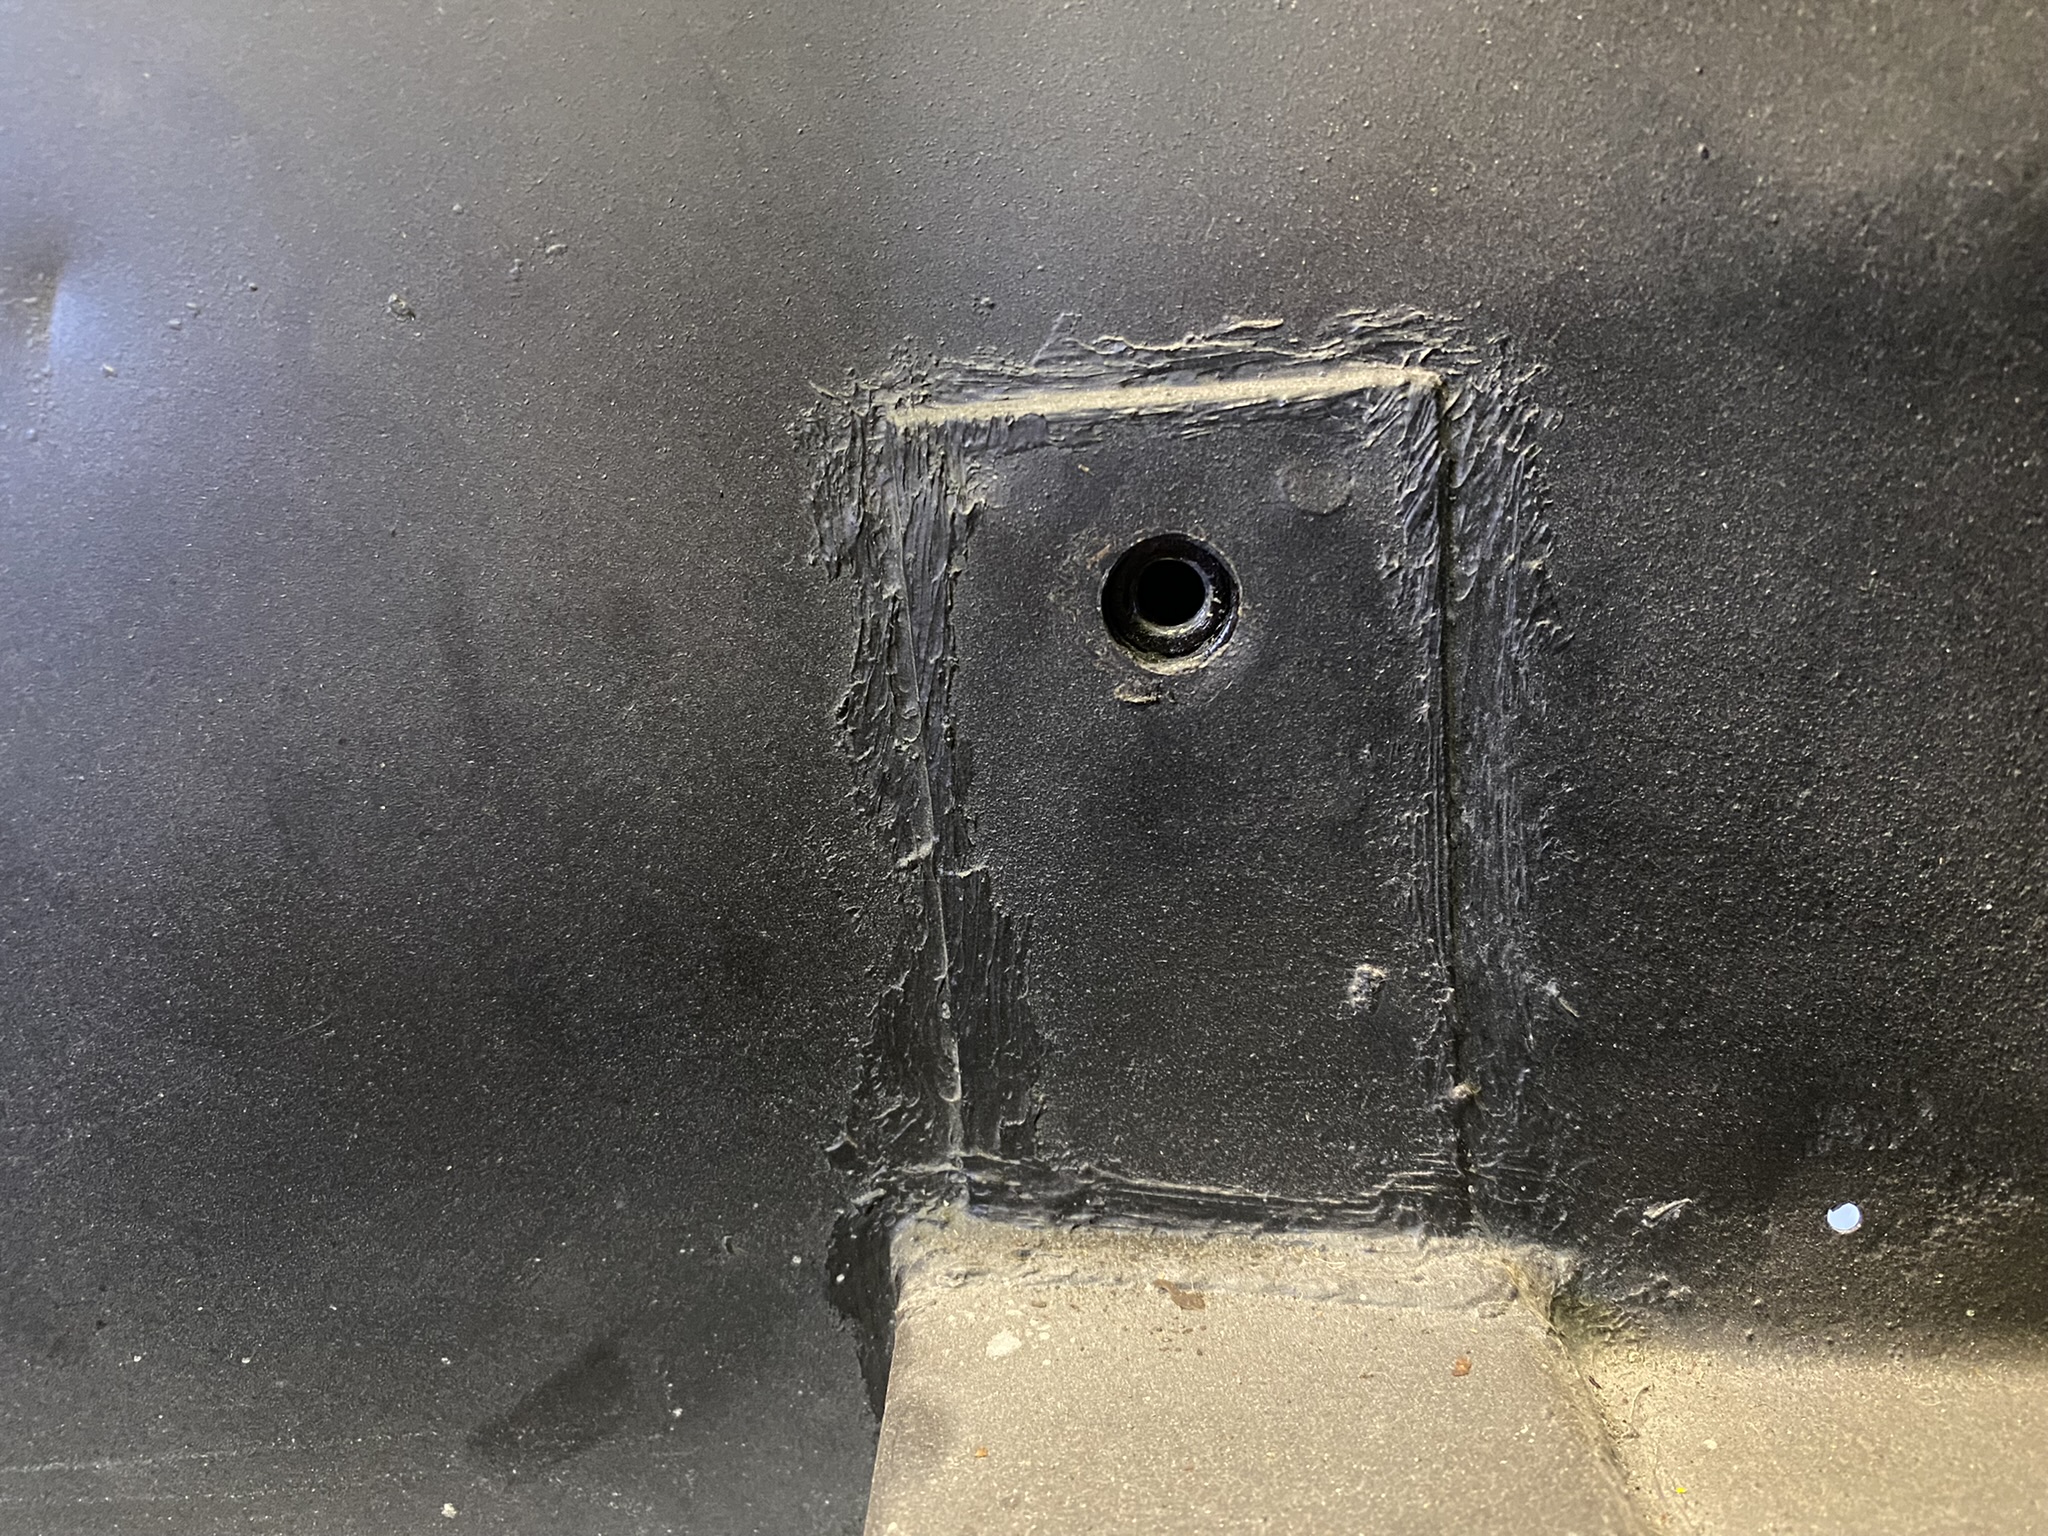
I also wanted to fit new rubber mountings as the old ones where cracking.


Fairly straight forward. 


Although there is some adjustments in these parts which allow you to make sure the securing bolts that pin the gearbox to the chassis line up correctly.


All ready to go!


There are four bolts that secure the gearbox to the chassis. Two on the underside of the chassis mid cross member and two inside on either side of the transmission tunnel.


I was lucky as they lined up fair well. Needed a strong nudge here and there, but went in fairly easily which was good.

The post that covers the gearbox being fitted to the engine and fitted to the chassis is here: Engine Rebuild and Installation

Water Pump fitting

My water pump was a complete mess and in order to remove it from the block I had to chop it to pieces due to the amount of corrosion.


New water pumps are cheap and easy to find. However there are different types that you should be aware of.

I had a bit of a mission ordering the pump that I felt was correct for my car as the part numbers can be the same but there are differences as you can see below.


Now I probably would have gone with the revised pump of the left had I not noticed that the dowels that help keep the pump in place didn't fit the holes in the pump. So I sent that back to the suppliers who did provide a refund.


I also noticed that the gasket which came with the pump also had the wrong size holes for the dowels. So word of warning to double check everything you can before fitting...


Because this isn't doing what it is supposed to!


Anyhow fit both dowels and ensure the surface is clean.


Then the gasket.


And tighten up the bolts.


Looking nice and shiny and ready for the fan.


Not bad at all!

Distributor Overhaul and Fitting

This is the only photo I have of the distributor before I took it all apart and cleaned it. All I can say was that is was covered in grease and oil.


It wasn't too difficult to put it back together either, but I did have to refer to a detailed diagram to make sure I had the spring loaded rotational arms the right way round.

Slightly annoyed I didn't take photos. However the lower half of the dizzy is very mechanical and there is only really one way it can be reassembled, which left the top half.

I decided not to mess around and bought new points and condenser. 


I found a video online that explained how to test the condenser, there are several. It is all about the resistance test and my old one wasn't reading correctly, so removed it. along with the old points.


Now when fitting the points it is very important that you ensure when the red arm of the points is against the highest point on the rotor cam lobes the points are open. How much depends on you decide when it comes to tuning your car. Somewhere between 0.014in and 0.016in is typical for engines up to the 1500. The 1500 needs a bigger gap I believe. You'll need to adjust the points with a feeler gauge. It is best practice to adjust this when fitted to the car.

Fitted the new condenser and connected up the black lead that connects the wiring from the coil.


You should now be able to fit the distributor to the engine. It is though very important you set this up correctly.

First turn the engine over with a spanner off the pulley until the engine is in top dead centre TDC on the first cylinder at the front of the engine.


If you have set this correctly you should find the spindle that links the distributor to the camshaft is in this position.


Be aware that the slot pointing to 2 o'clock is slightly larger than the slot pointing to 8 o'clock. This is because this matches the rotor arm on the distributor.


As you can see here.


You can now push the distributor down into the shaft and make sure it fits correctly into the spindle.

With the engine still in TDC you should have you distributor set up similar to this. The rotor arm pointing down to the 7 o'clock position.


You can now adjust the points setting using the 0.014in or 0.016in feeler gauge, by undoing the screw and pushing the points up to the feeler gauge. Then tighten the screw before removing the feeler gauge.


Next you have to connect the distributor cap with the HT leads in the correct firing position.


You can see in the photo that the rotor arm is point down to the 7 o'clock position which should also be where the HT lead goes to number 1 spark plug. As the correct firing order is 1,3,4,2.

Therefore as the rotor arm turns anti-clockwise the next spark plug to fire is 3. Then 4 and finally 2. 

To make sure the timing is completely accurate you'll need a timing strobe and have the engine running. 

I'll cover that in another post.