Now that the engine and gearbox was in the car I needed to attach the head.
Straight into it and need to place the new head gasket, but before you can do that you must thoroughly degrease all the surfaces and ensure there is nothing but smooth clean metal.
On both surfaces!
The gasket was supplied by the guys who did the engine rebuild. It has one side black and the other copper. Copper goes against the head.
It is also recommended that you fit the water host that connects the water pump to the head at this point, as it is nearly impossible to fit after without potentially damaging the hose.
Then, very carefully lower the head into the gasket.
Once you're happy the head is down and flat you can slightly tighten the main 5 nuts, but only finger tight to hold the head steady, whilst you prepare to fit the rocker. This includes sliding the push rods into place. It is advisable to dip the end of the push rods in oil before dropping them into the cam followers.
Next you need to fit the rocker. The guys that worked on the engine had already cleaned and fixed a few issues with this, so I could just slide this into place. Unfortunately when it all came back I was missing one of the studs so I had to buy a new one.Plenty of suppliers to choose from but settled on one from ebay as they had speedy delivery. Big mistake!
When I first went to tighten up the nut the stud threaded.
Had to use a nut splitter tool to remove the nut as it would come off, which was fairly scary.
Ordered a new one from a A-series engine specialist who assured me it would be ok.
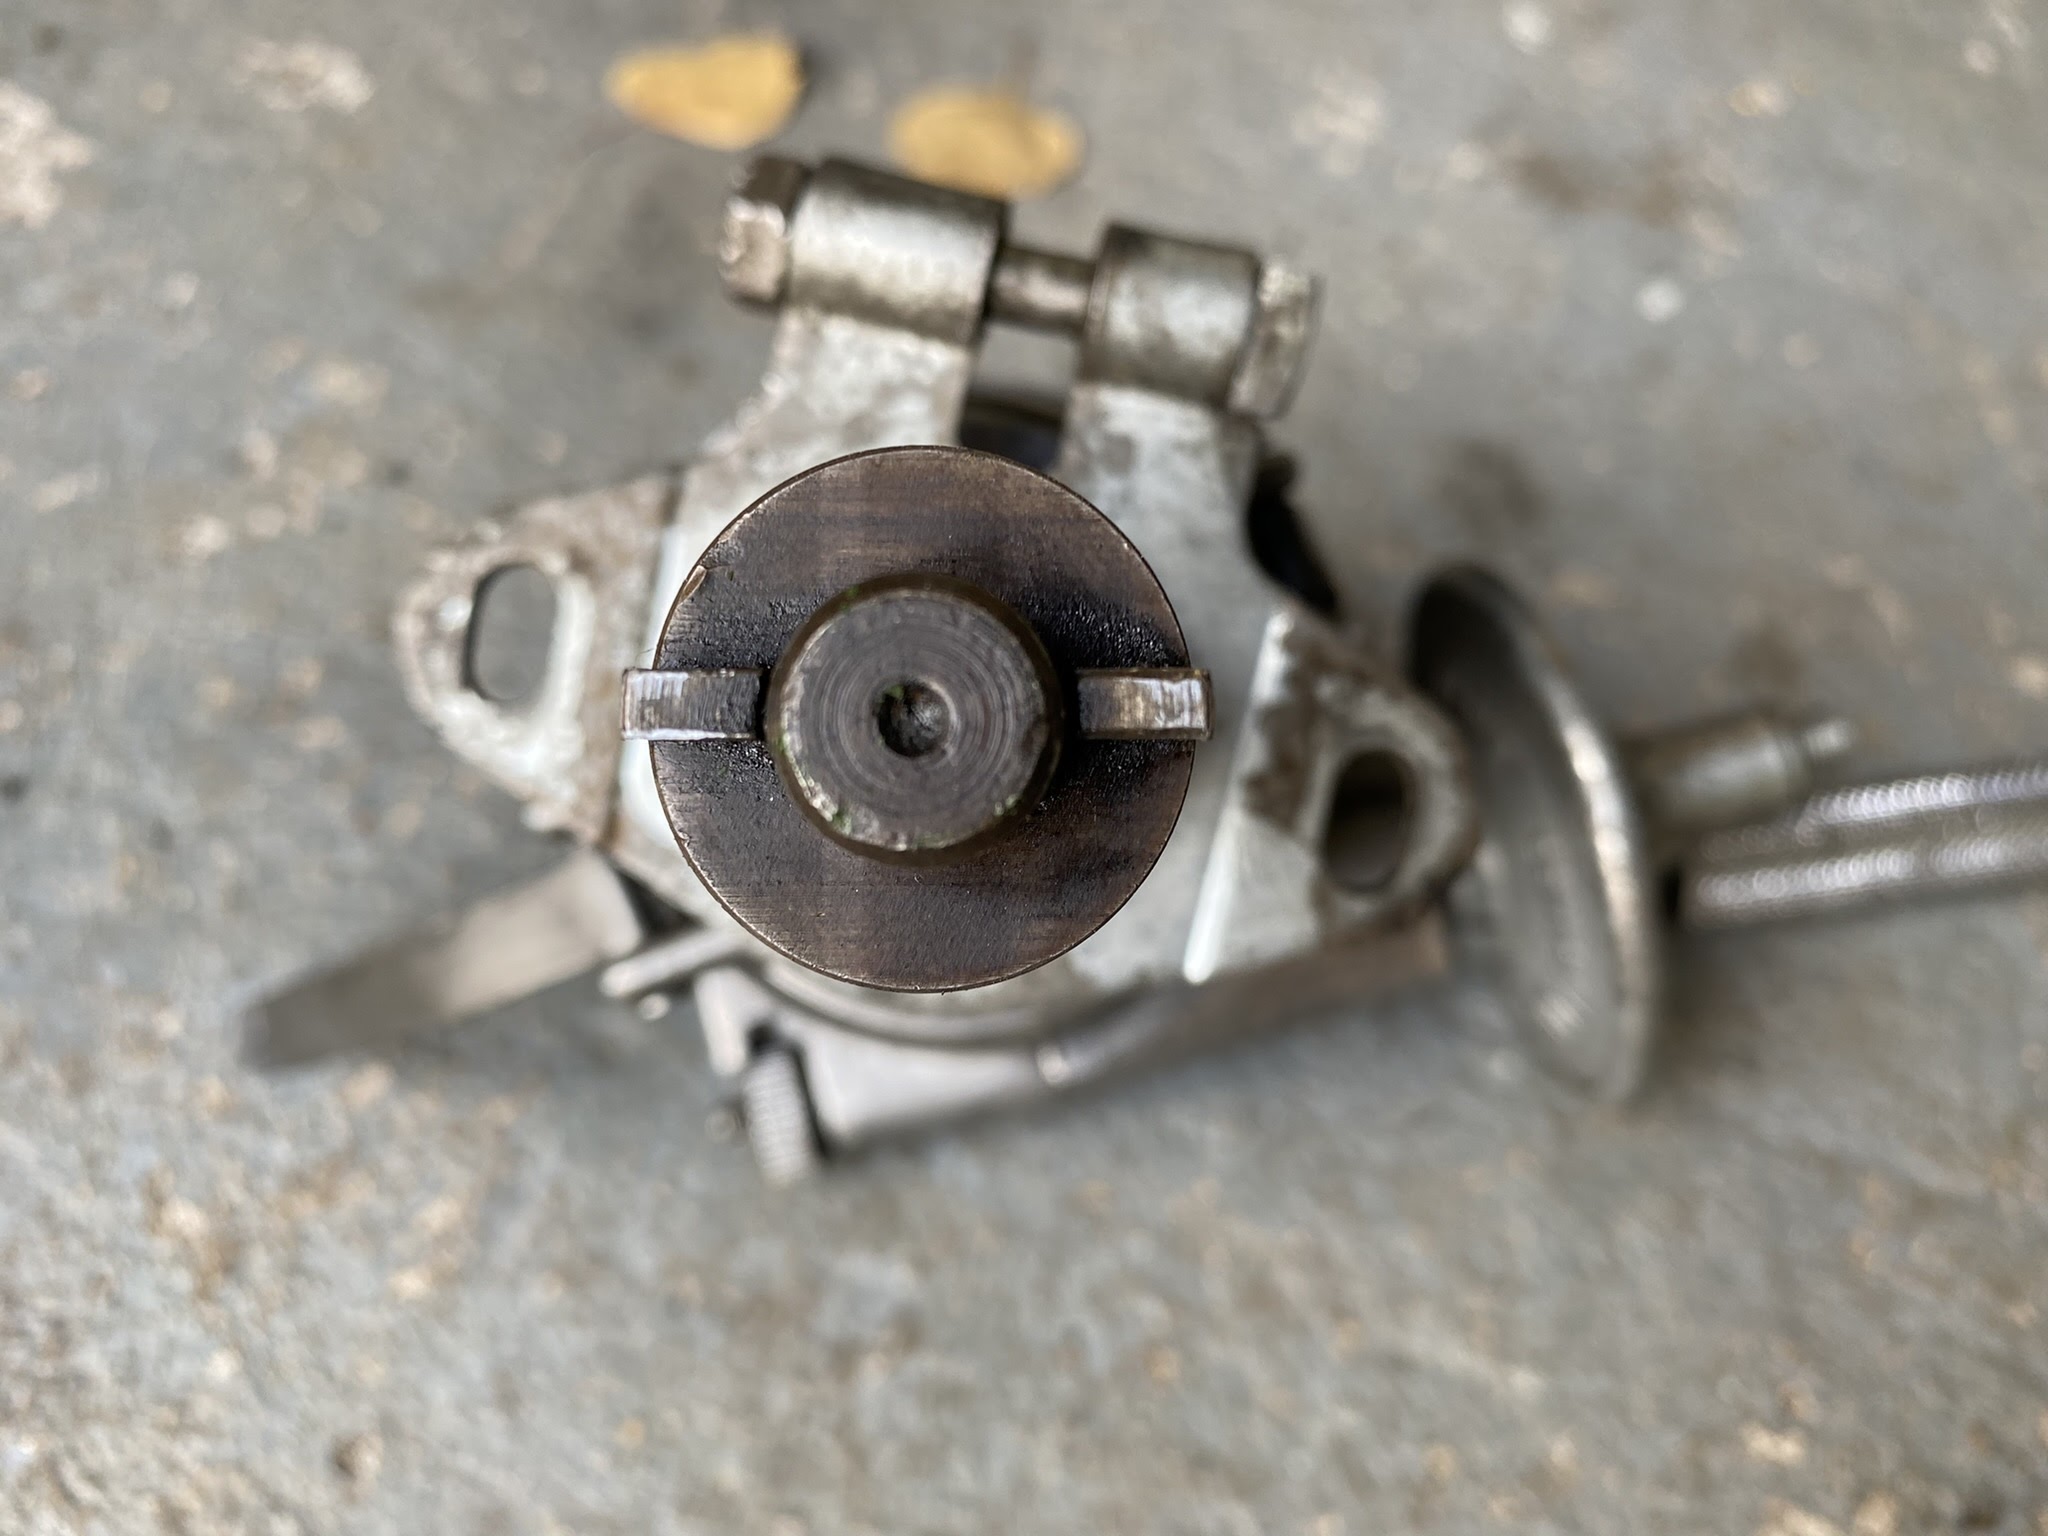
To ensure the main bolts are down tight into the block and head I used the double nut method, where you screw two nuts tight together to give a good grip on the bolt so you can tighten it properly without threading the bolt.
Just before you lower the rocker into position it is recommended to poor some engine oil into the cups of the push rods to give some lubrication on initial start.
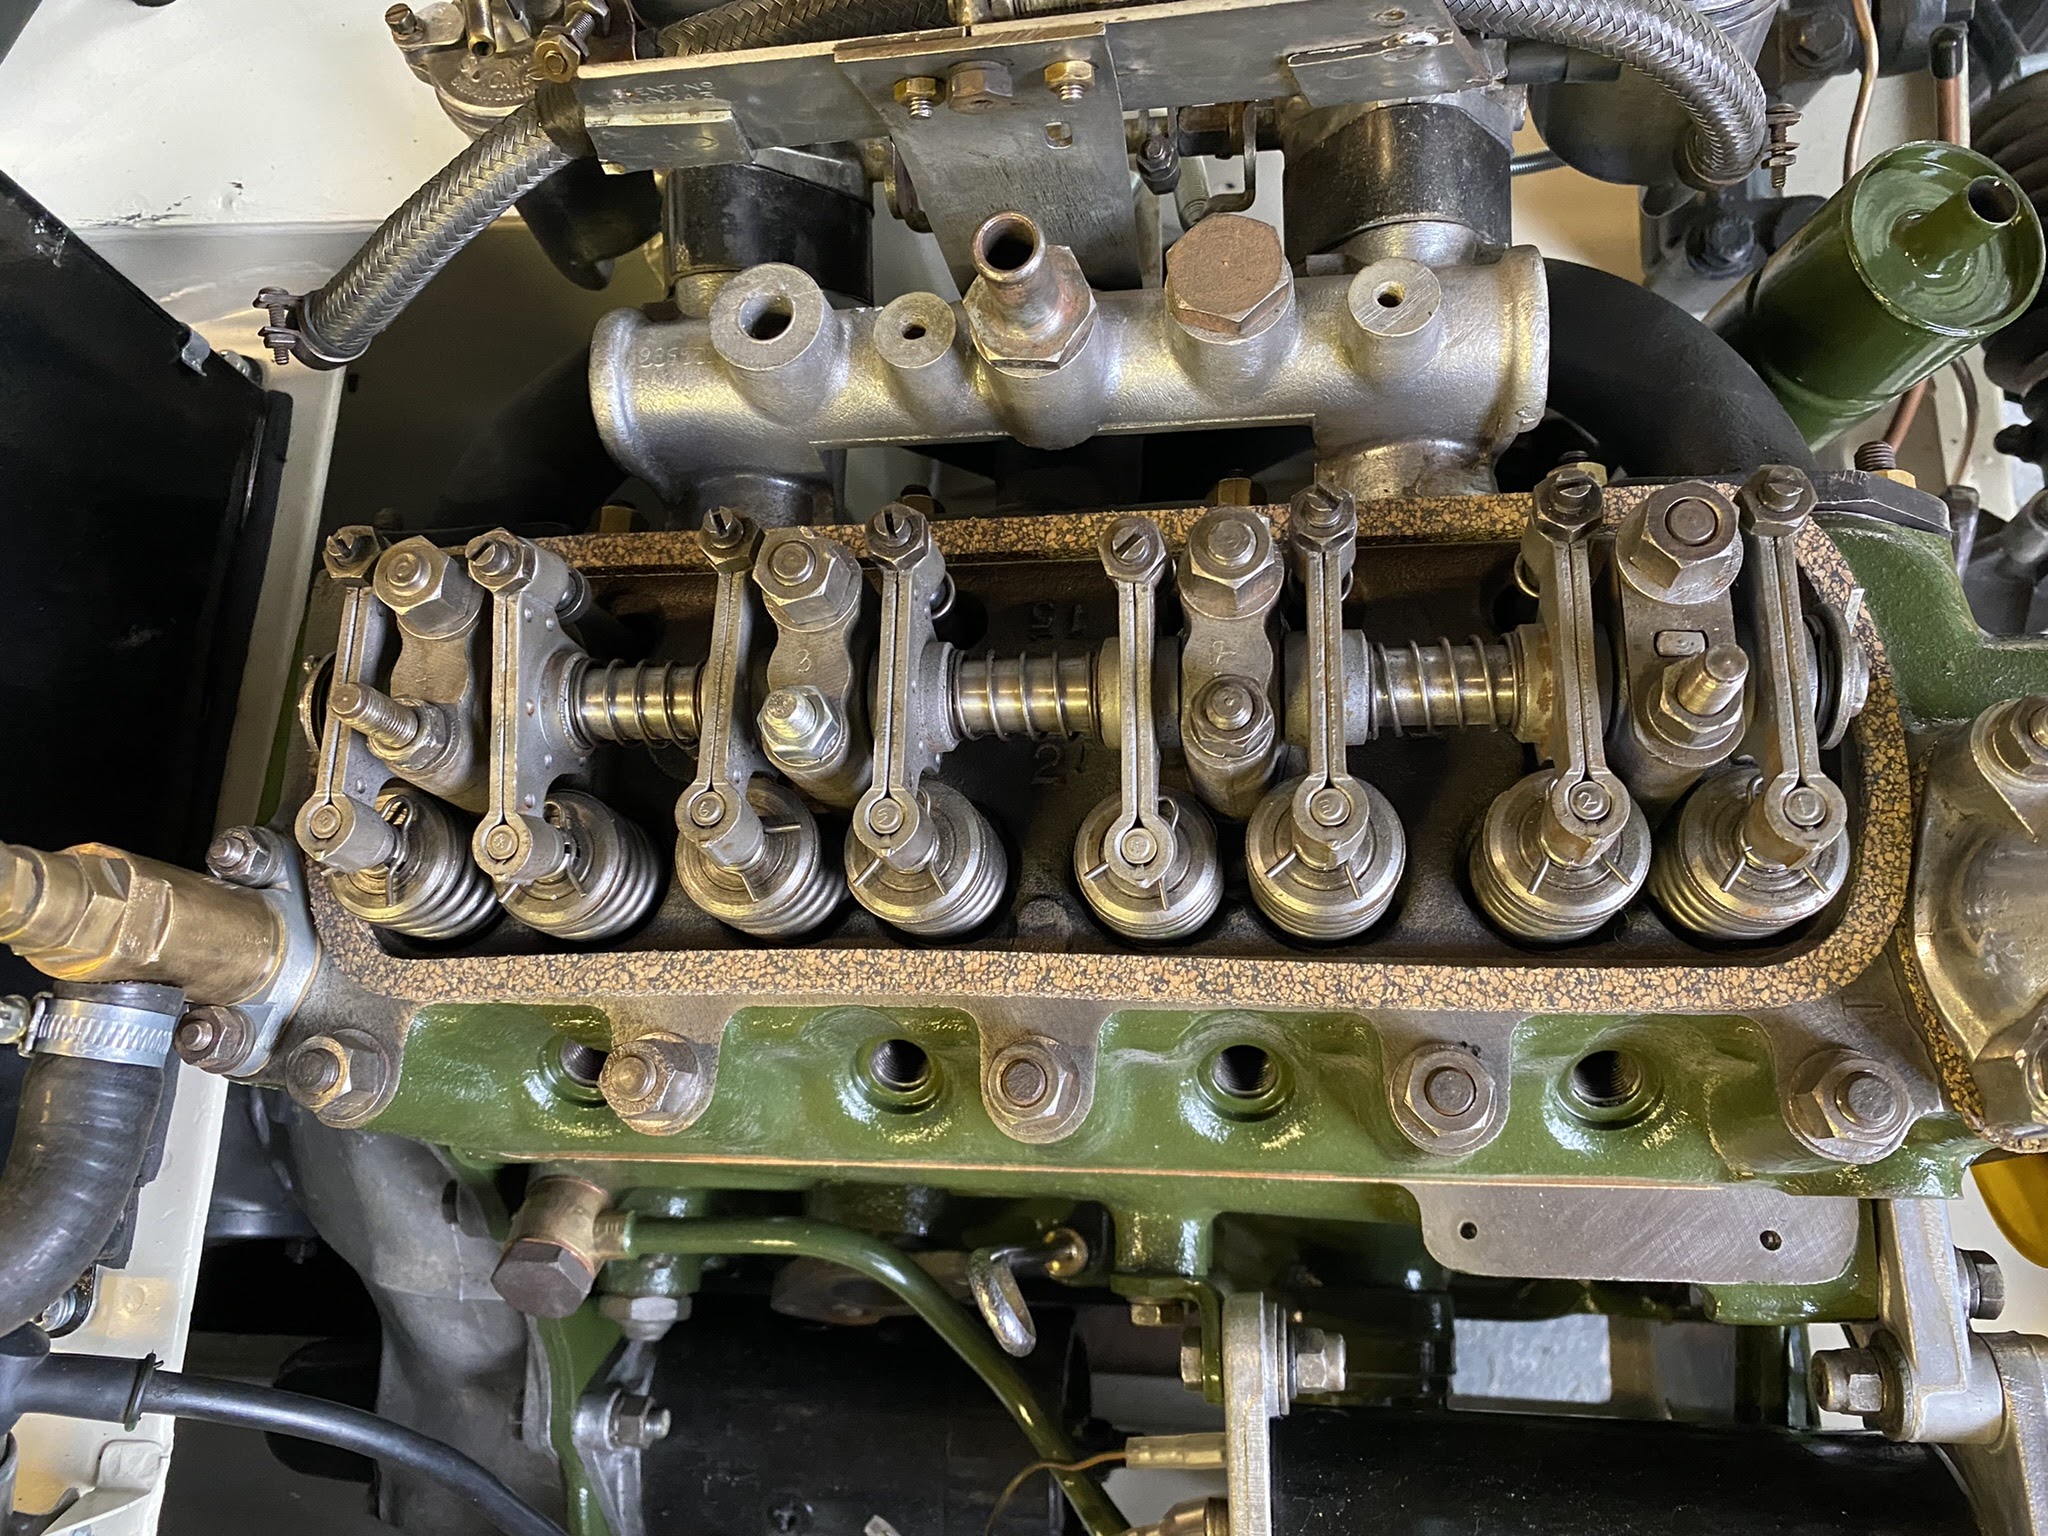
Then you can lower the rocker and fit the washers.
You should now be ready to torque up all the bolts. I found that I needed to undo all the rocker adjuster bolts to make sure there was no resistance when tightening down the head.You must refer to your engine manual to ensure you have the correct torque settings and the correct order which to tighten them, otherwise you're in danger of having to repeat this process again and having to buy a new gasket.
But here is the correct order for my 1098. The four rocker pedestal nuts are to be torqued to 25lb f ft (3.4kg f m) and the nine cylinder head nuts to 40lb f ft (5.5kg f m).
All seemed to go well including new stud which held up to the torque settings.With the head in place you can now start the process of adjusting the rocker arms so they operate correctly.
You'll need a 0.012in feeler gauge to ensure the correct gaps are maintained between the values and the rocker arms.
You then have to follow the correct order as shown in the manual as shown below when setting each valve.
Turn the engine over using a suitable spanner until valve number 8 is completely open. You might need to turn the pulley backwards and forwards a few times to get it right.
Then moving on to value 1 start to adjust the rocker arm by loosening the nut (if not already) and tightening the bolt with a screw driver until the rocker arm is just touching the value.
Then insert the feeler gauge and adjust again so that you can feel a slight resistance when you slide it back and forth.
Once you have it right then move on to value 6 buy turning the engine over so the value is completely open and then checking and adjusting value 3.
You just have to keep going, working on each value in the order shown above. I did about 4 or 5 passes through the whole cycle to make sure I had everything correct.
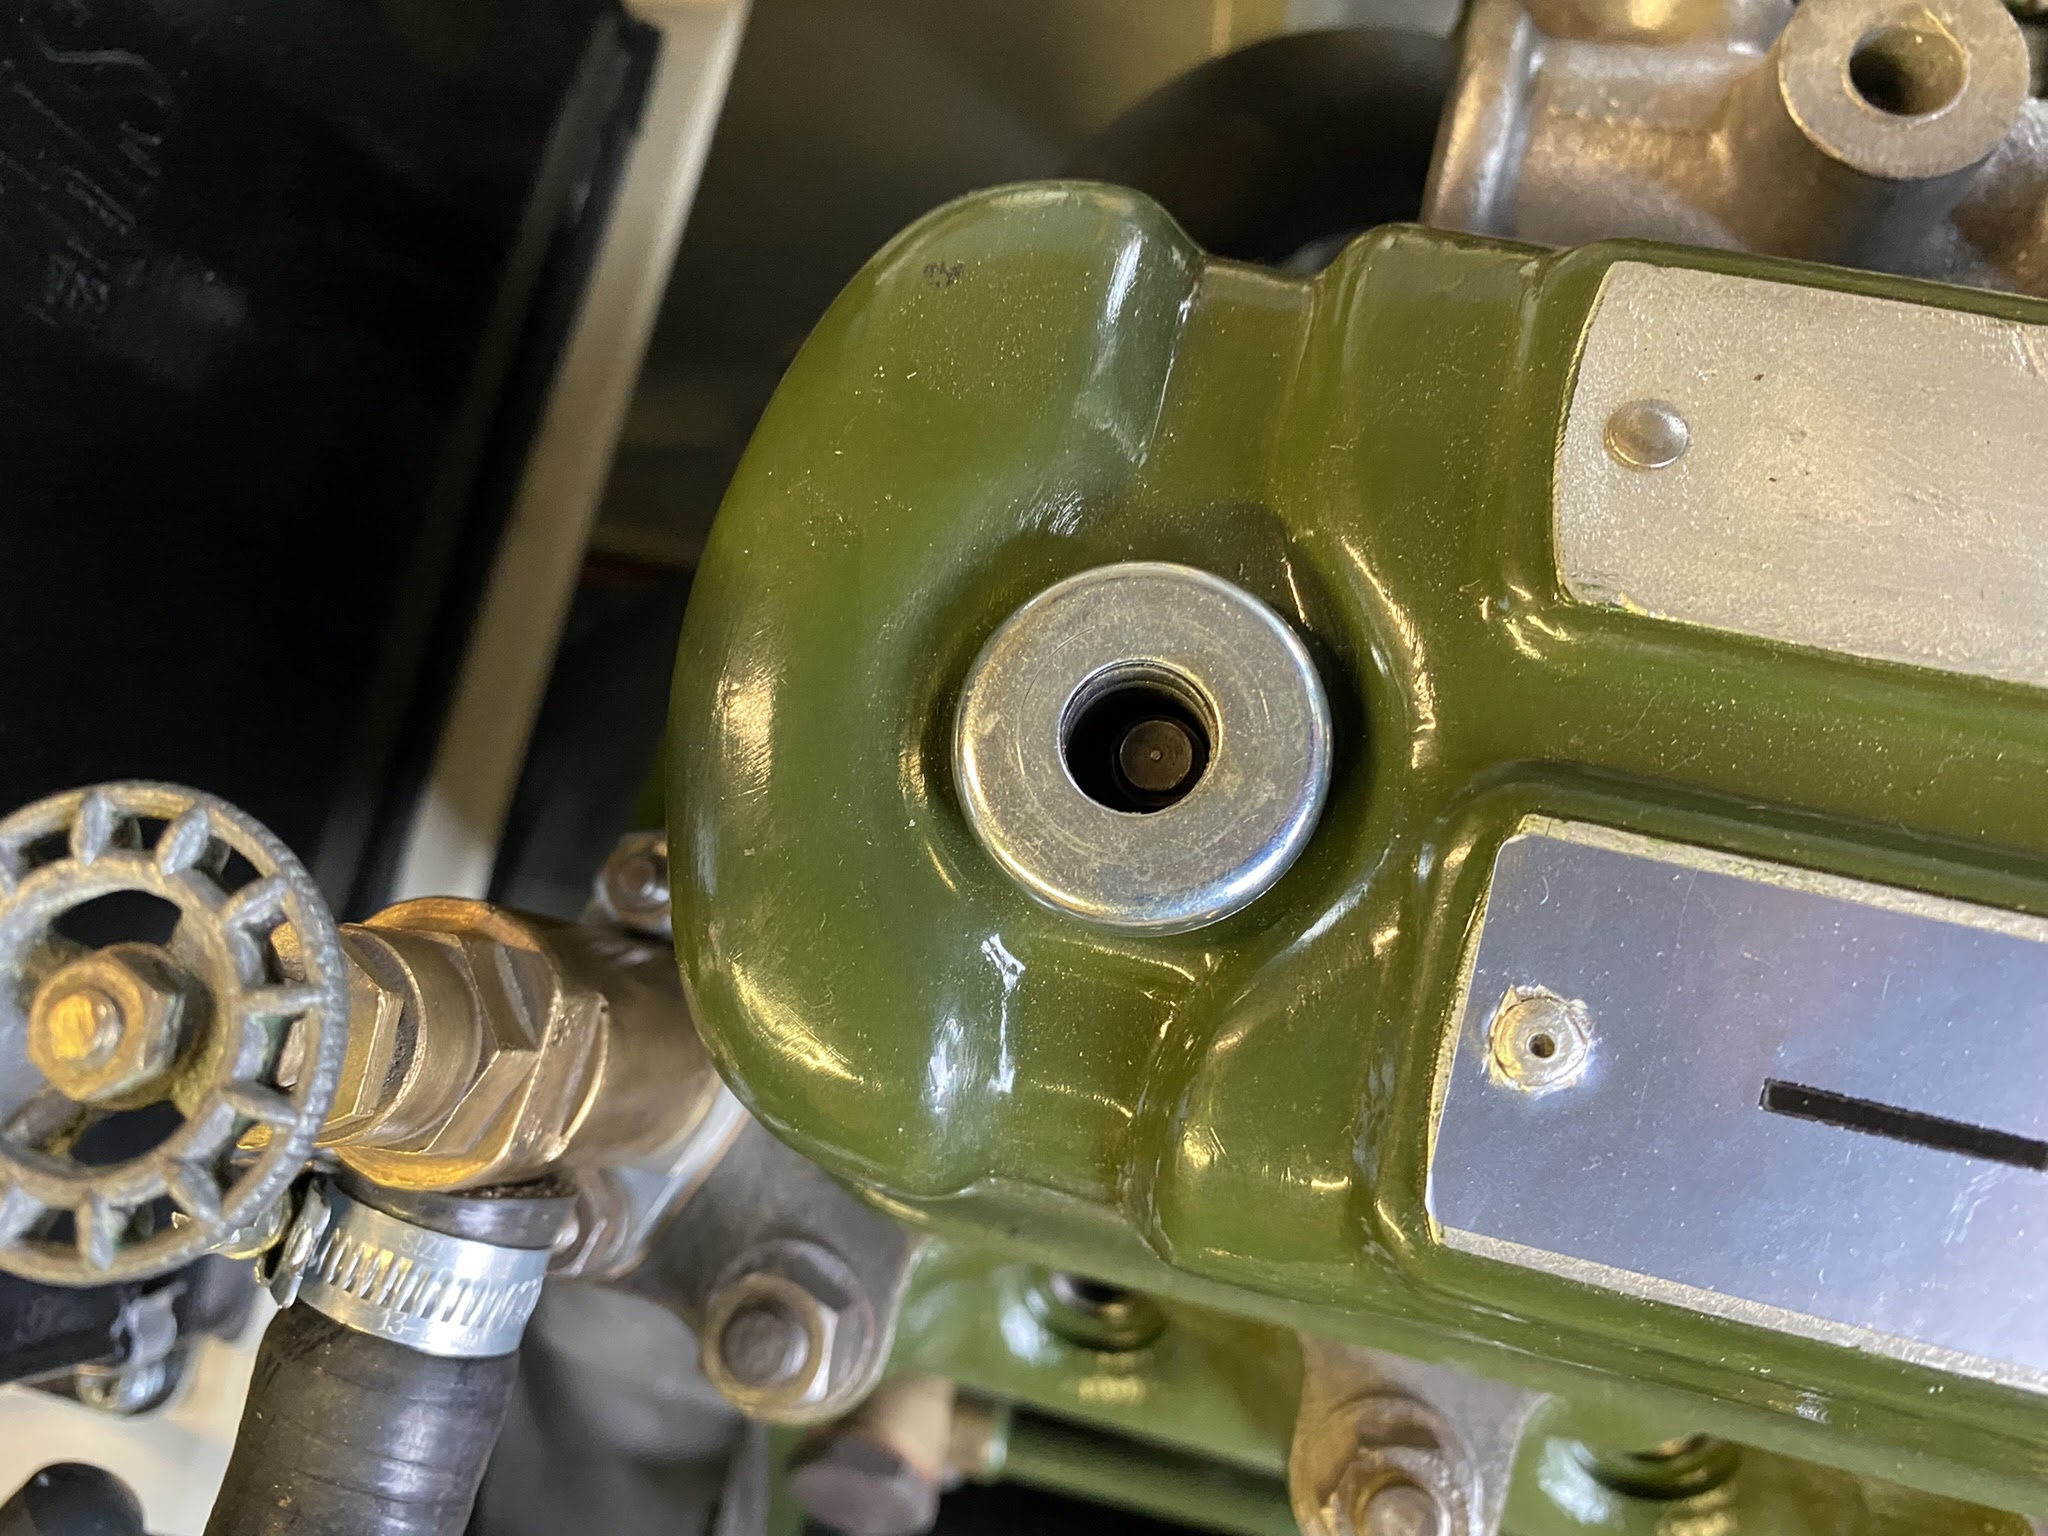
Once that was done I could fit the rocker cover gasket and the cover.
Make sure you don't overtighten the bolts. The cork gasket will work very well under the correct torque settings of only 2lb f ft (.27kg f m) which isn't very much at all.
I spent some time cleaning up the fan blades and they came out really well with nice new paint.
Good old wire wheel certainly did it's job as always!
New paint was engine paint so it should handle high temperatures without any problem.
Also fitted the new fan belt.
Really pleased how it is all coming together.