Tuesday 8 June 2021

Front Steering Rebuild

When I took apart the front suspension and steering I noticed that the stub axle bushes were not fitted correctly. The grease holes didn't line up. So I had to remove them and buy new ones. The problem with that is you have to have the new bushes reamed so that the king pins sit and rotate perfectly. 

Here is the video I posted before on how to do it: https://www.youtube.com/watch?v=q-gdjnCpldI 

I have a local company that has all the tools and has done it many times before, so made sense to me to get them to do it. I was really pleased when I got them back as they fitted really well. Money well spent.


You can see here the lower grease hole that allows for lubrication of the king pin. There is another one on the top bush.


Now they were ready to fit. First up you need to fit the dust shield with spring, which just slots into place.


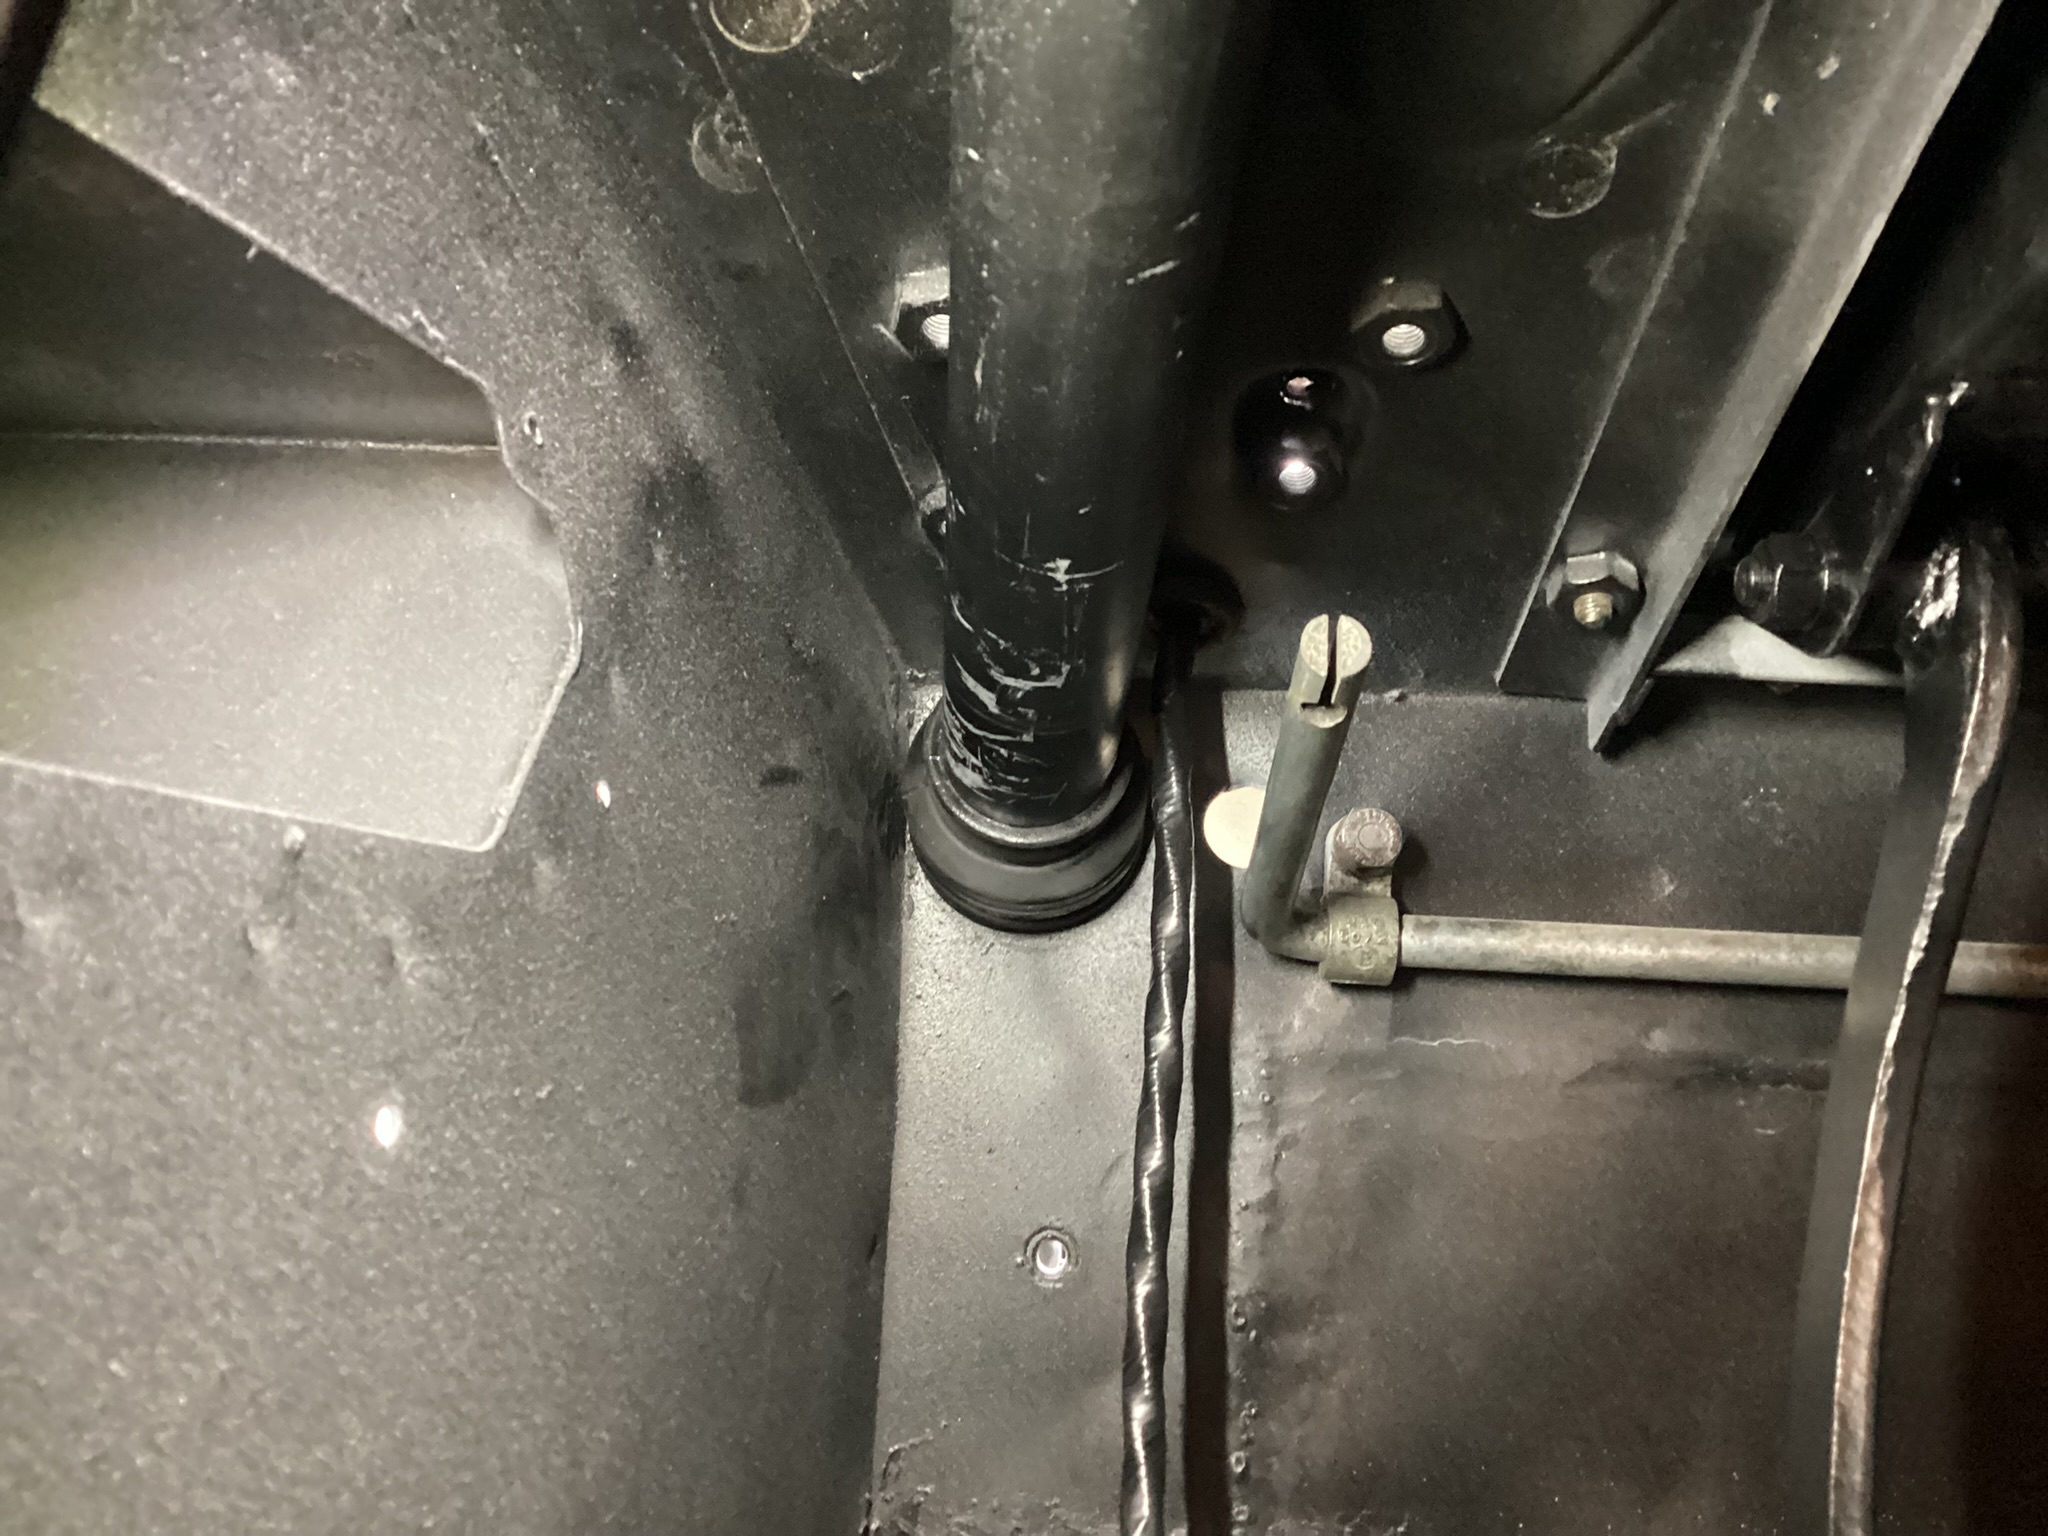
Then you need to fit the stub axle on to the lower wishbone, which is held in place with this fulcrum pin. You need to check for excessive wear and make sure the threads are all in good condition.


The fulcrum pin needs to be lubricated with grease and so it is important that you grease it during the fitting.


There are two cork washers that need to be fitted.


Then you can screw in the fulcrum pin. What you will find is that if you tighten this up all the way the king pin will move out of centre to the right. You need to make sure the it is in the middle.


You can tell when it is in the correct place as it should look right but also you should be able to see the groove where the cotter pin slides in. 


If you are replacing your cotter pins you need to file them down to fit, so that there is enough thread for the nut to screw on to.


Make sure that you don't over tighten this nut, it is very easy to do as the treads are delicate. The locking washer should hold it.


On the bottom of the stub axle fit the rubber seal.


Then slide the stub axle on to the king pin and check it all feels smooth and tight.


You can then screw in the plug and grease nipple to seal the fulcrum pin.


Next up is to start to fit the thrust washer and trunnion on top of the king pin and stub axle which will also attached to the front damper. In a perfect world you should then be able to tighten all the nuts and you're good to go, but sadly and in most cases that isn't the end of the set up.

The top nut that screws down on to the trunnion has a set torque. The idea is that when everything has been tightened correctly the stub axle will only turn left and right with the correct amount of resistance. But due to the tolerances involved being very small you might find that when tightened the stub axle moves up and down a little or the stub axle is hard to turn left or right, which isn't good for steering the car.


This is why you can buy shims to compensate for the tolerances that you have in your set up. 

I know it is hard to see but the top photo is reading just over 9mm and the second one is 10mm. So that resulted in movement up and down in one of my stub axles as shown in the video below.


In order to stop this movement I had to add 3 shims on the top of the king pin. As it turned out the other side was perfect and needed no shims at all.


Is it important to note that you must fit the rubber buffer that supports the damper arm. Then you can continue with the trunnion. It is also important that you get the trunnion the right way round so NOT how I have it in the photo immediately below.


I bought new SuperPro bushes which fitted really well. Make sure you use the grease provided. Trunnion in this photo is the right way round.


Then you can fit the top fulcrum pin. You might want to try and have the groove facing upwards ready to fit this to the damper arm. Please note the trunnion in this photo is NOT the right way round.


It can be a bit of an effort to bring these two parts together, but they should go. 
Please note the trunnion in this photo is NOT the right way round.


Then you can fit the bolt that screws into the damper. You need to align that to the groove in the fulcrum pin. You can now tighten the top fulcrum pin castle nut which needs a split pin. This is tightened to where the split pin hole is.


You can now connect the steering arm to the tie rod end of the steering column. I'll cover off wheel alignment in this post:


And then fit the dust shield.


I'll cover off fitting the spring in this post: Front Suspension Rebuild

Monday 7 June 2021

Front Brakes Rebuild and Fitting


Having degreased and painted the callipers it was time to rebuild them. You can buy a rebuild set that includes the outer metal housing for the outer seal and the seals. I also needed to replace the pistons as well. I thought it they should fit but I did have a few issues trying to fit the outer metal housing. 

MG Midget Front Brake Callipers rebuild

First job was to fit the outer metal housing and it was this part that caused me the most issues. What I found was that whilst one of the housing's fitted really well the other didn't. I ended up buying another set from another supplier and that fitted just fine, so I assumed it was a bad batch.

In order to fit the housing without bending it, which is very easy to do as it is very thin metal, you need to press it against a very flat surface. I used a piece of chipboard and my bench vice.

MG Midget Front Brake Callipers rebuild

MG Midget Front Brake Callipers rebuild

MG Midget Front Brake Callipers rebuild

This worked really well for me but you have to make sure that it goes in square. Any damage and you'll need to buy a new one and try again.

With the housing in place the outer seal slots in nicely.

MG Midget Front Brake Callipers rebuild

Then you can insert the inner seal.

MG Midget Front Brake Callipers rebuild

Once you have completed this four times you are ready to fit the pistons.

MG Midget Front Brake Callipers rebuild

I followed a recommendation to use this type of red rubber grease when fitting the pistons.


You smear it on all the surfaces and then you should find that the pistons slide in with some resistance.

MG Midget Front Brake Callipers rebuild


MG Midget Front Brake Callipers rebuild


I replaced the seal between the two halves as well to help stop any leaks.

MG Midget Front Brake Callipers rebuild

Once all done you can now fit them to the stub axle. These are secured with the two bolts


Checking that the brake disc is central in the groove you can fit the pads. The new pads I bought have a anti vibration pad at the back of the pad that is pressed by the piston. You can buy anti-squeal shims which need to be lubricated with copper grease.


Once in place you can fit the spring clip and split pins.


Then you can fit the bleed nipple and blanking plug. Make sure the bleed nipple goes on the top so that air comes out easily when bleeding the brakes.


Then you are all set to connect this up to the braking system.

MG Midget Front Brake Callipers rebuild

Saturday 3 April 2021

Steering Column rebuild and fitting

Whilst I'm waiting for the front stub axle bushes to be fitted and reamed and the wheels sand blasted and powder coated with silver paint, I thought It would be good to sort out the steering column so that it was ready to turn the wheels when the front suspension was finished.

I will be getting a nice new steering wheel as this one has seen better days and certainly isn't the one that came with the Midget in 1965!


Plan of attack was to take it apart and wire brush all the old paint off and then apply some nice new paint. Most of it was just dirty.


The steering column is basically two parts. The inner column and the outer sleeve. To separate them you have to remove the fabric bushes. One at the top of the sleeve and one at the bottom.

First remove the brass clip that holds the bottom fabric bush by sliding out of the eye slit.


The bush is looking quite thin and worn. So will be replacing that.


Next up you have to remove the steering wheel. 


Remove the horn push by unscrewing it and undo the main nut. 


The steering wheel will come off once you have also removed the electric contact point for the horn and indicator. 


Then you can slide the inner column out of the outer sleeve. After cleaning off the old paint I sprayed some primer and black chassis paint on the column and started to rebuild it with some of the new parts, like the fabric bushes and the seating rubber.


I started with the lower bush, but before you can fit the bushes you need to soak them in what the Haynes manual calls heavy oil. 

I did some research and found that graphite oil is what's needed and then found this stuff online for a few pounds.


Gave them a really good covering in the graphite oil. 


An then started to fit them. I only found out about this oil after I had test fitted everything, which is why the pictures show them still nice and clean. But now the fitting is complete and the column is just right and doesn't squeak when you turn the wheel.


Then the upper bush, which was a bit more fiddly to get it square.


But managed it in the end.


The old seating rubber wasn't that bad but made sense to get a new one.


Another part bolted on to the chassis


Next up is the dust excluder. 


It needs to go in this hole.


It is quite tricky to get the steering column to slide through the rubber dust excluder without it popping out from its position. I tried this rubber protector solution I bought some time ago and it made the job so much easier as it has lubrication qualities.


Then I could grease up the teeth on the pinion. and fit the column. Make sure you have removed the bolt from the column before fitting.


It is at this point that you should check the alignment of the column and the pinion. They should be perfectly inline. If not you might need to add a shim behind the steering column mounting bracket. They don't make them up any more so you'll have to work out what thickness of shim will give you the perfect alignment, as that will help to make your steering nice and light.


Then time to fit the rubber packing and the cap of the bracket.


Once I was happy it was all in place I fitted the bolt.


Now I am not sure if this part is standard or someone manufactured it but it did come off the Midget so I thought I should clean it up and put it back. It is designed to keep dirt off the end of the steering column and pinion.

I can't see any example of it on any diagrams but I like the idea of it. 


One half is held in place by the steering rack mount and the other attaches to a bolt that has been put through the suspension bracket. Just need to find the bolt to hold it in place. It's got to be around here somewhere!


But it is all fitted and ready to start turning the wheels when they are ready to go back on! Good thing is that the whole mechanism seems really tight.

Even though the steering wheel is a quite shabby just having it in place is a good feeling! Might have to get a seat in place to see how it feels all together!