Whilst I'm waiting for the front stub axle bushes to be fitted and reamed and the wheels sand blasted and powder coated with silver paint, I thought It would be good to sort out the steering column so that it was ready to turn the wheels when the front suspension was finished.
I will be getting a nice new steering wheel as this one has seen better days and certainly isn't the one that came with the Midget in 1965!

Plan of attack was to take it apart and wire brush all the old paint off and then apply some nice new paint. Most of it was just dirty.


The steering column is basically two parts. The inner column and the outer sleeve. To separate them you have to remove the fabric bushes. One at the top of the sleeve and one at the bottom.
First remove the brass clip that holds the bottom fabric bush by sliding out of the eye slit.

The bush is looking quite thin and worn. So will be replacing that.

Next up you have to remove the steering wheel.

Remove the horn push by unscrewing it and undo the main nut.


Then you can slide the inner column out of the outer sleeve. After cleaning off the old paint I sprayed some primer and black chassis paint on the column and started to rebuild it with some of the new parts, like the fabric bushes and the seating rubber.

I started with the lower bush, but before you can fit the bushes you need to soak them in what the Haynes manual calls heavy oil.
I did some research and found that graphite oil is what's needed and then found this stuff online for a few pounds.

Gave them a really good covering in the graphite oil.


Then the upper bush, which was a bit more fiddly to get it square.

But managed it in the end.

The old seating rubber wasn't that bad but made sense to get a new one.


Another part bolted on to the chassis

Next up is the dust excluder.

It needs to go in this hole.


It is quite tricky to get the steering column to slide through the rubber dust excluder without it popping out from its position. I tried this rubber protector solution I bought some time ago and it made the job so much easier as it has lubrication qualities.

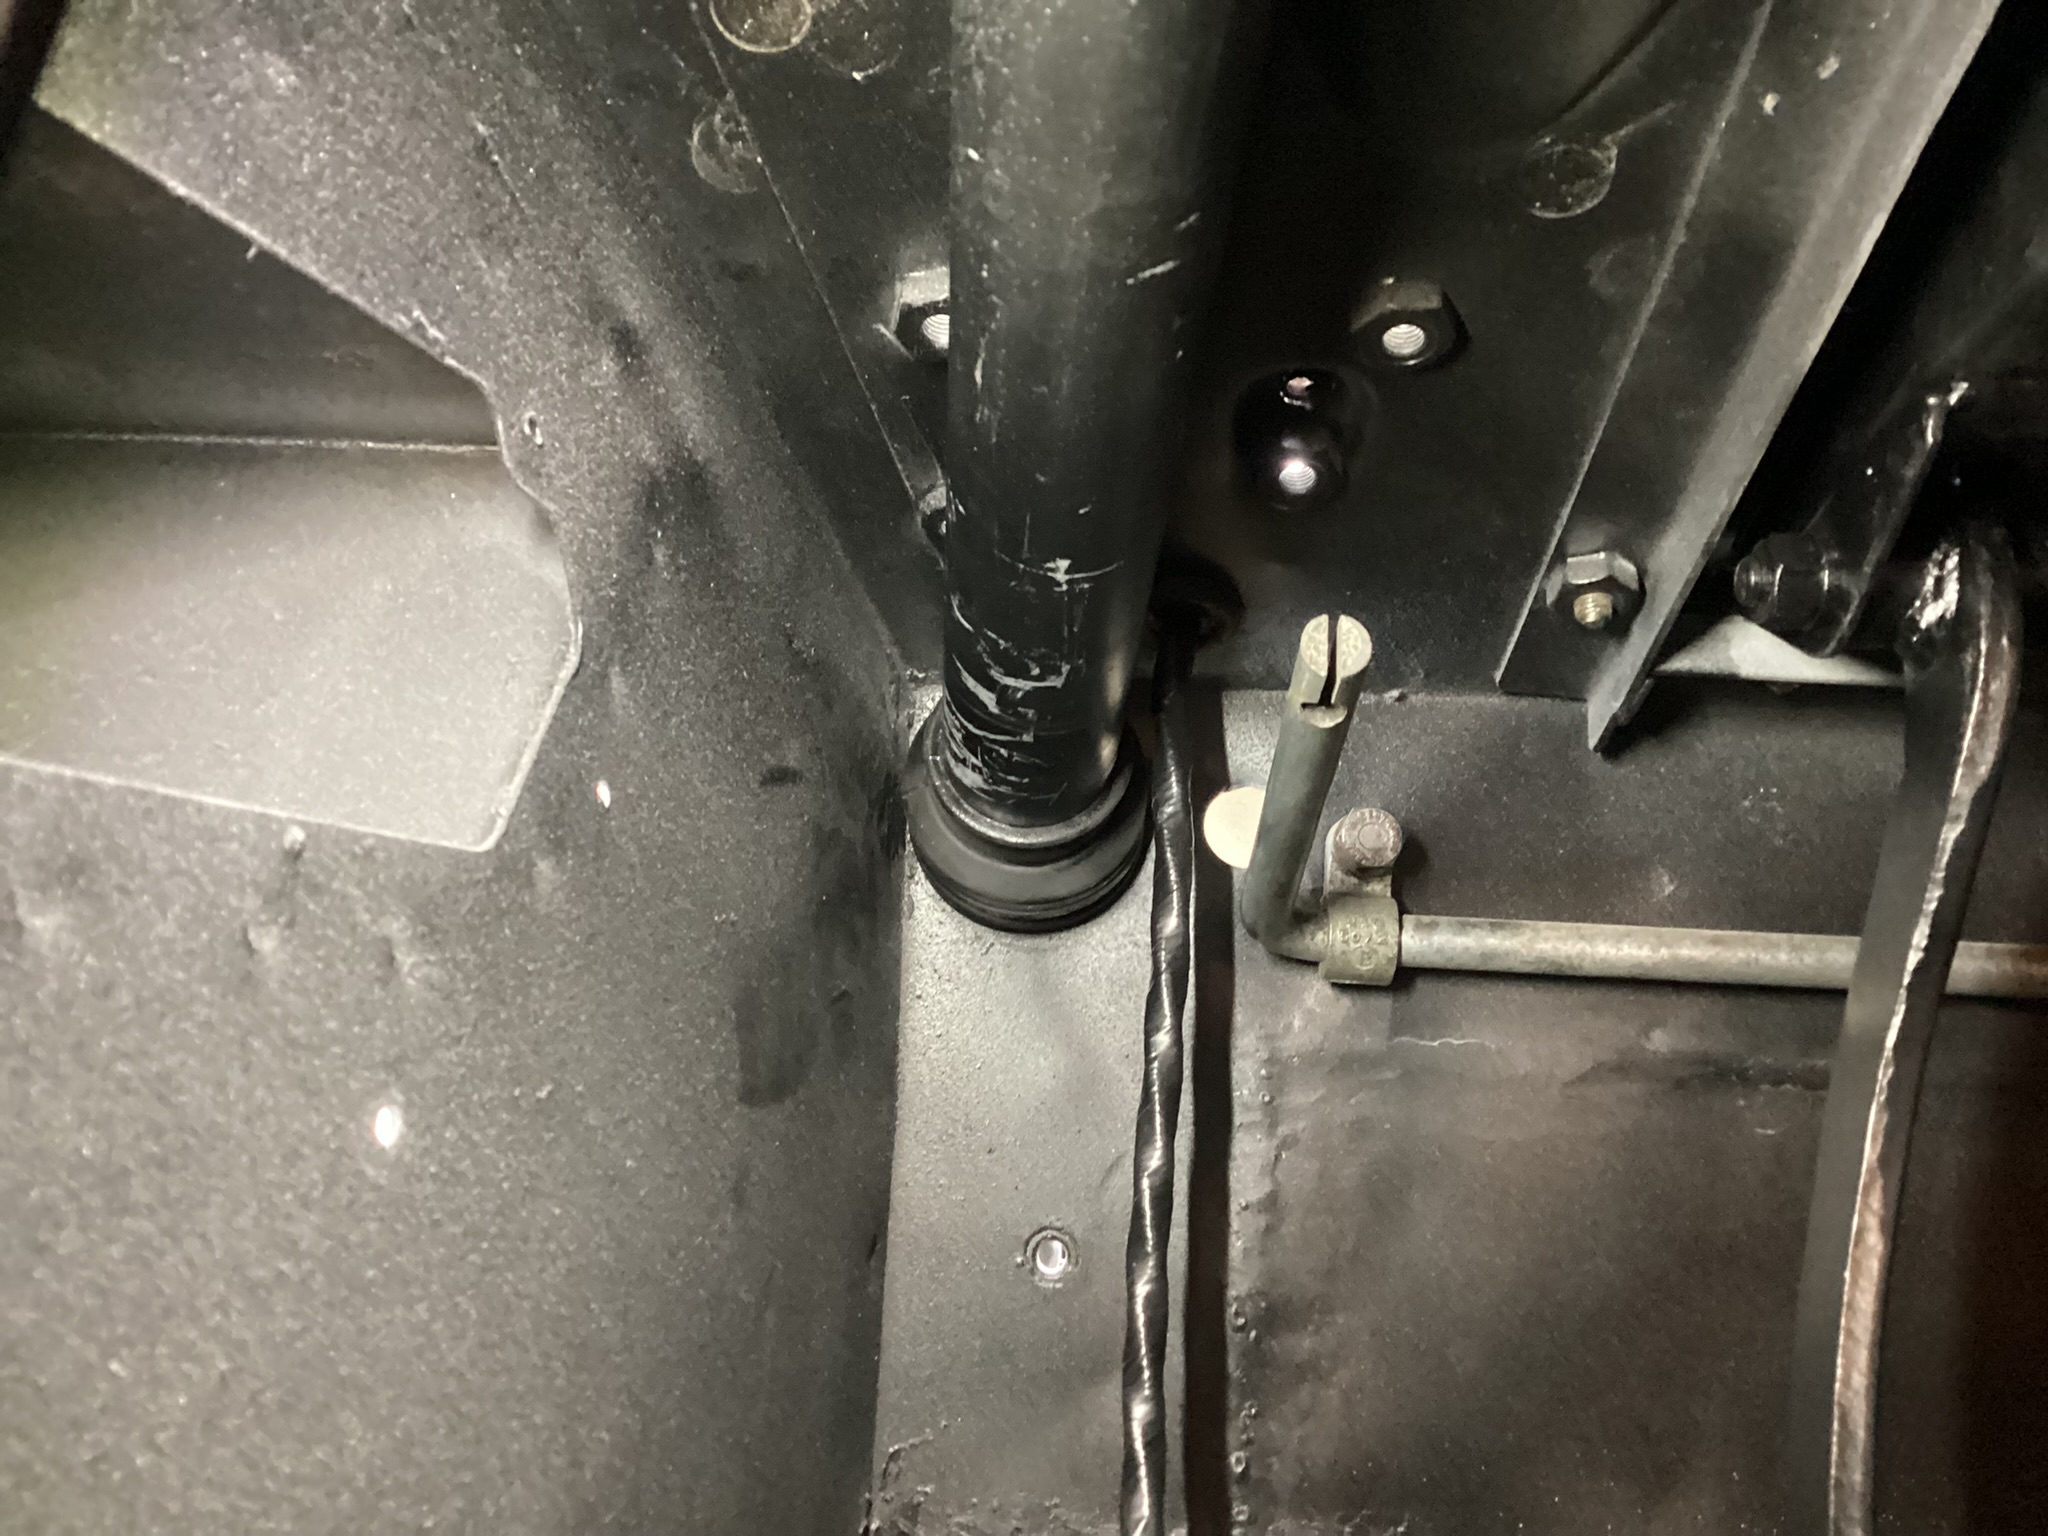
Then I could grease up the teeth on the pinion. and fit the column. Make sure you have removed the bolt from the column before fitting.

It is at this point that you should check the alignment of the column and the pinion. They should be perfectly inline. If not you might need to add a shim behind the steering column mounting bracket. They don't make them up any more so you'll have to work out what thickness of shim will give you the perfect alignment, as that will help to make your steering nice and light.


Then time to fit the rubber packing and the cap of the bracket.

Once I was happy it was all in place I fitted the bolt.

Now I am not sure if this part is standard or someone manufactured it but it did come off the Midget so I thought I should clean it up and put it back. It is designed to keep dirt off the end of the steering column and pinion.
I can't see any example of it on any diagrams but I like the idea of it.

One half is held in place by the steering rack mount and the other attaches to a bolt that has been put through the suspension bracket. Just need to find the bolt to hold it in place. It's got to be around here somewhere!


But it is all fitted and ready to start turning the wheels when they are ready to go back on! Good thing is that the whole mechanism seems really tight.
Even though the steering wheel is a quite shabby just having it in place is a good feeling! Might have to get a seat in place to see how it feels all together!


