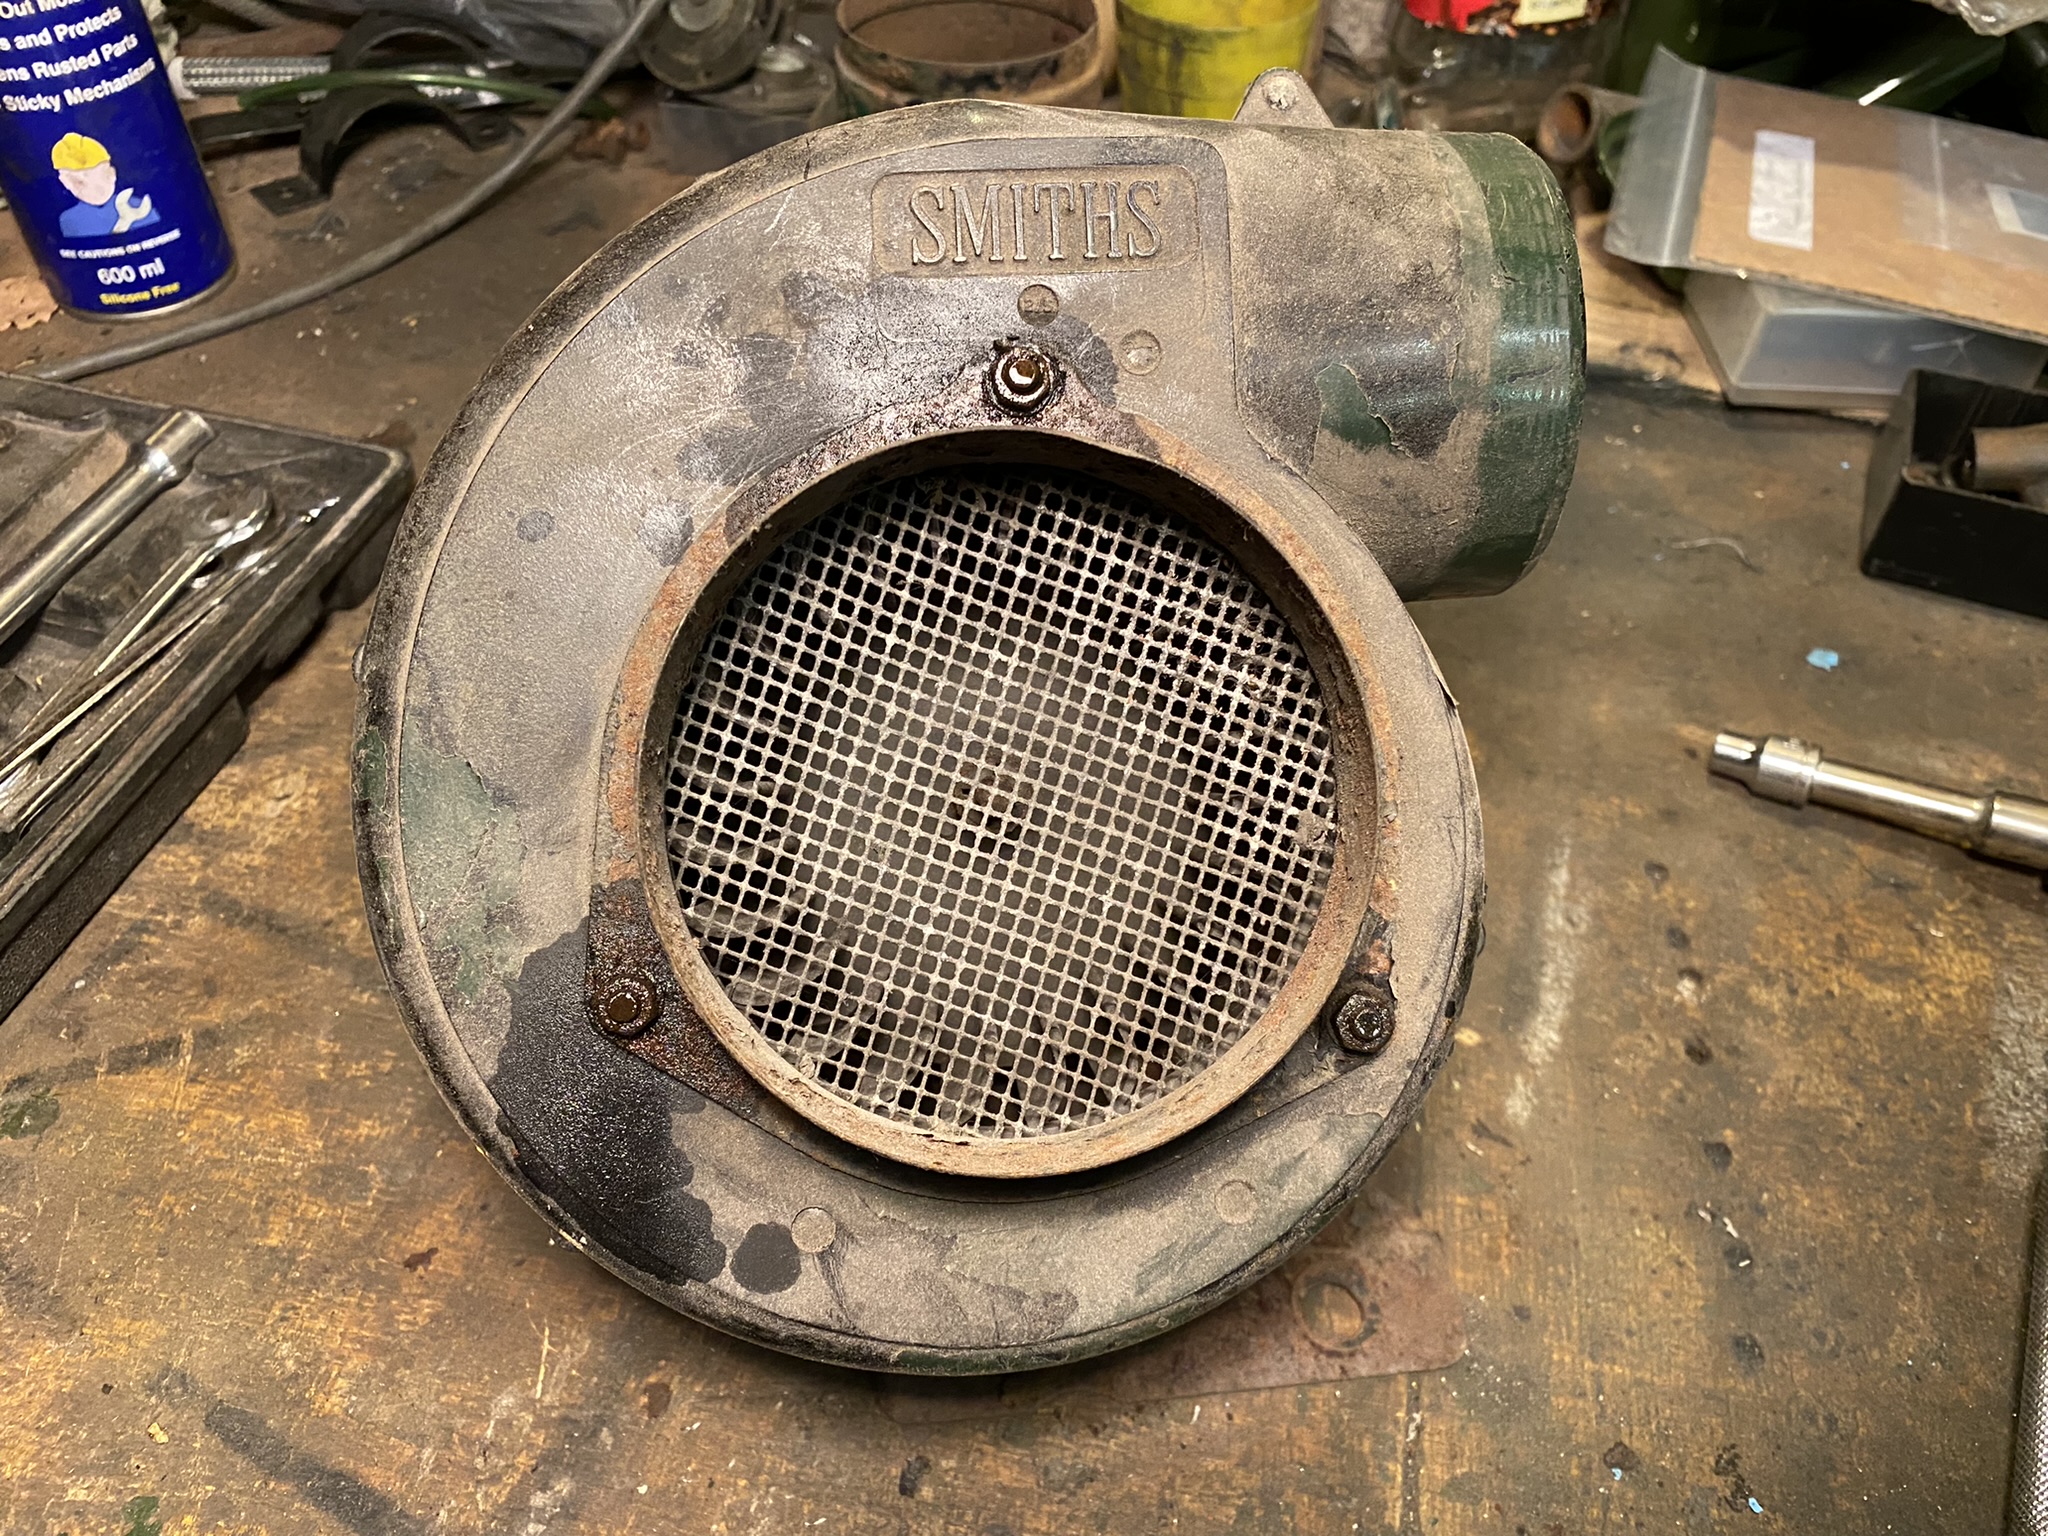
What a sorry state the fan was in. Mixture of rust, peeling paint, over painting. The only thing that was good was the motor itself. I hooked it up to a battery charger and it whirled into life straight away.
Time to strip it all apart and start to clean it up.


Once apart I started with the fan cover and decided to give my polishing wheels a go.


So did all the other parts once I had dealt with the rust and ordered some new parts.
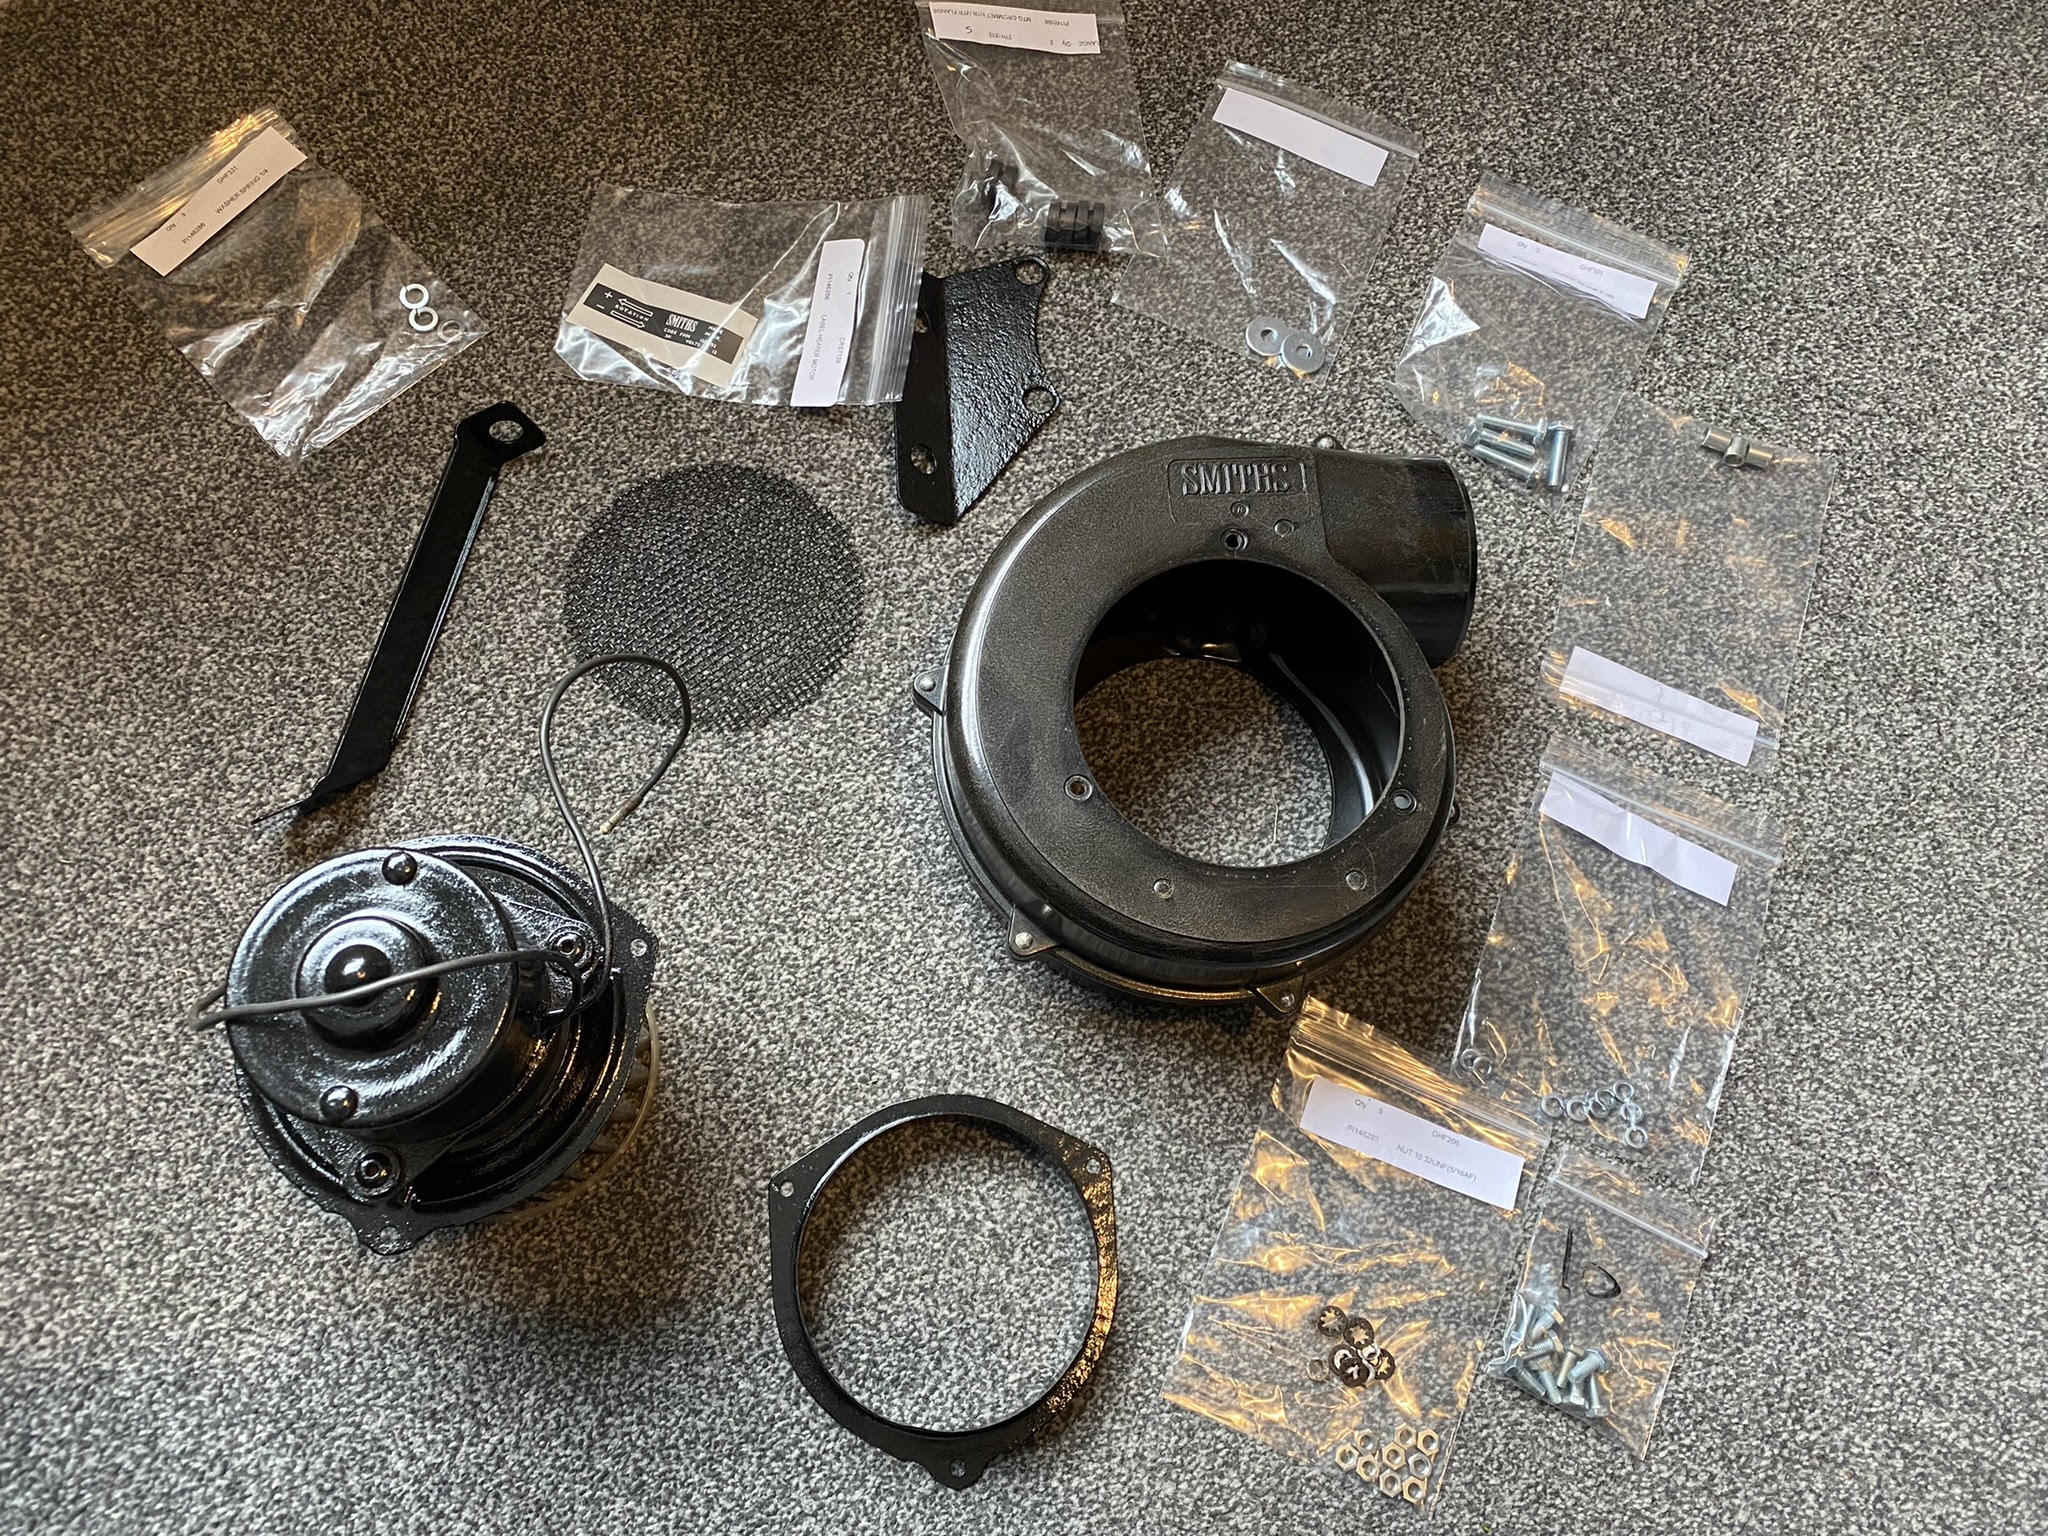
Time to put it all back together.


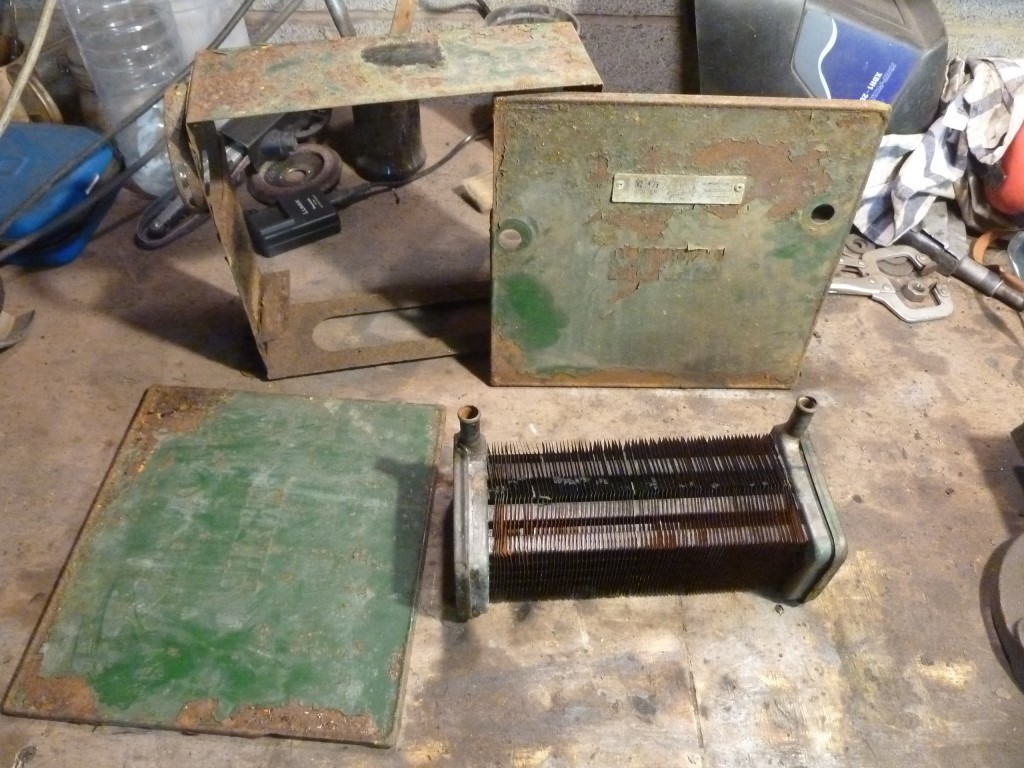
All ready to connect up to the heat matrix now...oh yes that wasn't much better either!

Set about using the wire wheel to clean up as much of the rust as I could, but it was really tricky to get into all the corners. So I ended up dunking it into my electrolysis experiment.


Came up really quite well apart from the bottom section which was very flimsy and needed replacing.

Made up a new section and welded it in.


Then applied rust converter to try to keep the rust at bay and then coated in primer

Then started to paint in gloss radiator paint, rubbing down between each coat.

Need to insert the rubber supports for the matrix pipes.


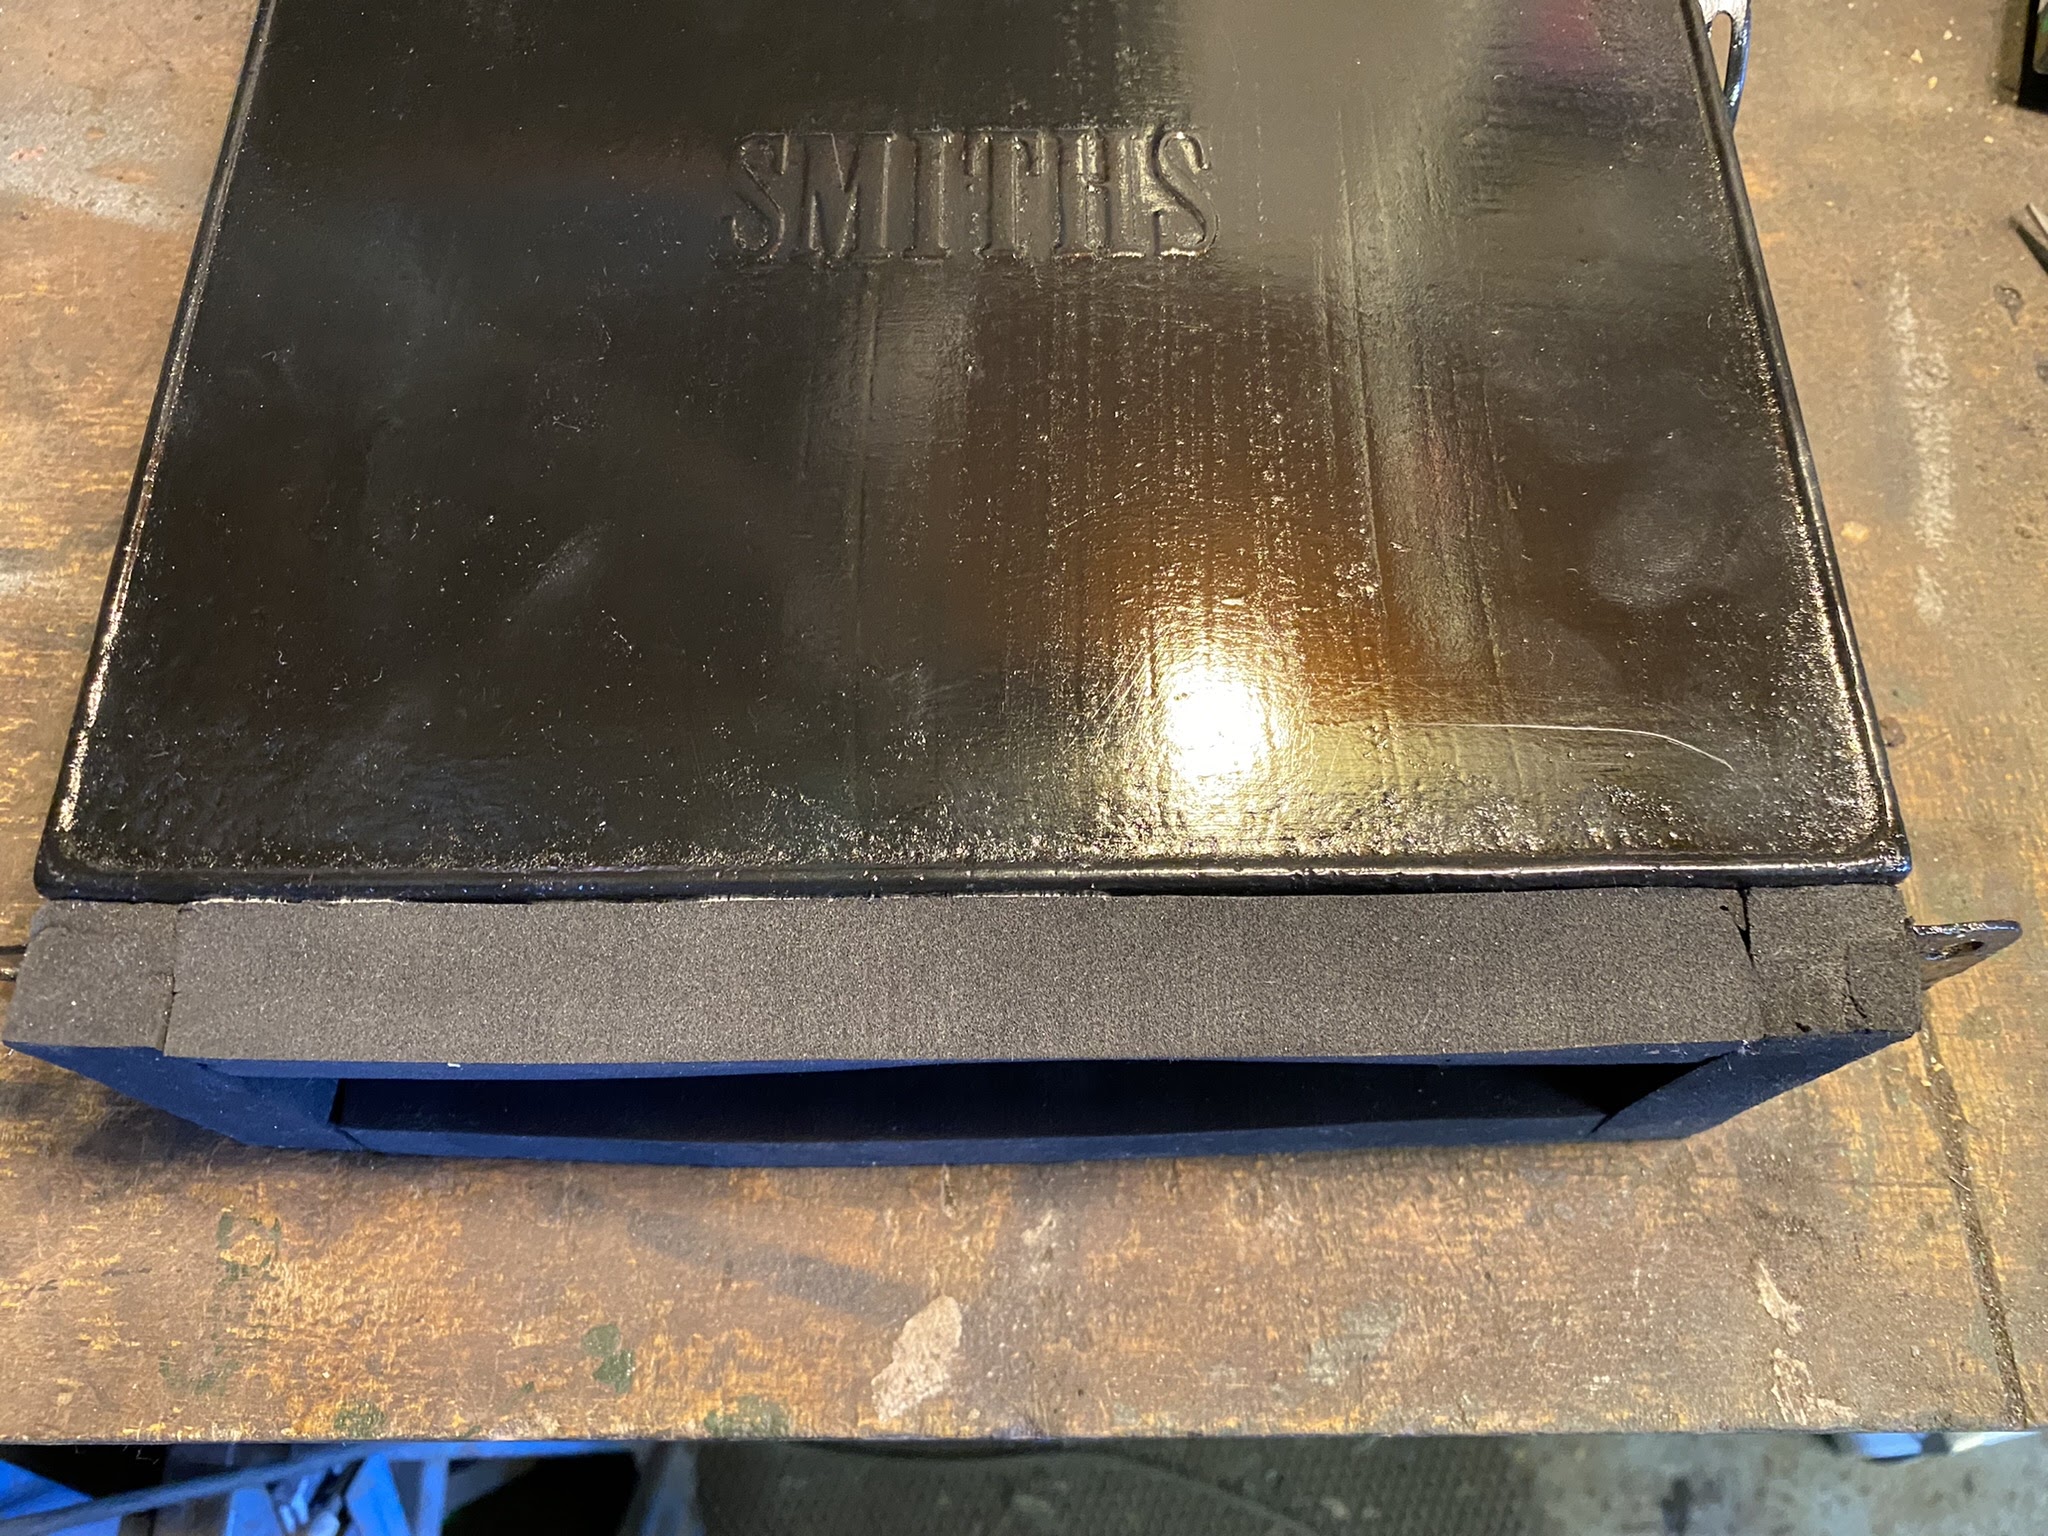
The matrix needs to be wrapped in supporting foam to stop it moving around.

You need to make sure that it wraps around the front, sides and back and not the top, sides and bottom to allow the air to flow in the right direction.


Then you can clip the sides on. You need five clips but at this time was missing one.

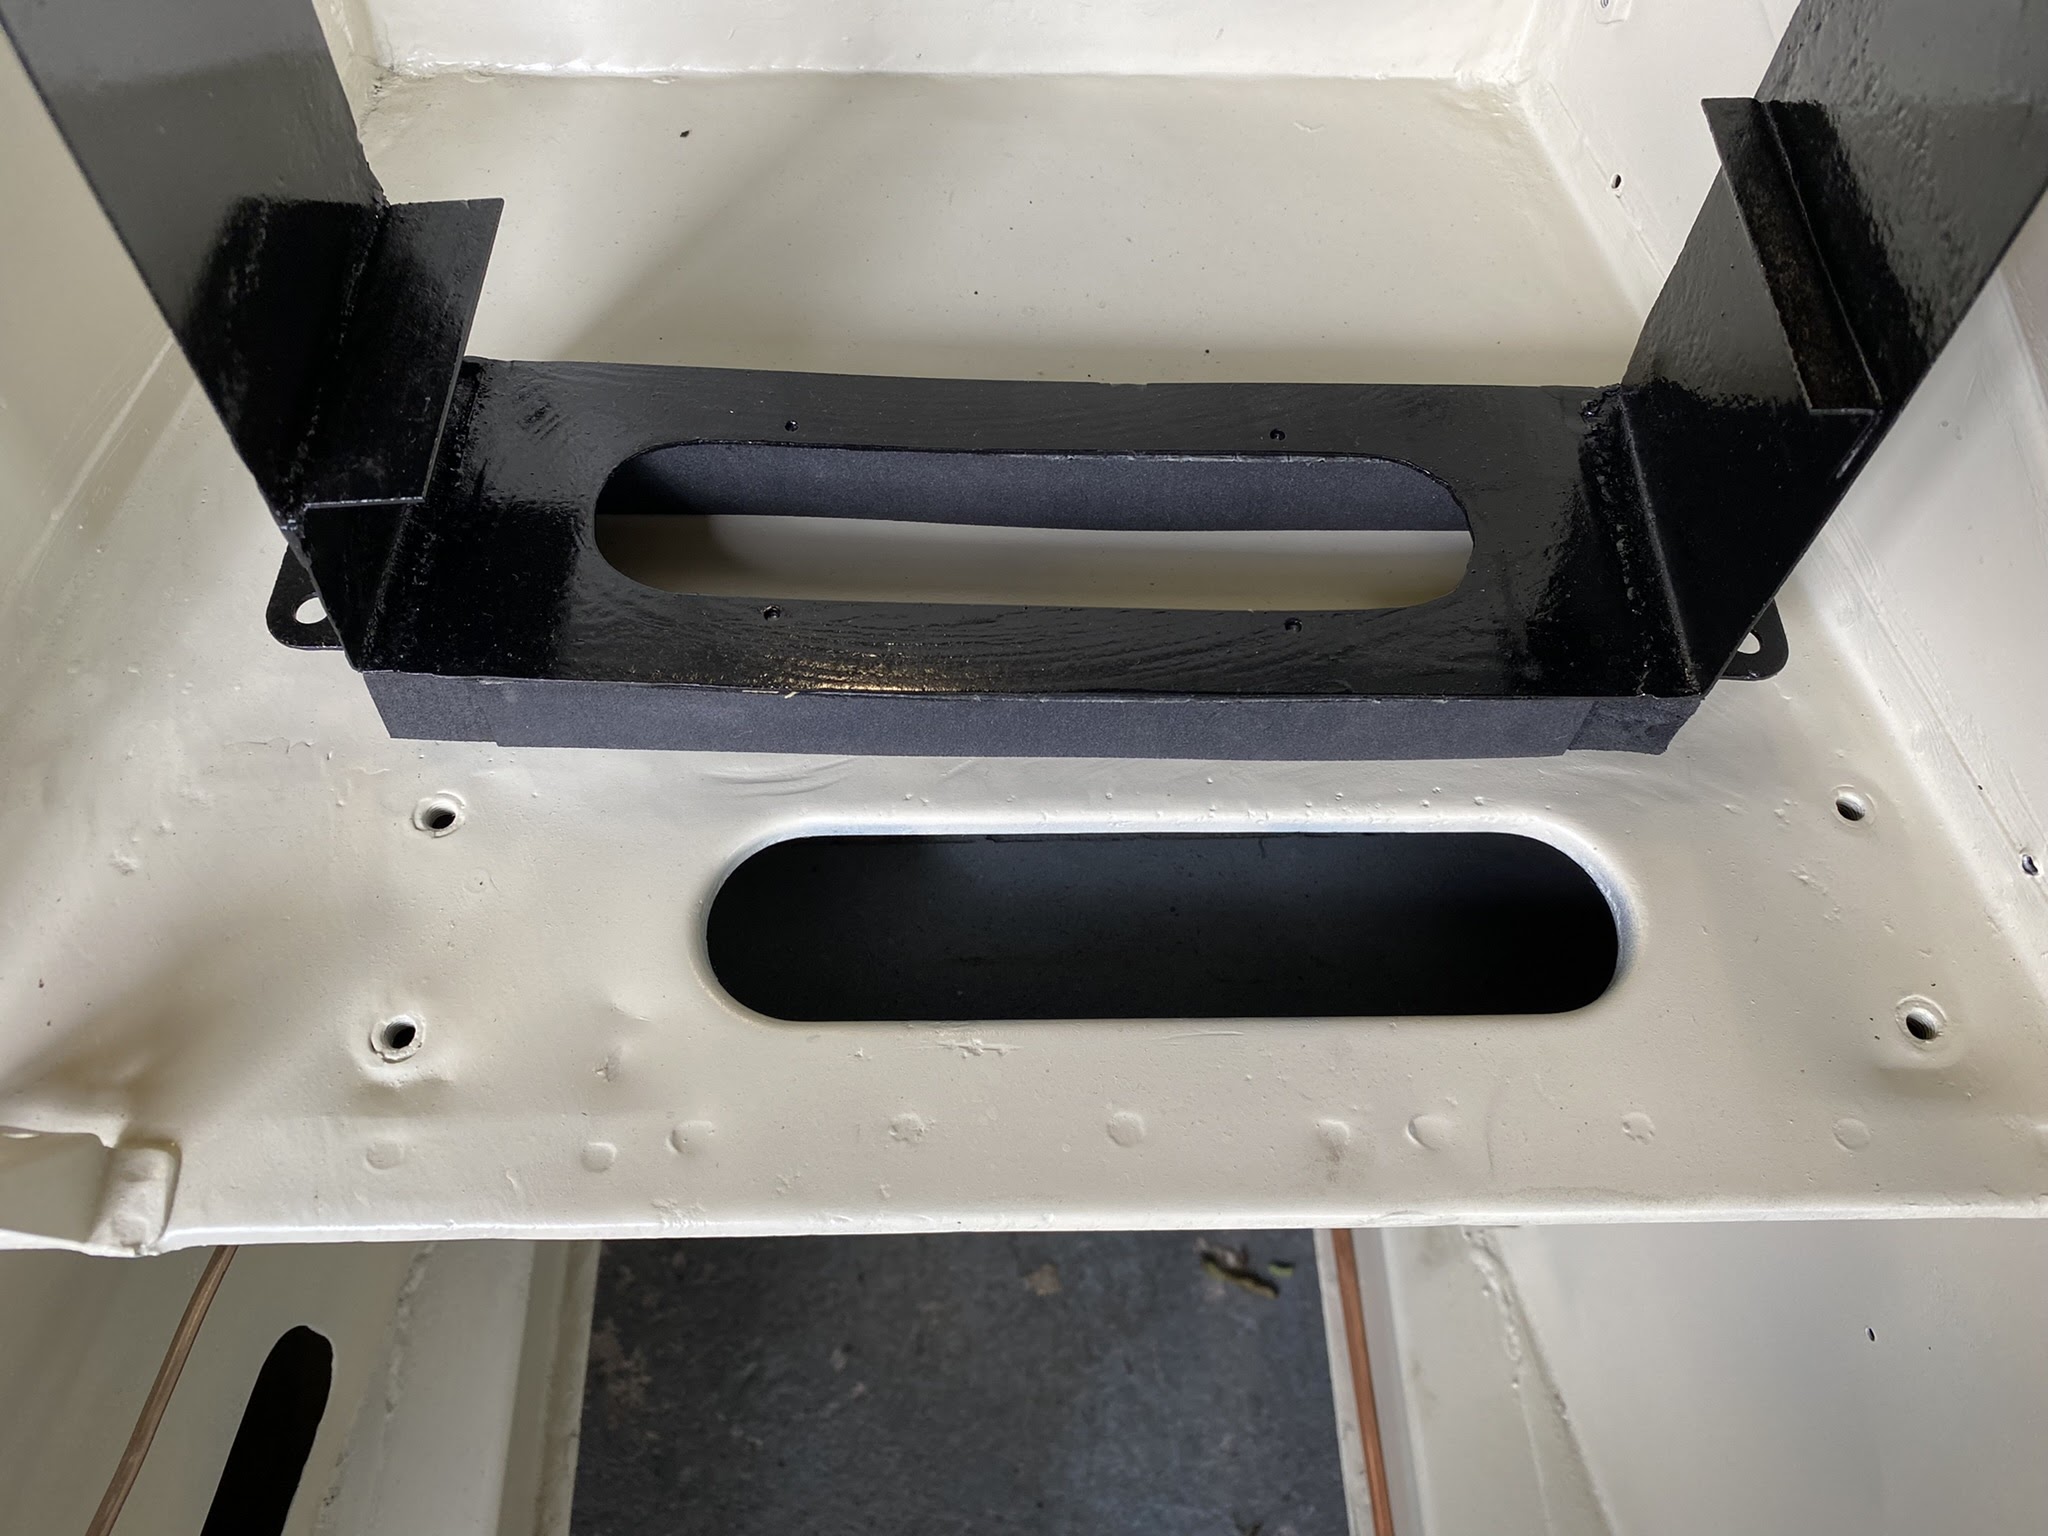
Time to mount the heater box in place.

Now the difficult bit! You need to buy the support foam that sticks to the bottom of the heater box and stops air leaks. I found this really tricky as the foam is very dense and hard to compact. You have to cut it to size and on one side you can peal away the yellow tape to leave the sticky tape underneath.


If you do what I did initially which was to stick the foam to the bottom of the box without the sides clipped on you'll find that whilst it looks right and seems to fit well, it ends up bowing in the middle and you'll not be able to clip the sides on properly leaving gaps.

My advice is to try to stick the foam with the slides already clipped on. It does then make it difficult to compress down when you tighten the four screws but I couldn't think of another way round the problem.
Got there in the end and happy with the result.


And connected up to the fan. Job done!


Just need to buy an new duct pipe the connects to the fan and the front valance, oh and connect the pipes off the engine.

The only thing left is to rivet on the new ID plate that I bought. It looks a million times better than it did.