Before I attempted to fit the windscreen I wanted to try and clean it up a bit.
All of the metal looked in a bad way. Seemingly pitted or really grubby.
I found a few photos from a while back that shows how bad it was, as I forgot to take any photos before I started. Get carried away sometimes!
Not the best photos, but it gives you an idea why I wanted to clean them up.
I tried some very fine wire wool but that didn't really work. So I bought a polishing wheels that fit on to a drill with some polishing compounds.
Each compound has different qualities. One with a cutting agent to remove top layers. Another that only polishes and the other somewhere in between. I set to work on the metal frame.
It takes a long time to buff out the marks in the metal and you have to keep applying the compound with the cutting agent in it and plenty of pressure otherwise it doesn't do anything. But as you can see above the marks slowly disappear. On the right above is done. In the middle is during the process and the far left all dirty.It doesn't get every scratch out, but it does make them less noticeable and from a distance it looks in really good condition. Because I am using soft fabric wheels the glass is also protected whilst cleaning.
Once I had done the whole frame it was time to lift it on to the freshly painted chassis, which was a very nervous moment. One slip and I'd damage the paint.
But then I remembered I needed to replace the bottom rubber as it had perished.
I had read that it can be tricky to get this new rubber in, so I watched a few videos and when I felt I thought I'd understood what to do pulled out the old rubber.
All guys in the videos talked about using a lubrication. I bought this special door seal restoring liquid ages ago and remembered it had lubrication qualities, so decided to use that. I also hoped it would protect the rubber for a few years whilst I was at it.
Getting the seal into the groove initially was quite easy with it all lubricated.
But then I remembered before you fit the seal you need to taper the ends to match the frame. Here's the old and new seal to compare.
Note how the bottom of the new seam curls back on itself. I'll explain what to do about that later.
The angle is important as you need the seal to go right tight up against the frame. Once cut to the right angle you can then proceed with pushing the seal into the frame.
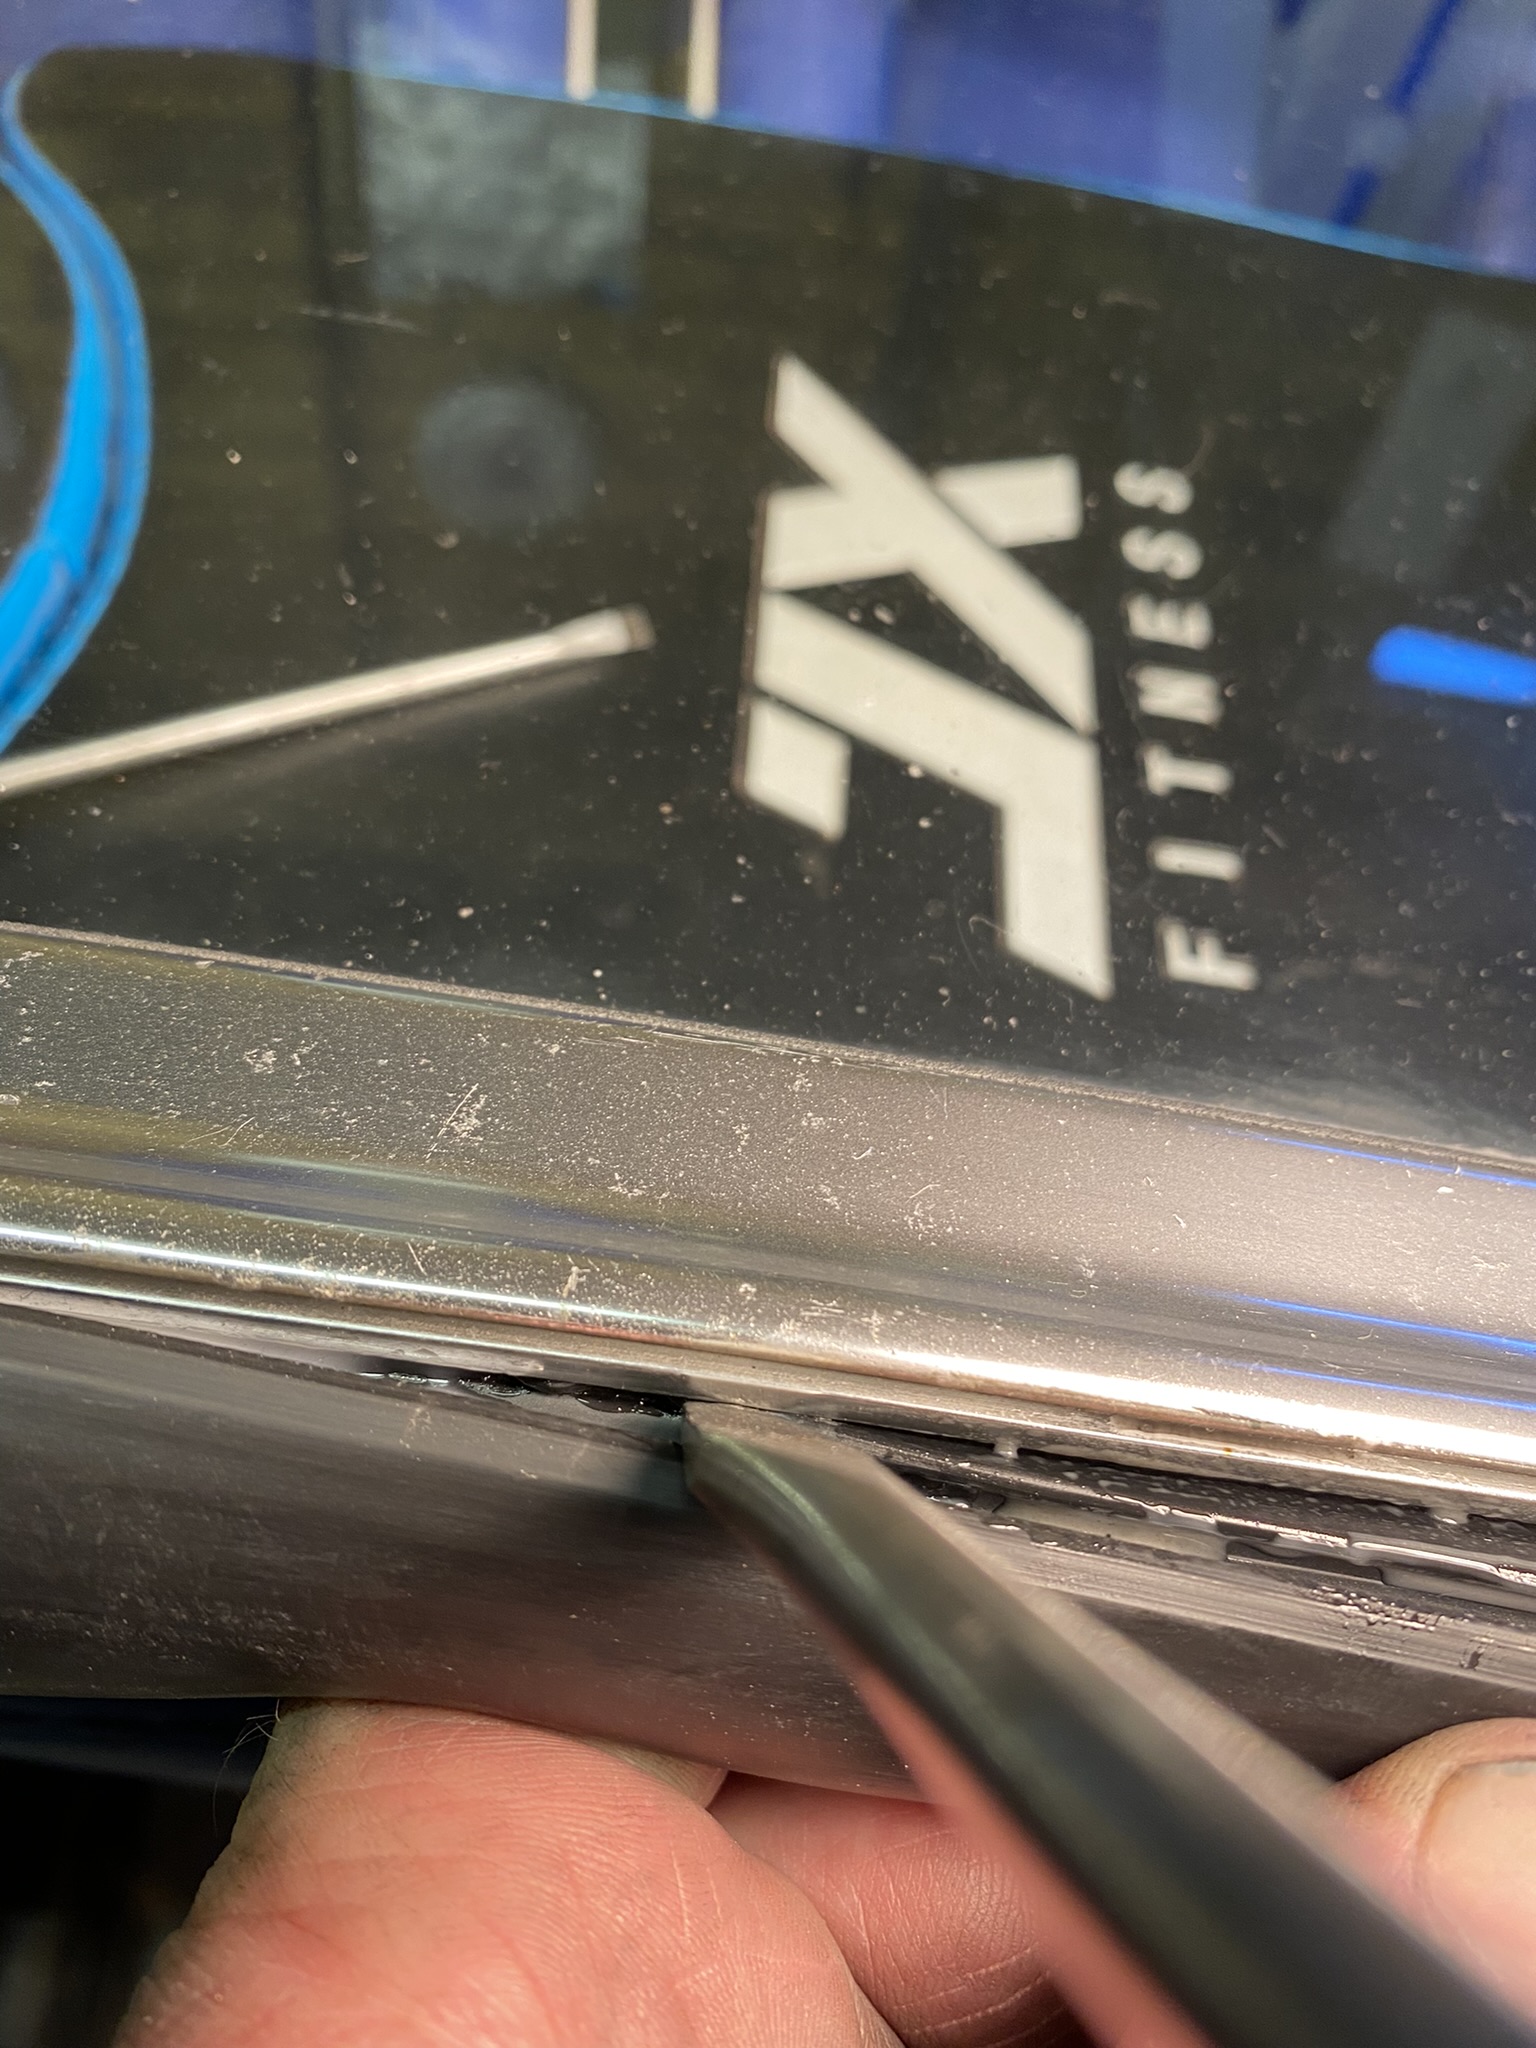
You can see below me lining up the rubber lip right up against the groove in the frame.
I then used a very old blunt screwdriver to push the rubber lip into the groove whilst I supported it from behind with my fingers.
And you just slowly move along, bit by bit. You'll start to get into the rhythm and before you know it you're done. Reapplying the lubrication really helps.
As you get to the other end you'll have to trim off the excess and angle it again, but you need to make sure you measure this correctly so to get a nice tight fit against the frame.
It was now time to lift the frame into position! Don't forget to fit the two A-post rubber seals on the two anchor points that slide into the A post. It is really important that you make sure these fit the frame correctly and the lower seal before tightening down the frame.
Thought I would use these cloths to make sure there wasn't anything I didn't want under the rubber, including dirt and excess lubrication. So pulled them out and wiped it all down.
Fitting the frame is not easy. The new rubber seal needs to uncurl and sit flat on the painted surface. So you have to uncurl it whilst lowering the frame down.
Here's how I did it.
First I used a long section of clear plastic pipe that was quite flexible. By chance I bought some for the fuel pump breather that I hoped would do the job. I wanted to use something soft so I didn't scratch the paint or damage the rubber seal.
I placed this between the seal and the top shroud of the chassis at one end. You don't want any lubrication in this area as you need the pipe to grip the rubber a bit and not slip and slide around.
Best to double check the A-post seals an in place at this point.
This is the view inside looking at the two places where you'll be fixing the bolts that secure the frame to the chassis. You should just be able to see the bottoms of the holes.
The top hole is threaded, but the bottom hole isn't. This allowed me to put in a small screwdriver into the bottom hole and lever down the frame so I could get in an Allen key into the top hole. I used an Allen key so not to damage the thread too much.
My idea was to gently lever larger and larger Allen keys into the top hole which would slowly bring the frame down into position.
Before I could lever the top hole down low enough to get the bolt into the lower hole, I needed to uncurl the seal. With the frame now held down a little it was time to use the pipe.
By pulling the pipe slowly to the left and then to the right but with an upwards circular motion the rubber uncurled and staying nicely in position.
I did this process twice. The second time once I had lowered the frame down a little bit more by inserting a larger Allen key into the hole, making sure never to pull the pipe out from under the seal until I was happy, otherwise I'd have to start all over. It would be nearly impossible to slide the pipe under the seal whilst the frame was under tension.
Once the rubber seal was in position it was much easier to lever down the frame, and fit the four bolts, this time using the largest Allen key I could get into the hole and quite a bit of force.
You might find that after you have fitted the bolts on one side there is a slight gap between the frame post and the A-post. There is a shim, shown below which closes that gap and helps to fit the frame perfectly.
You can just about see the shim in the photo below.
I did also use the central plate in the middle of the windscreen to help once the four bolts were in place, to get a nice tight seal. I have read that some people use straps over the whole frame to get it to fit. But I am so worried about the nice new paint I felt this method was best for me.
This is such a great feeling to get this in place and it really does feel so secure on the chassis and also importantly the alignment to the A-post seems to be ok. I won't really know for sure until I have the doors fully on with the quarter lights fitted, but for now I'm very happy.


No comments:
Post a Comment