Tuesday 16 January 2018

Rear Panel Repairs continued

Grabbed a couple of hours to finish off the rear panel on the left hand side. I was a little worried about this as there were multiple curves involved which took a lot of banging with the hammer and twisting with pliers. 


Assess the damage and cut out the template.


Make up the new part and bend into shape.


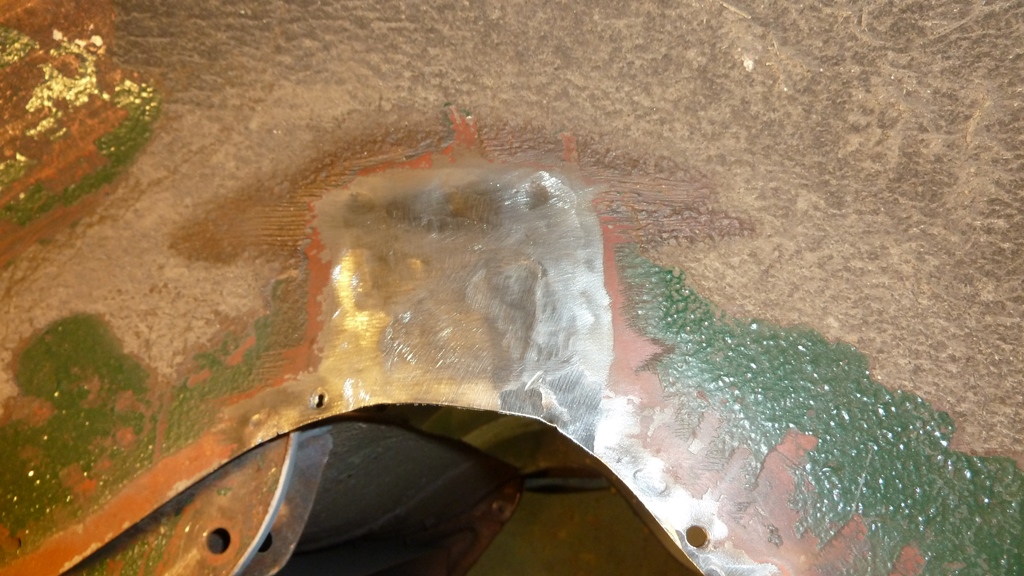
Test fit and then weld in


Grind down the welds and admire your handy work!


Really happy I was able to close the gap using pliers on the inside and the weld the joins. I had to remind myself that this whole area will be mostly covered by the chrome bumpers.

Monday 15 January 2018

Left Hand Rear Wheel Arch Repairs - continued

As mentioned in a previous post I needed to repair to left hand side rear wheel arch as shown below.


So I needed to manufacture a replacement part, but this time make sure it fits the curve of the inner wing panel.

Having already made this before on the right hand side it took no time at all to make the new part.


And this time I made sure the curve was correct before welding it in place


Once welded in it was time to double check


and then tidy up...


Very happy with that. Next up will be to finish off the right hand side wheel arch.

Bump Stop Repairs

I have also been cleaning up the bump stop plates. Not much to describe really, but as I don't have a sandblaster I used wire brush drill attachments.

They were very dirty but only with minor surface rust and grim and they cleaned up really well.


 I also coated them with rust converter


I will finish by painting on some black chassis paint on the inside to seal it for a few more years.

Rear end panel repairs

Although it has been a while since I have updated my blog I have been getting on with the usual rusty panels removal.

First up was some further work on the rear end panel where I had stopped from the last time I was working on this section, as you can see below.


I wanted to finish off each corner, which was... yes you have guessed it, make a template and weld it in!


and the other side...


It was clearly much worse. You can see the seam coming apart above where the rear wing joins to the rear panel. So I decided to do this in two parts because it would be too difficult to accurately shape the metal to fit perfectly.


I'll close that gap and the seam next time I work on this area.

Friday 29 December 2017

Left Hand Rear Wheel Arch Repairs

Determined to keep progressing with the car, I spent some time today in the garage continuing to repair the rear of the MG Midget in preparation for the new boot floor panel. Today I focused on the left hand side rear wheel arch. This side is certainly not as bad as the right, but does have a few issues that need to be sorted out.


On first inspection I thought this would be a quick repair, but through the hole created by the rust I could see some surface rust in the tubular section behind, so I cut out more than I originally planned.


So with rust converter and paint brush in hand I coated the inside as best as I could.


Once it was all dry I added a top coat of chassis paint to hopefully seal it for many years to come. Once that had dried I could cut out a template and weld a new piece in.


Came out pretty good too! Next up was reinforcement arch which was slightly worse than the right hand side. The metal was very thin and rust and needed to be cut out and replaced.


The new strip fitted well and I have found welding upside down has become much easier since I cleaned the wire feeding spindle in the welder, so I now get a much more consistent flow of wire.


The final job for the day was another section of the wheel arch.


This didn't take long and within 15 minutes was all fixed up.


I think the next job will be to fix the curved inner wheel arch that I was so happy with on the right hand side.