In previous posts I have covered off the brake components of the MG Midget. Front and rear brakes and the handbrake mechanism that attaches to the rear axle.
In this section I'll cover the handbrake itself
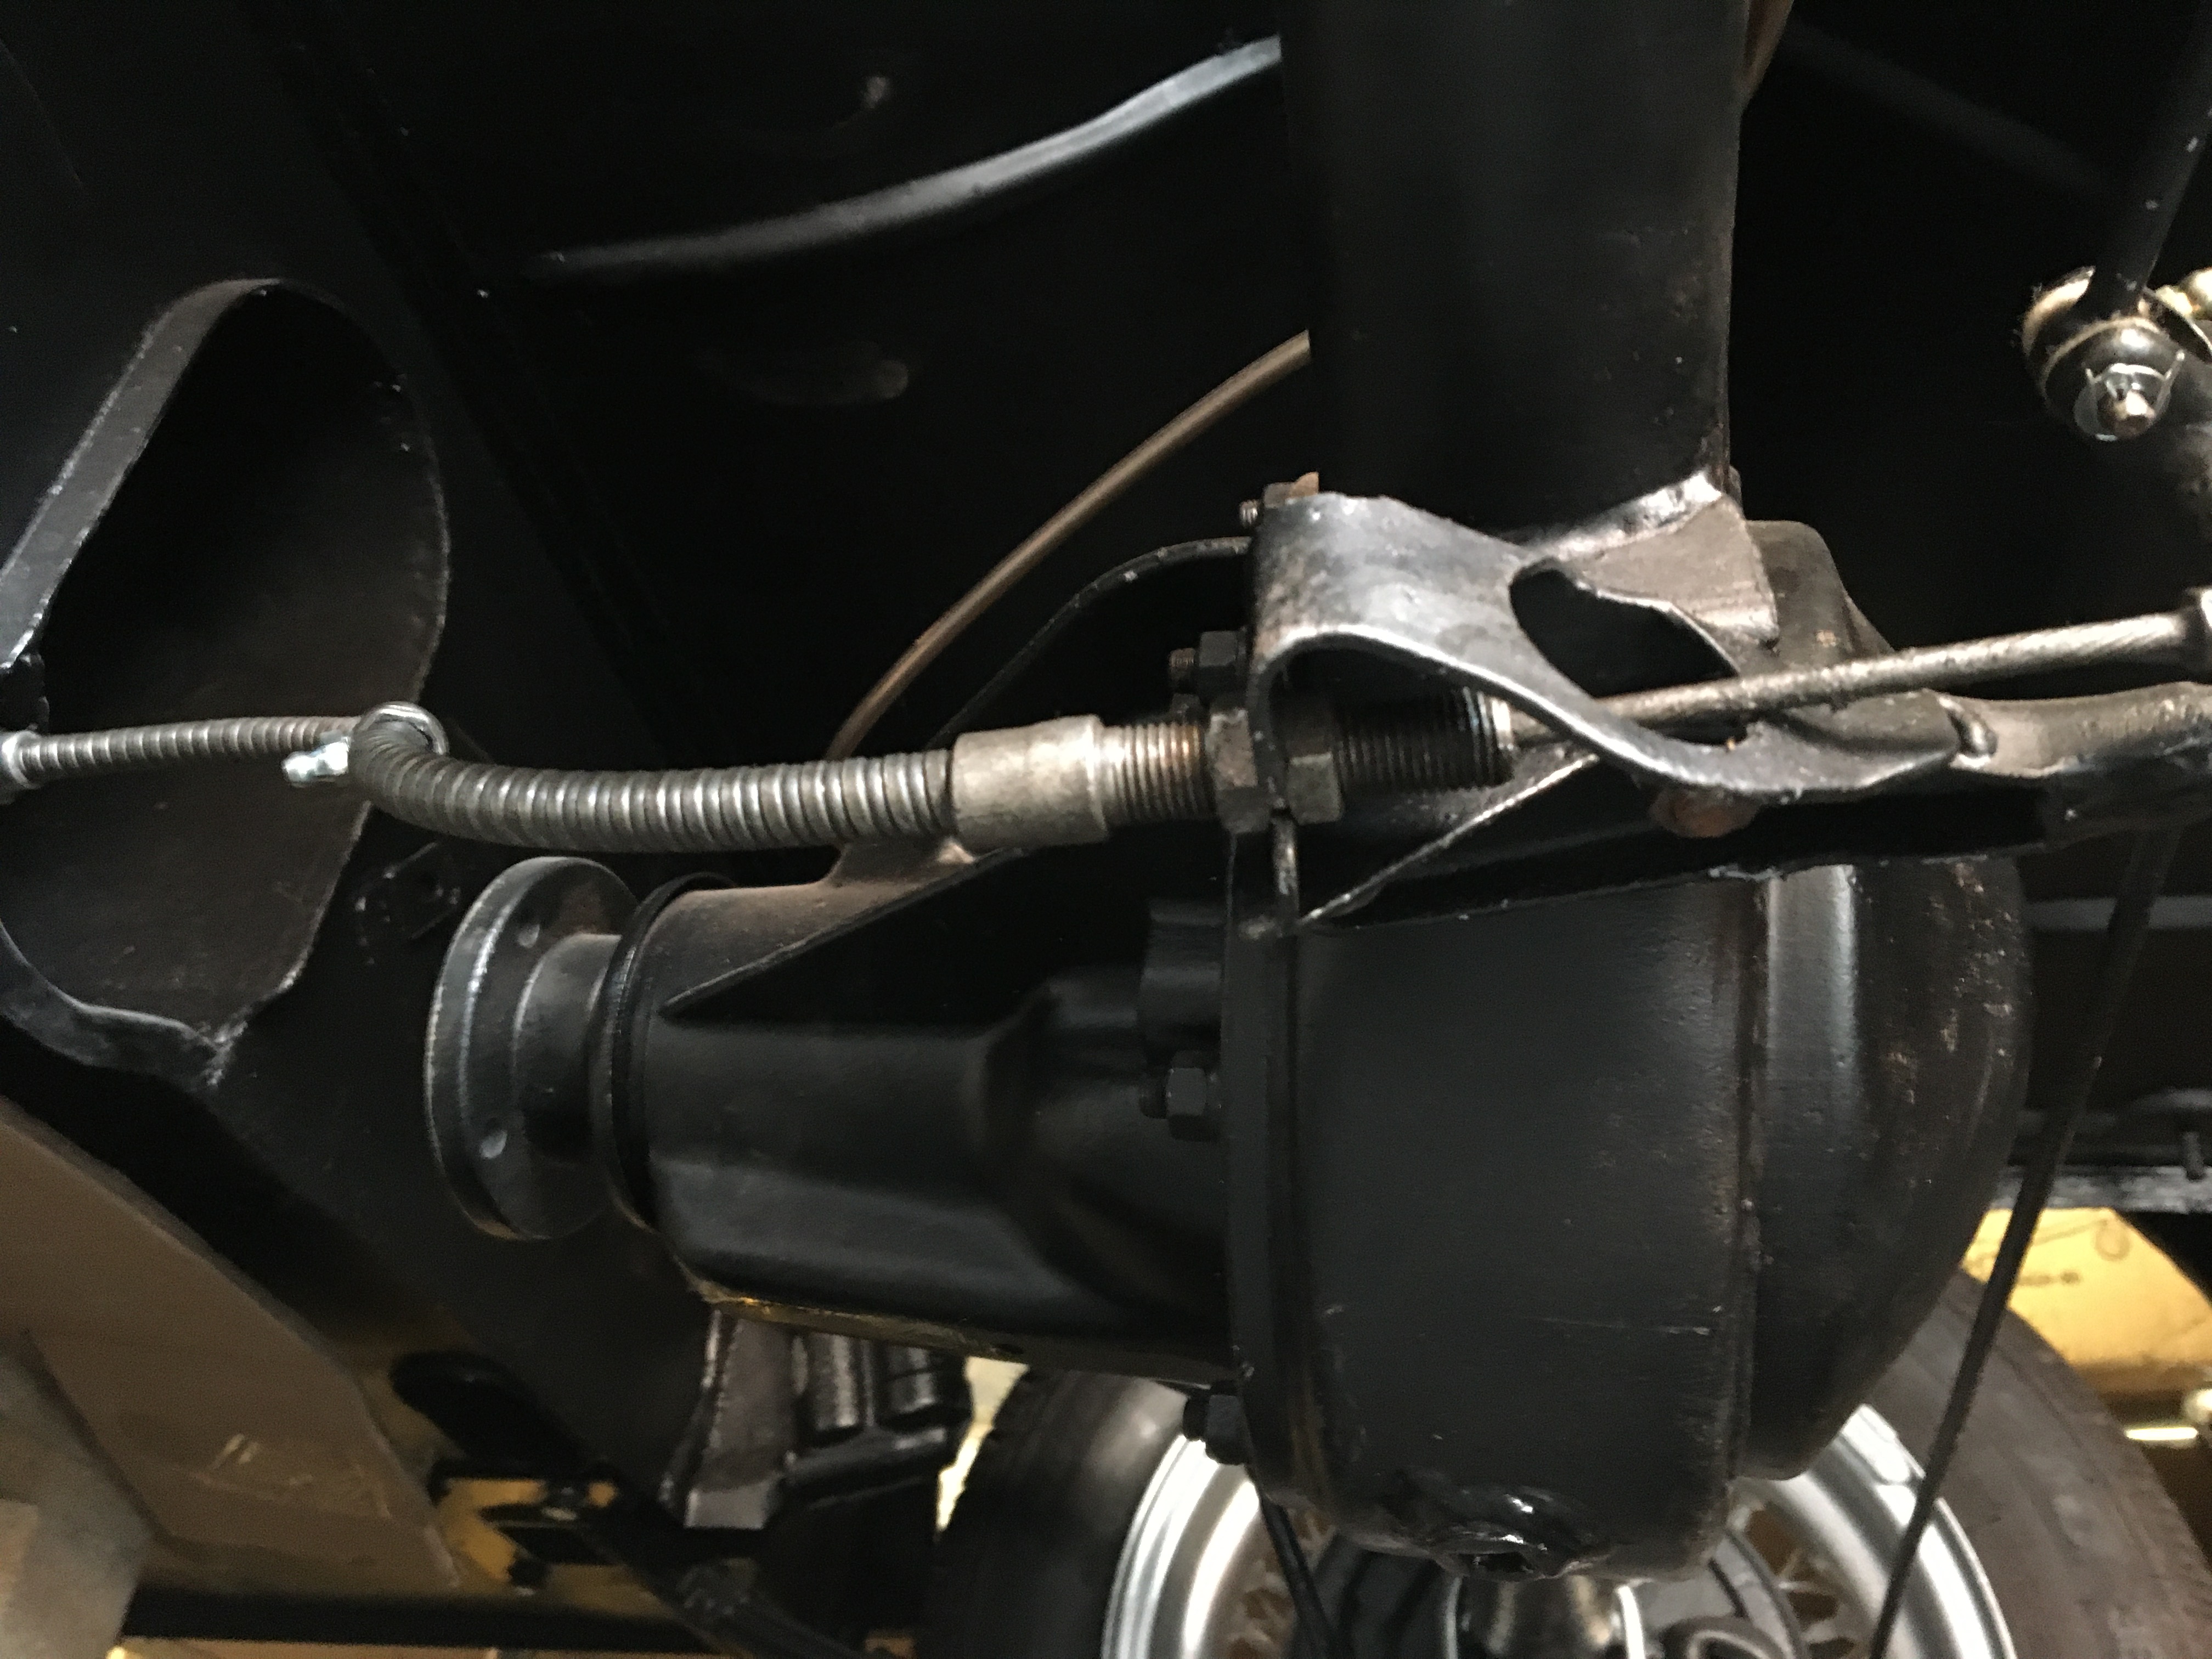
The main cable connects to the rear brake rods simply with a clevis pin, washer and split pin.

You then tighten the two adjusting nuts to lock the cable in place below. You'll probably be seeing this part of the car a few more times when it comes to adjusting the handbrake!

The handbrake lever itself is straight forward.


Slot in the clevis pin, washer and split pin

Then bolt into place.

The handbrake should now operate the rear brake drums. If you apply the handbrake and you can still move the car, you'll need to adjust it.
This can be done in two places. The first is as I have described above, by loosening the two nuts as shown below and turning the nuts anti-clockwise and then tightening them back up again.

You are aiming for the handbrake to only move by 3 to 4 clicks. Anything more than this and you might want to adjust it some more.
The other thing to do is grease the cable using the nipple half way down the out sheath of the cable near where the driveshaft bolts to the axle.
No comments:
Post a Comment